

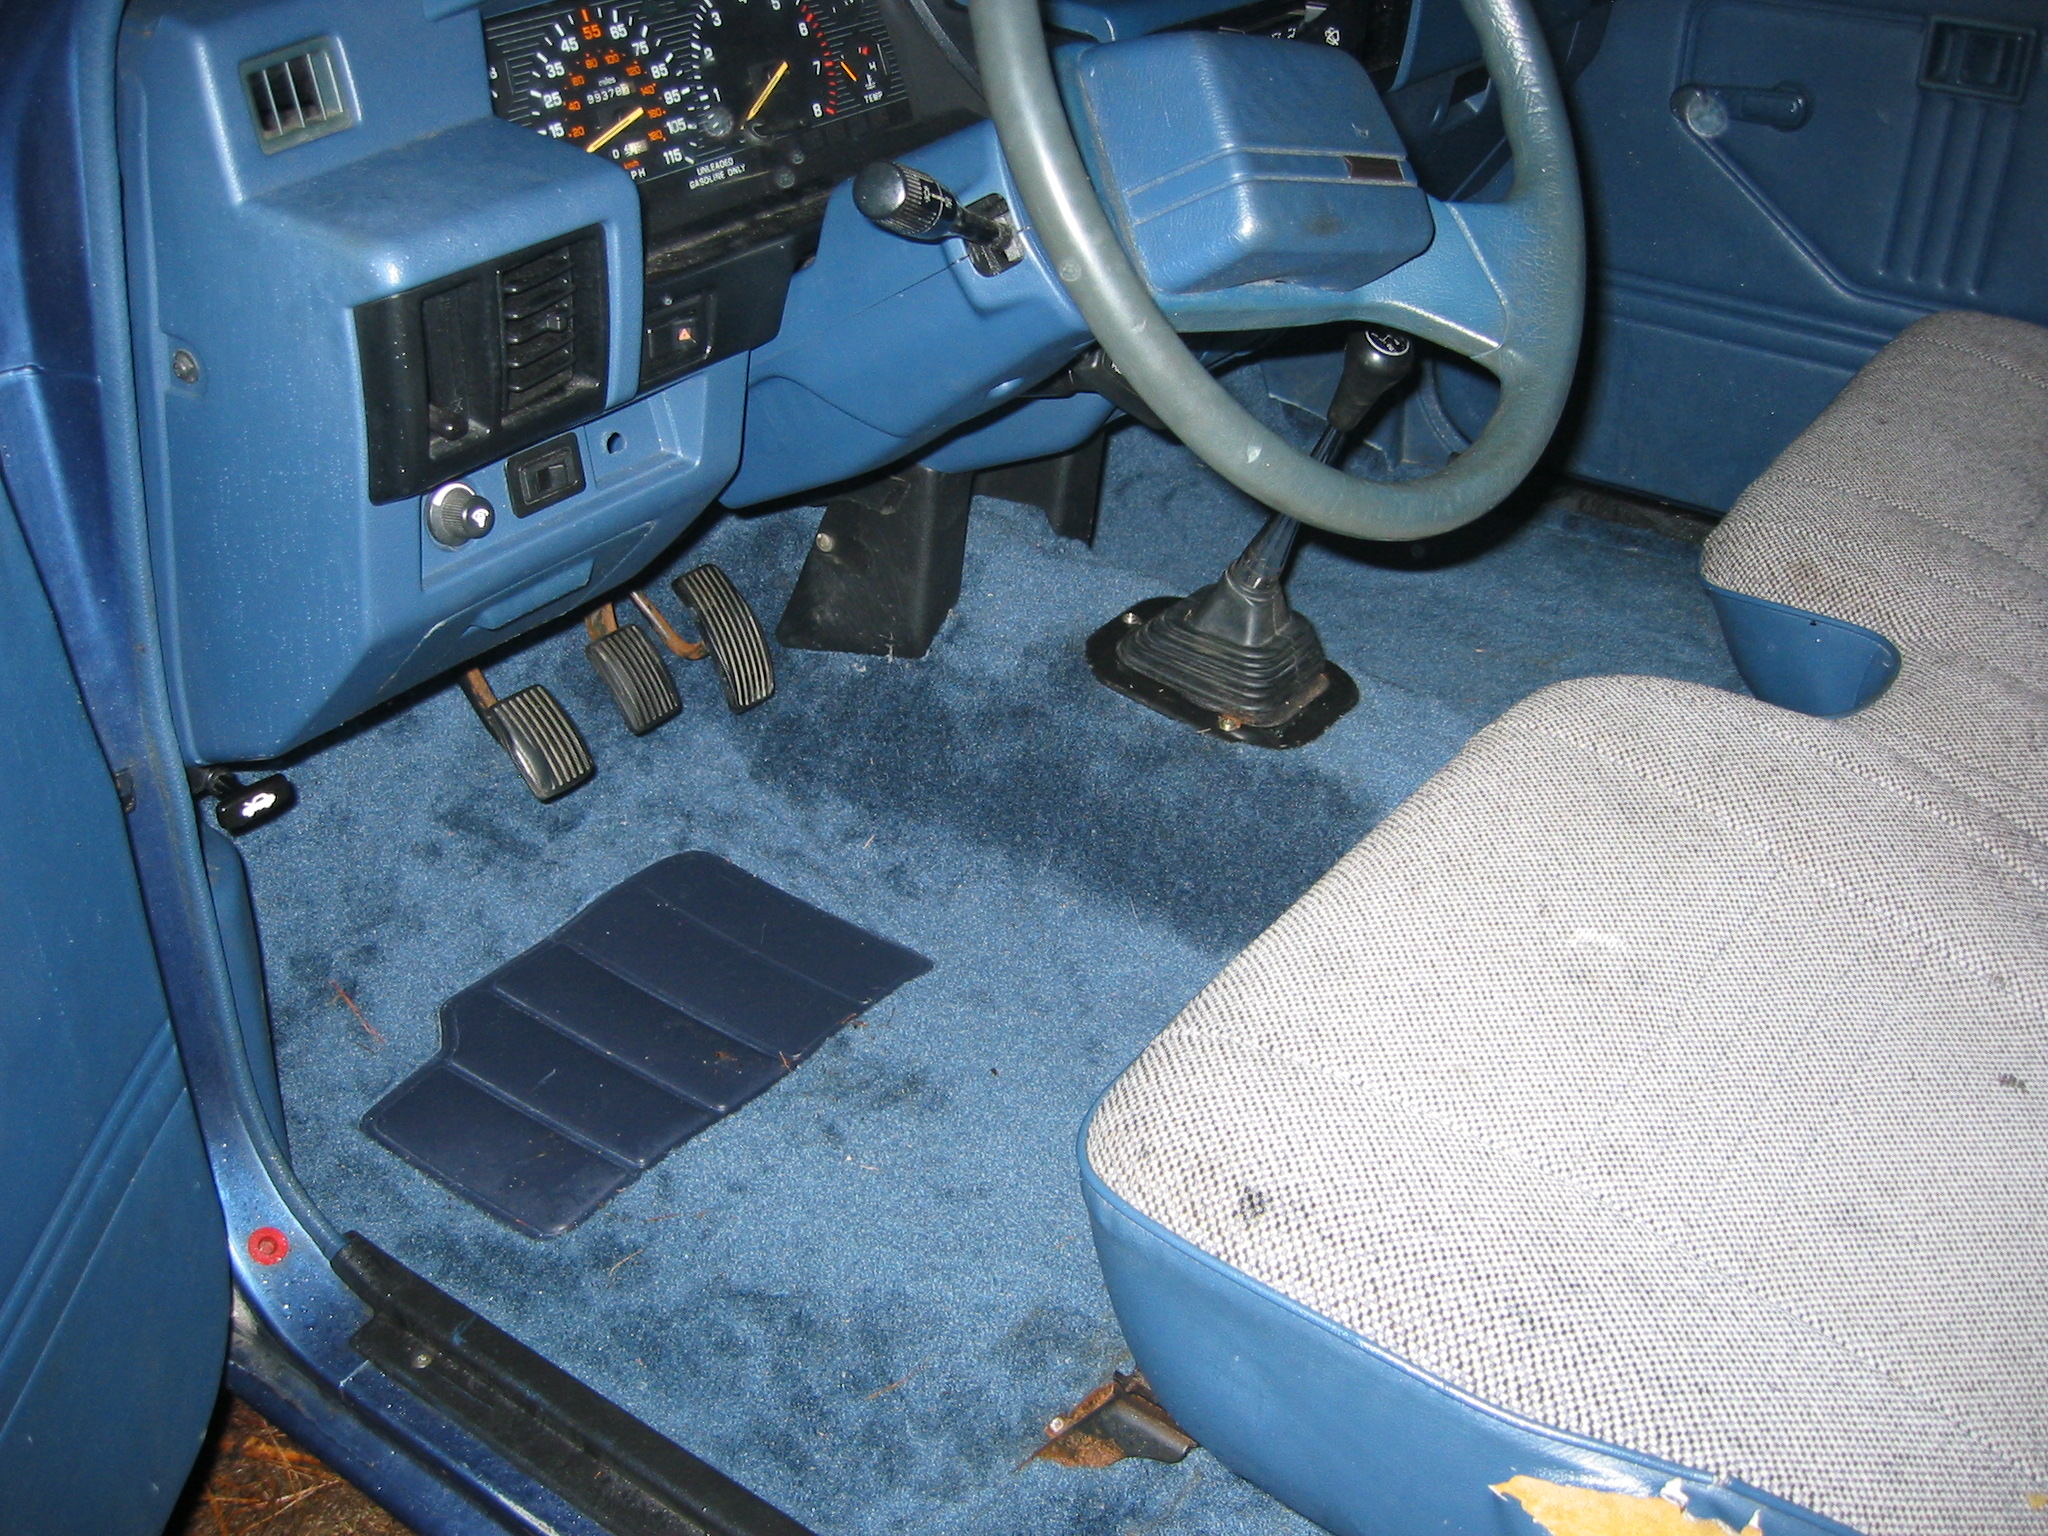
In yesterday’s 1A Auto Blog, we left off with a completely clean floor pan and interior. The nasty old carpet is out of the car and out of our lives. Thank goodness. Today we are going to sort out the rest of it.
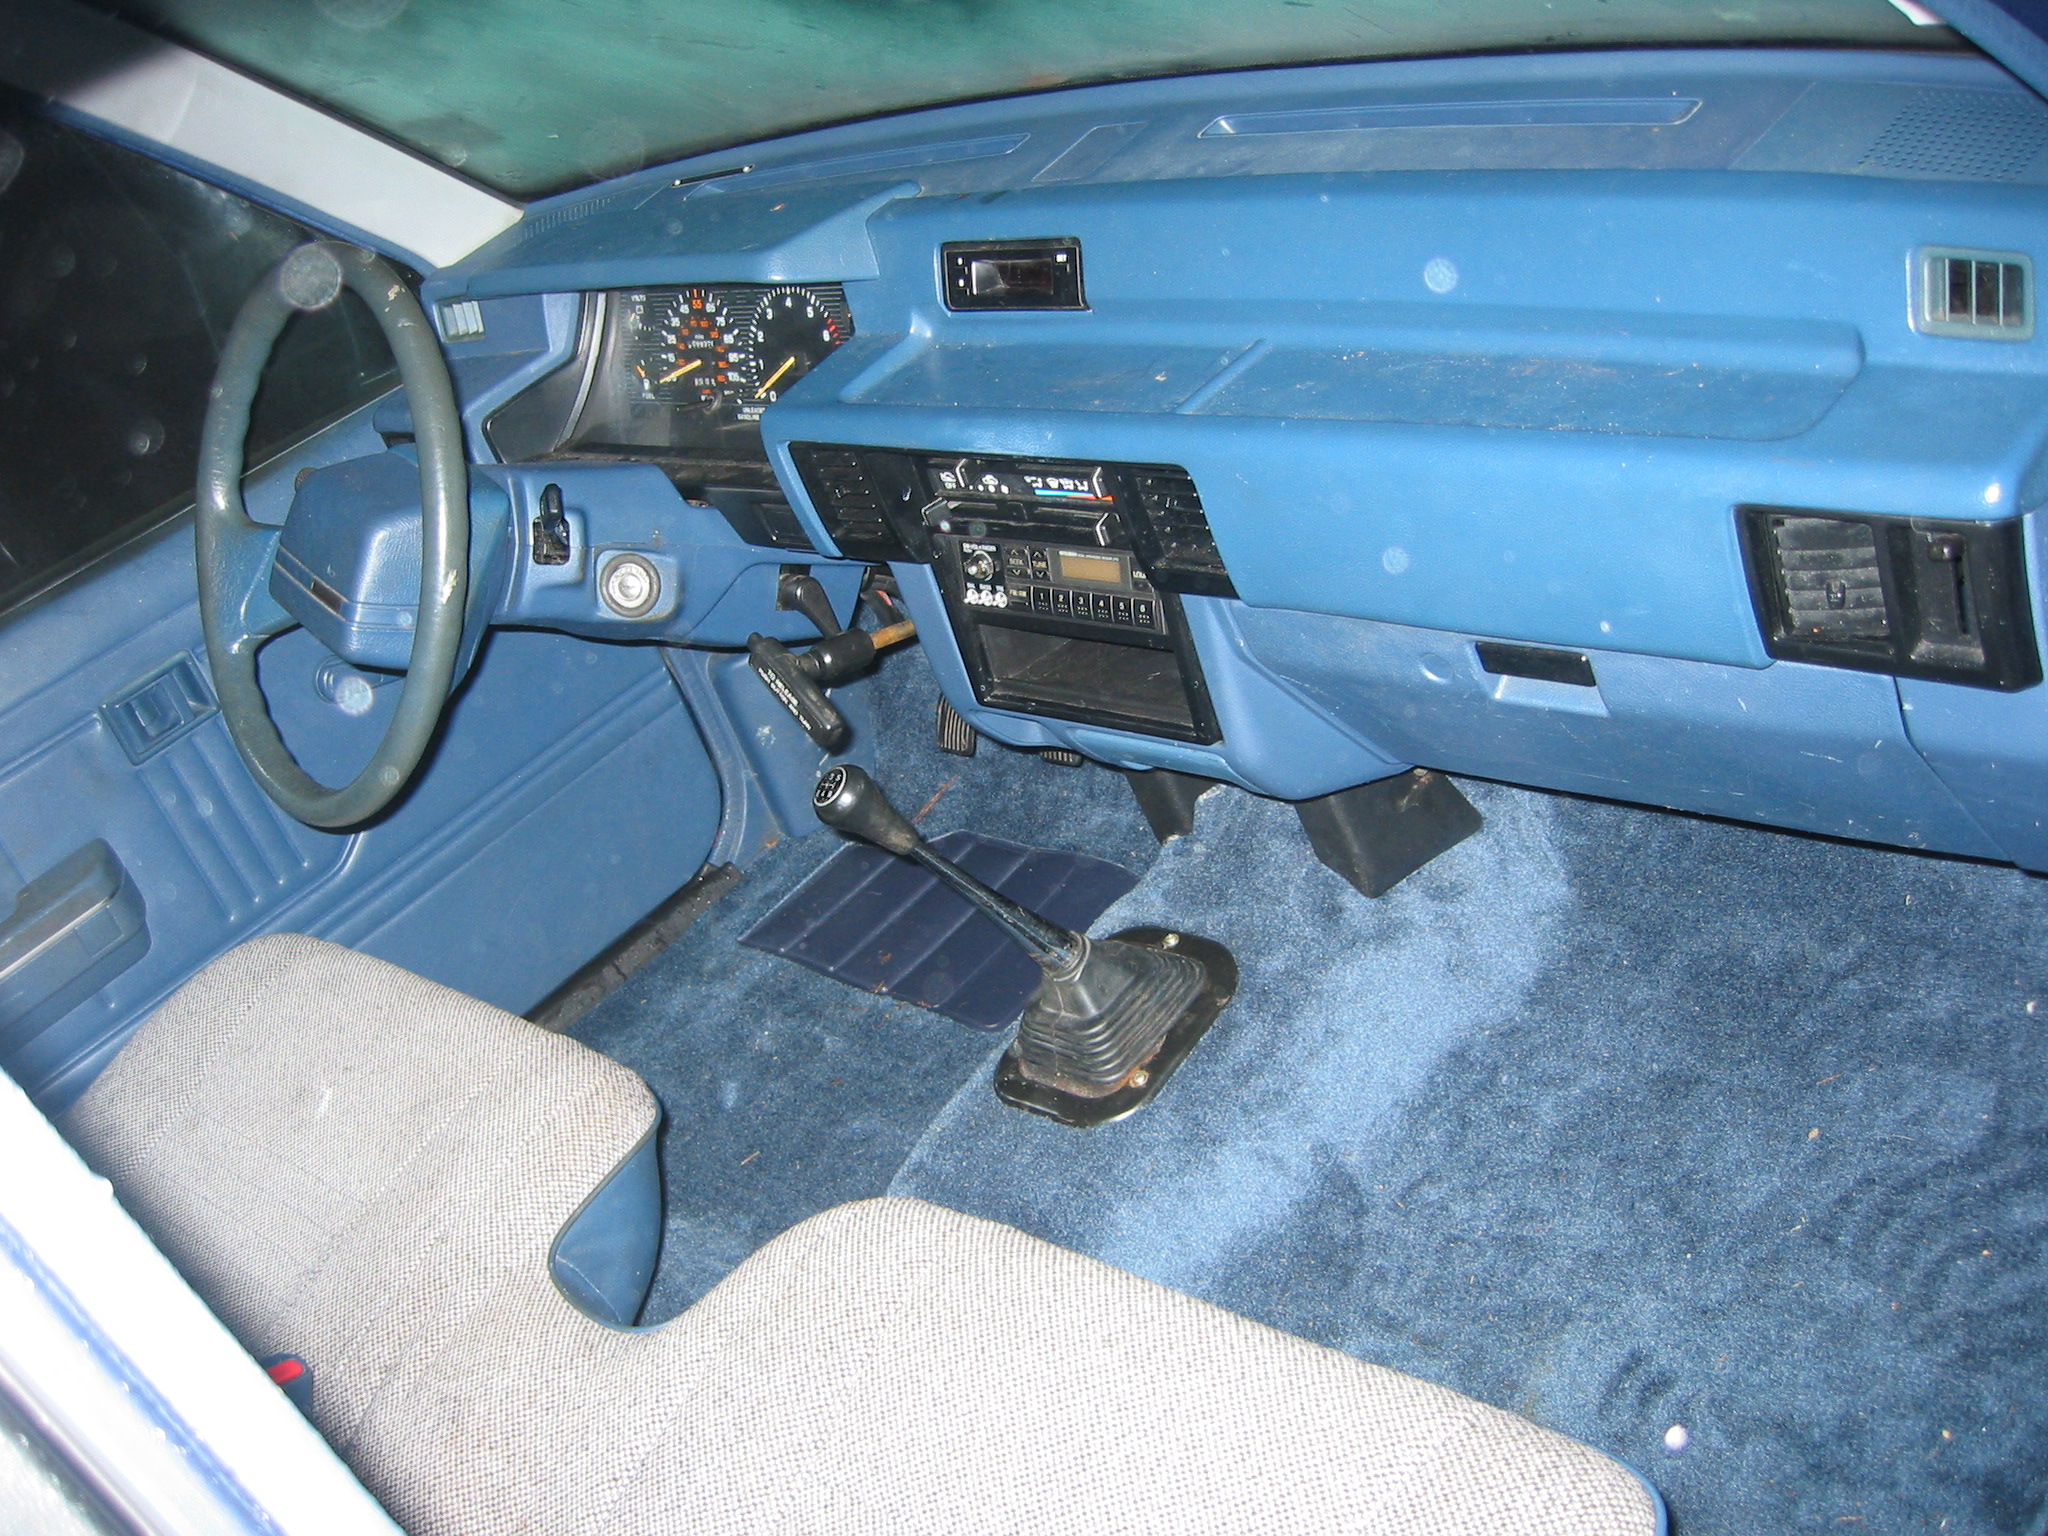
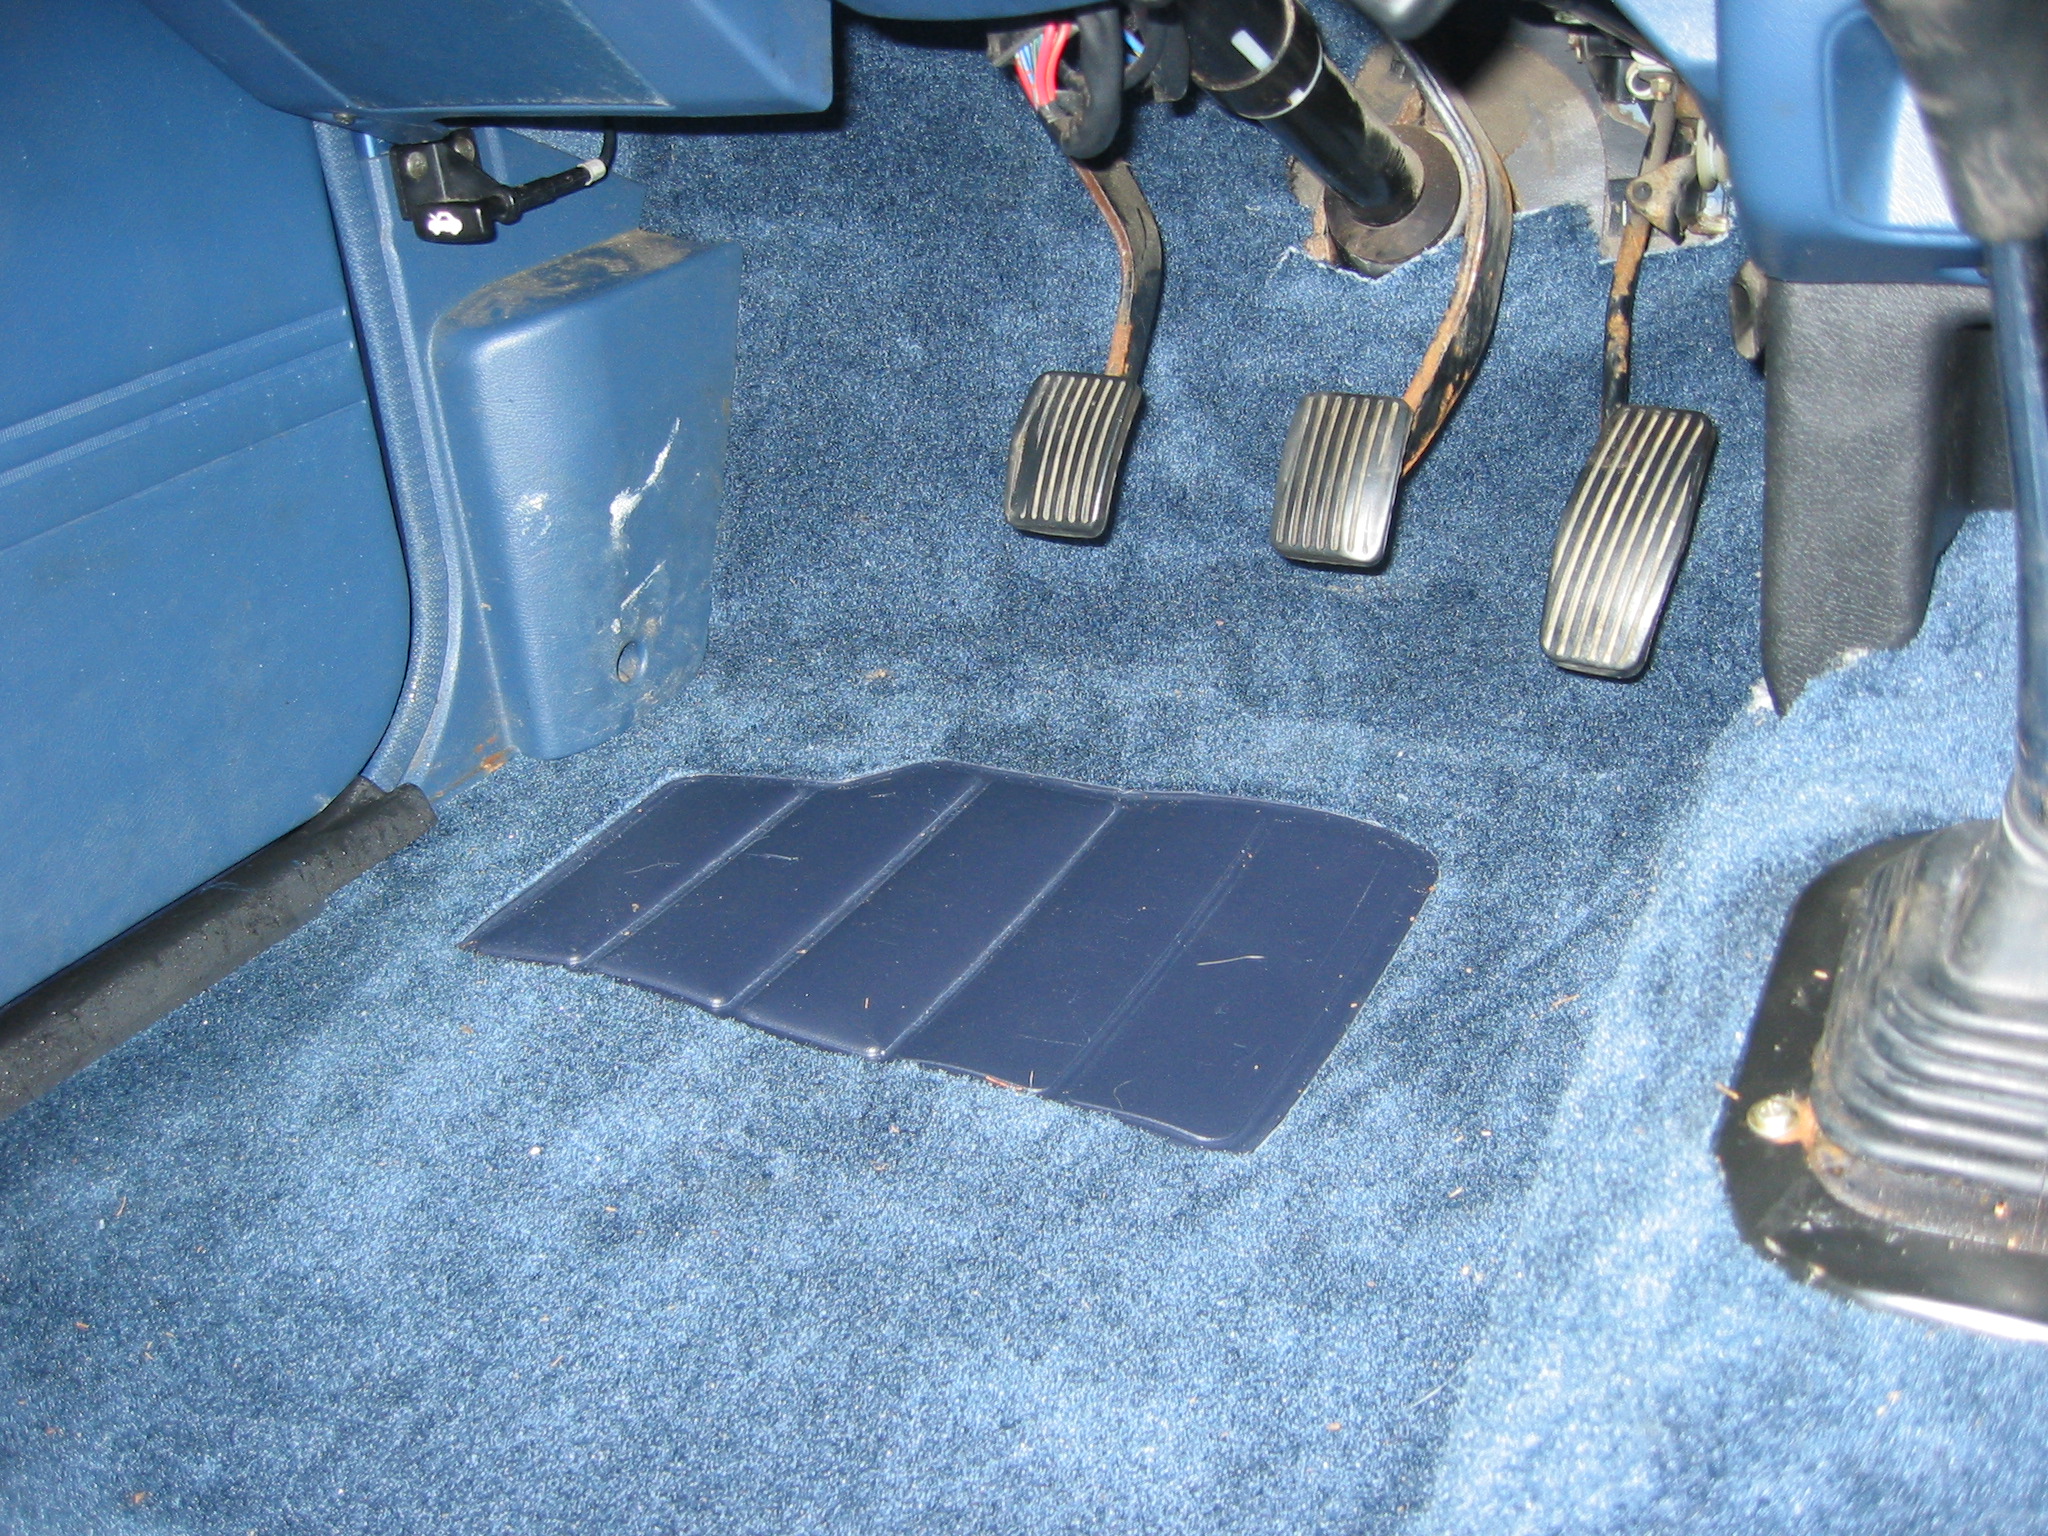
1) Start off by laying the new carpet in the vehicle and wiggling it around until the driver’s foot pad is in the right spot. Chances are good that it will just plop right into it’s happy new home.
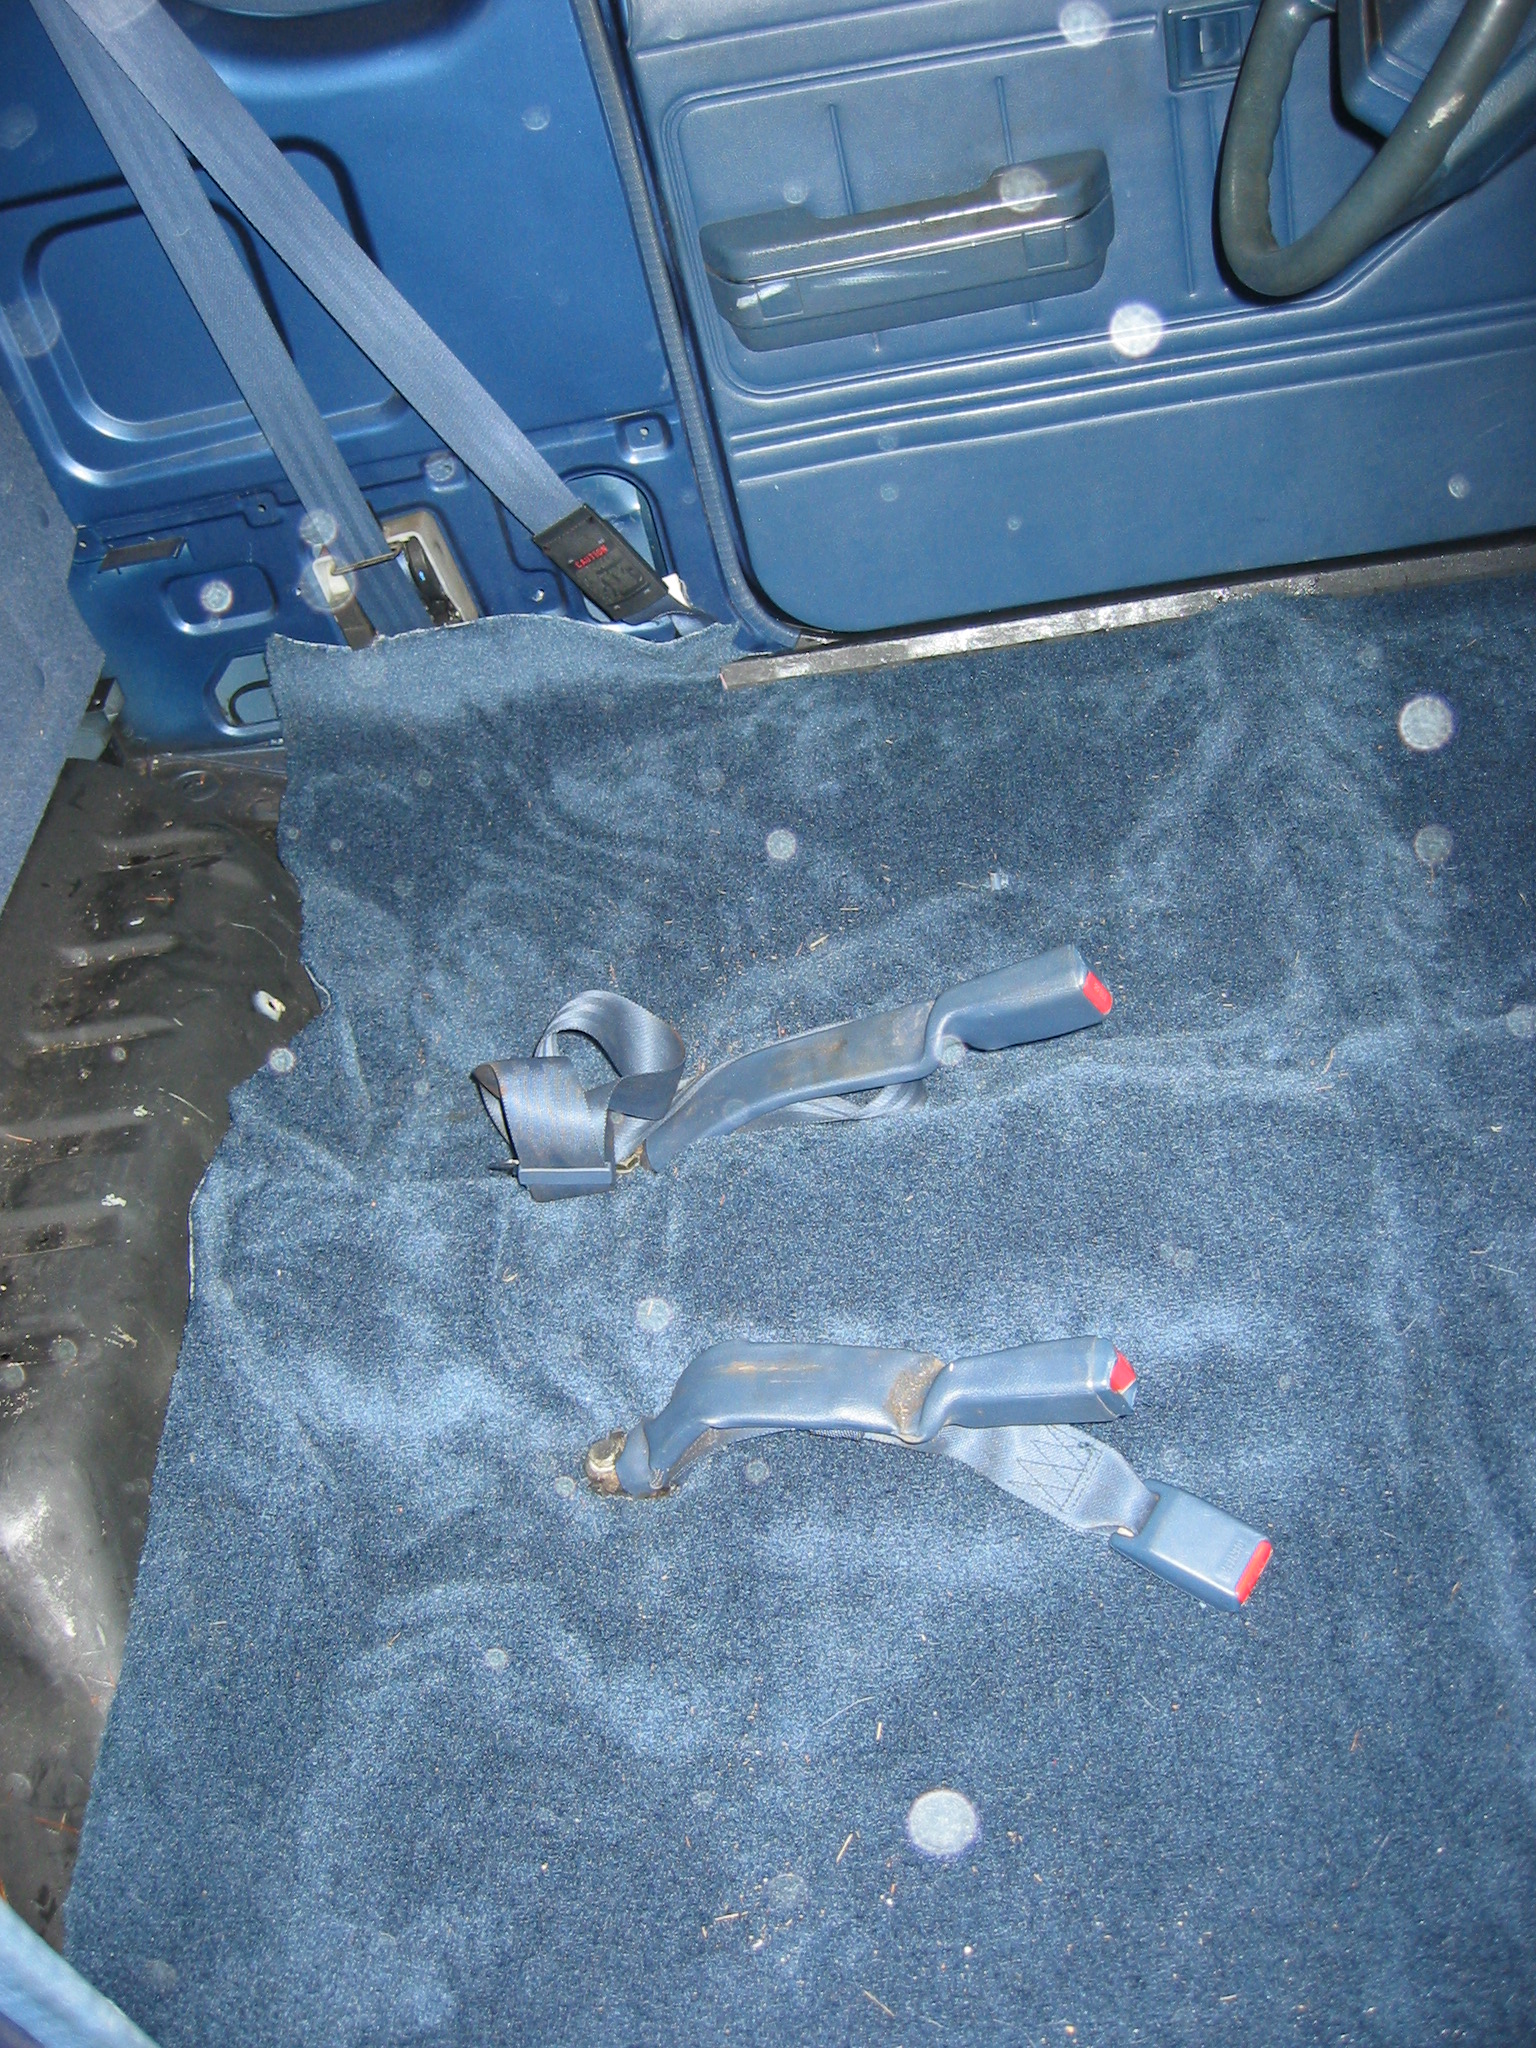
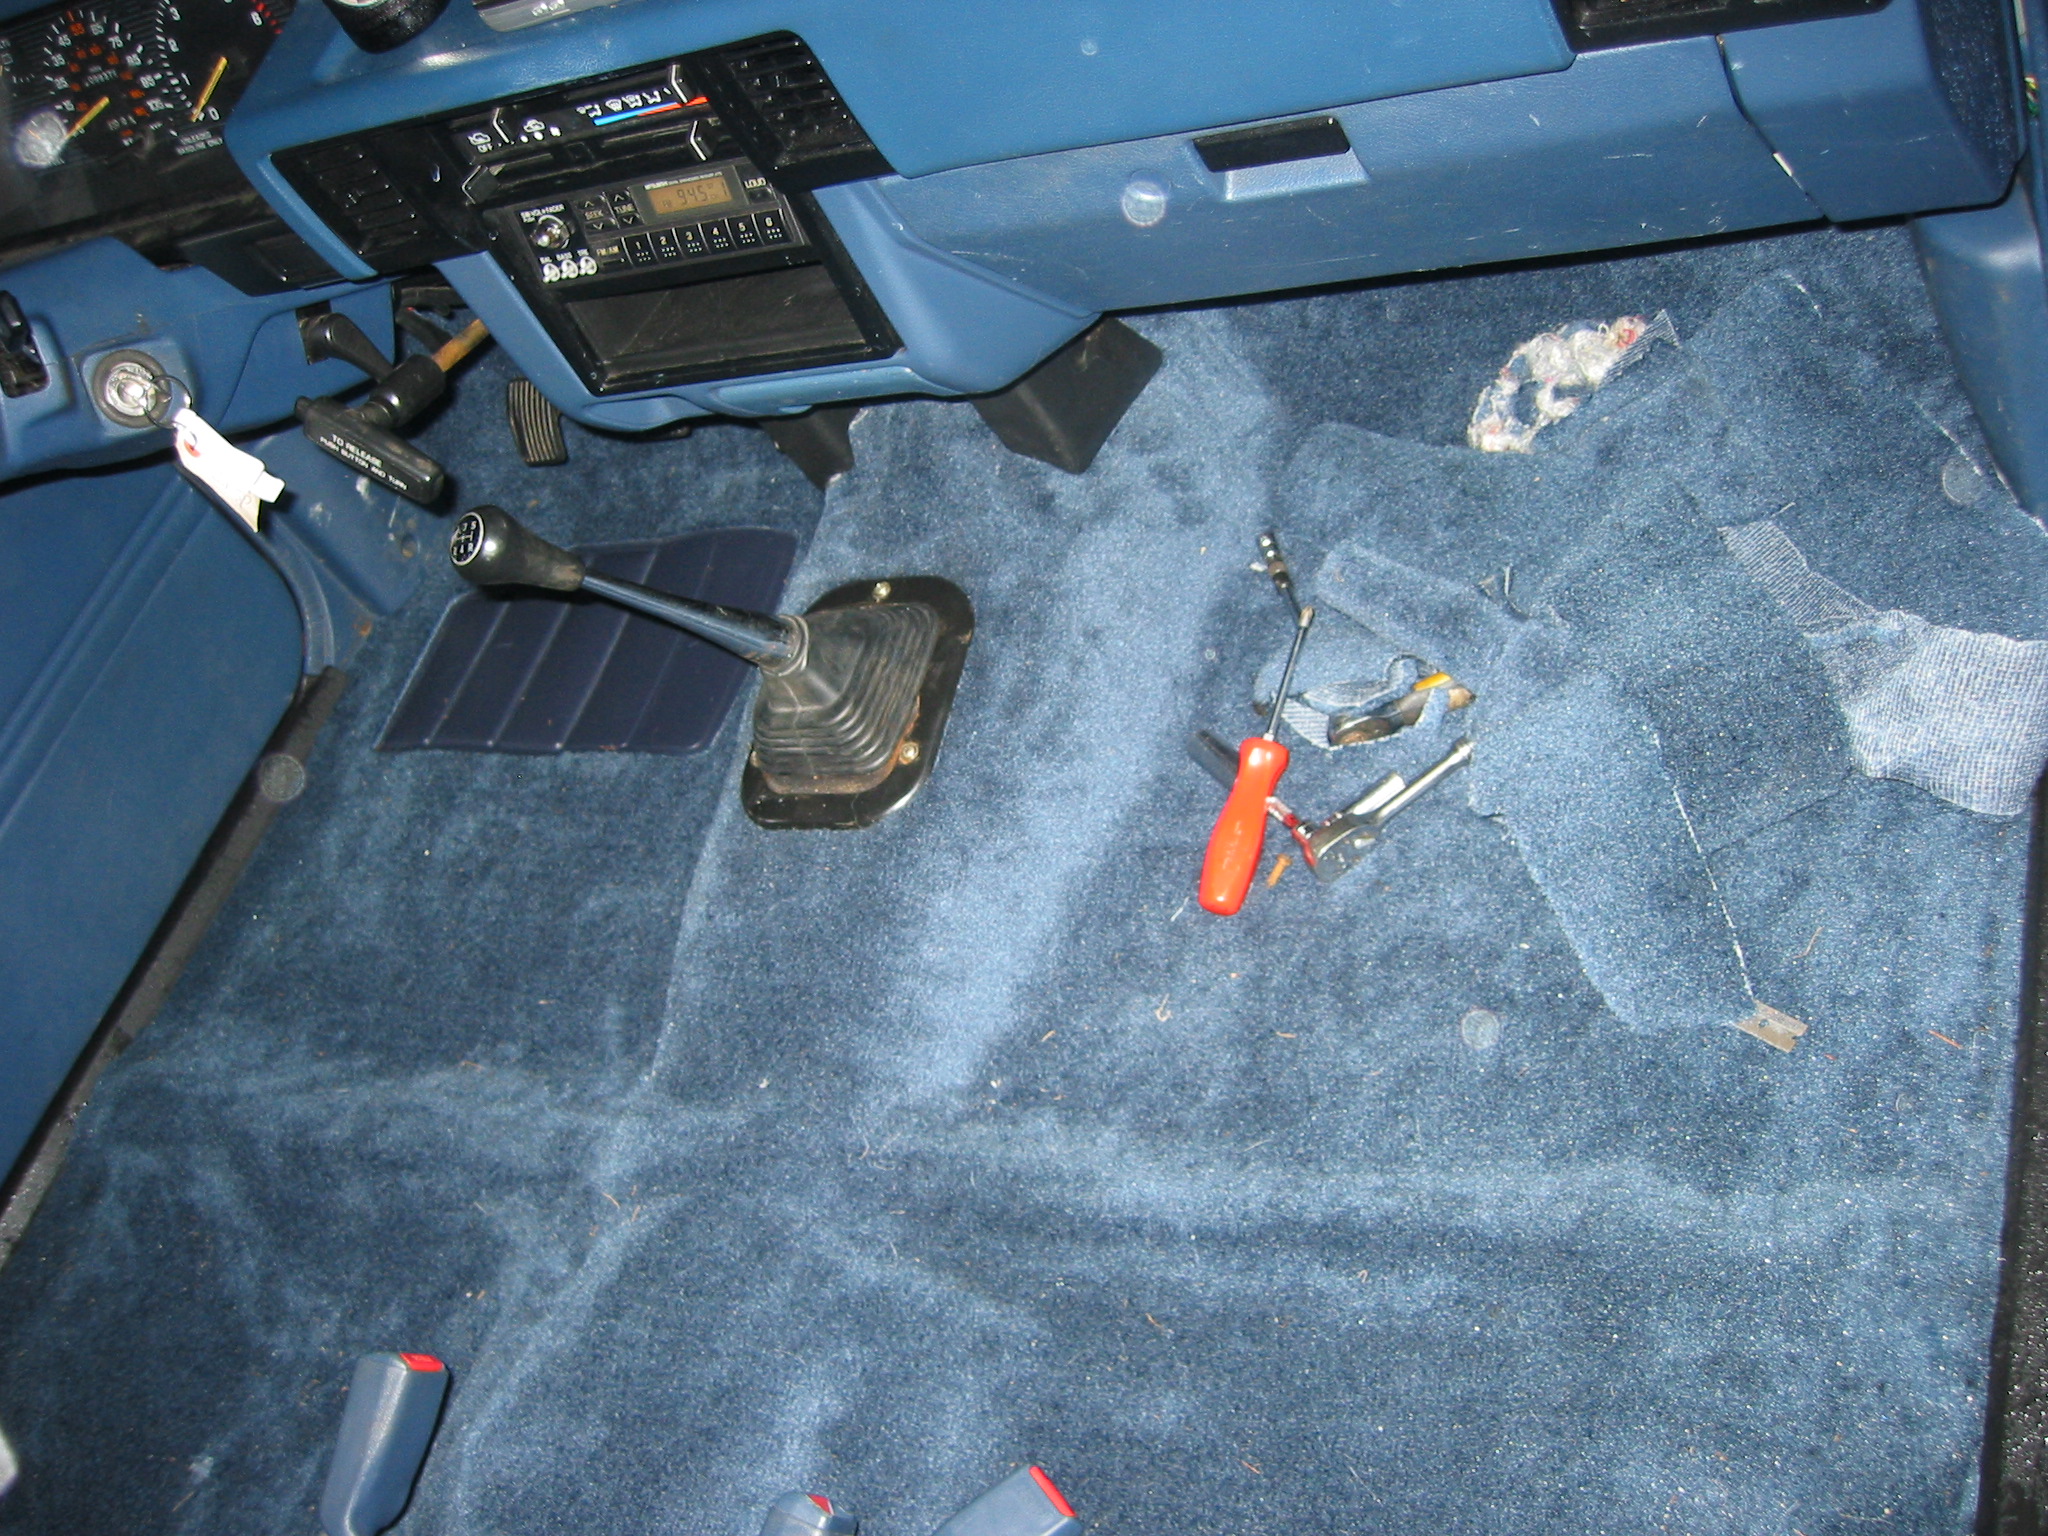
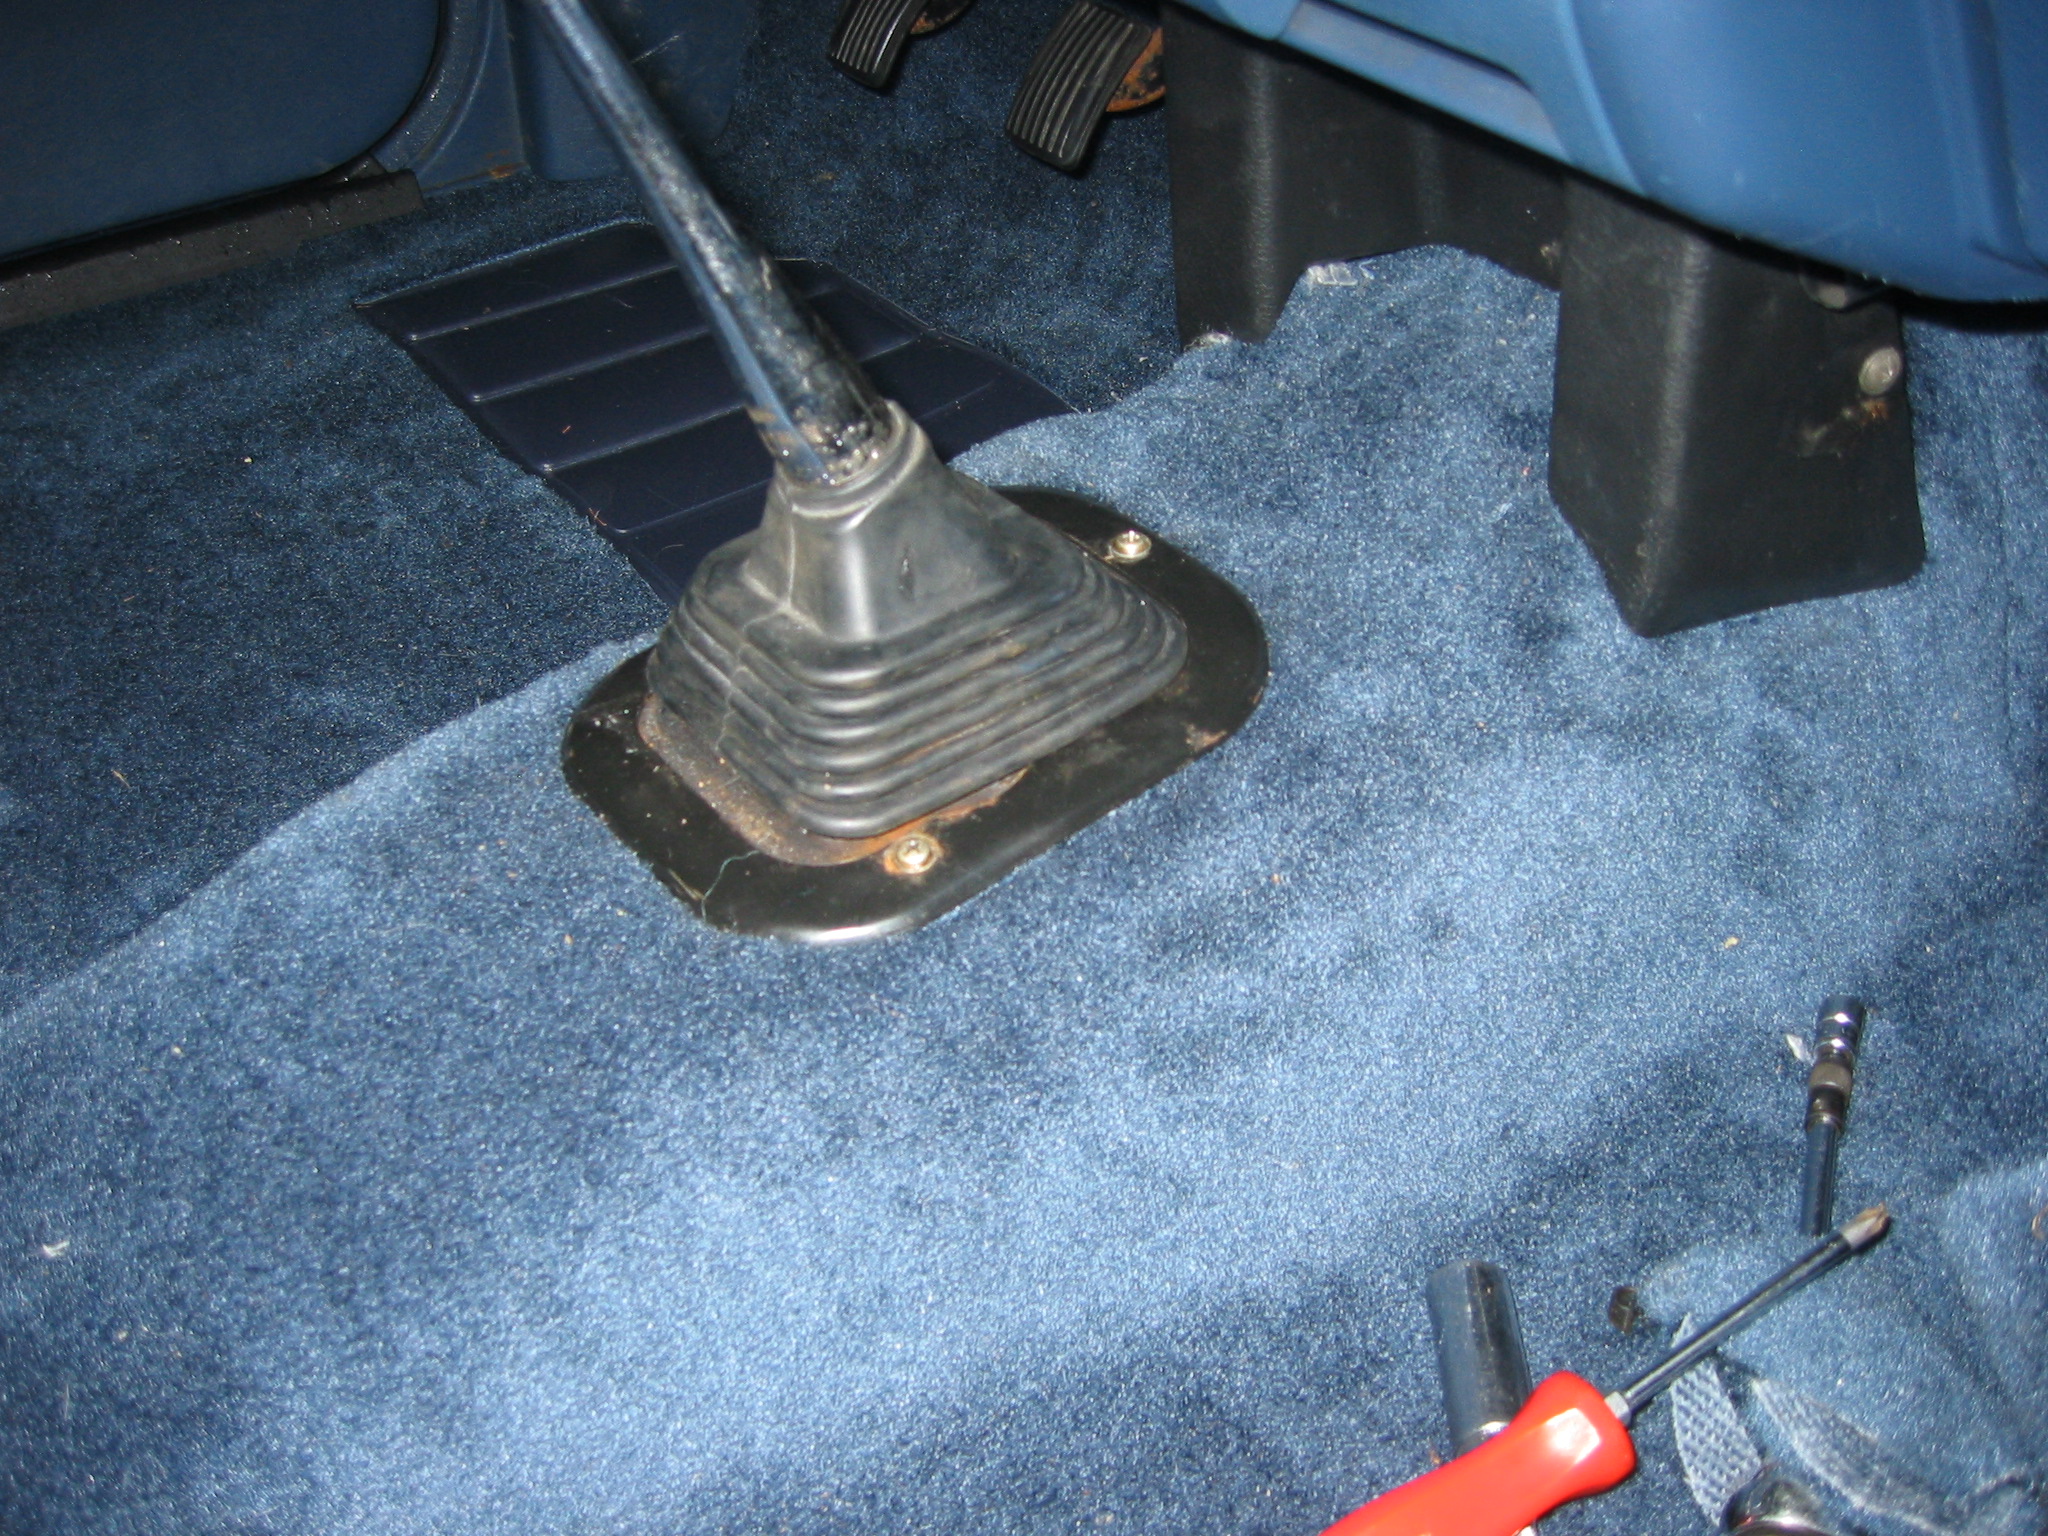
2) Now feel around for the different areas that you will need to cut out. Holes for the shifter, seat belt bolts, high-beam headlight switches (old school, I know), some random brackets, seat bolts, console, etc.
3) This is where things start getting tricky. So we need to go over some very important rules.
- Rule # 1 – Always make sure the drivers foot pad is where you want it.
- Rule # 2 – Never ever use the old carpet for a template. Ever. Never. Ever.
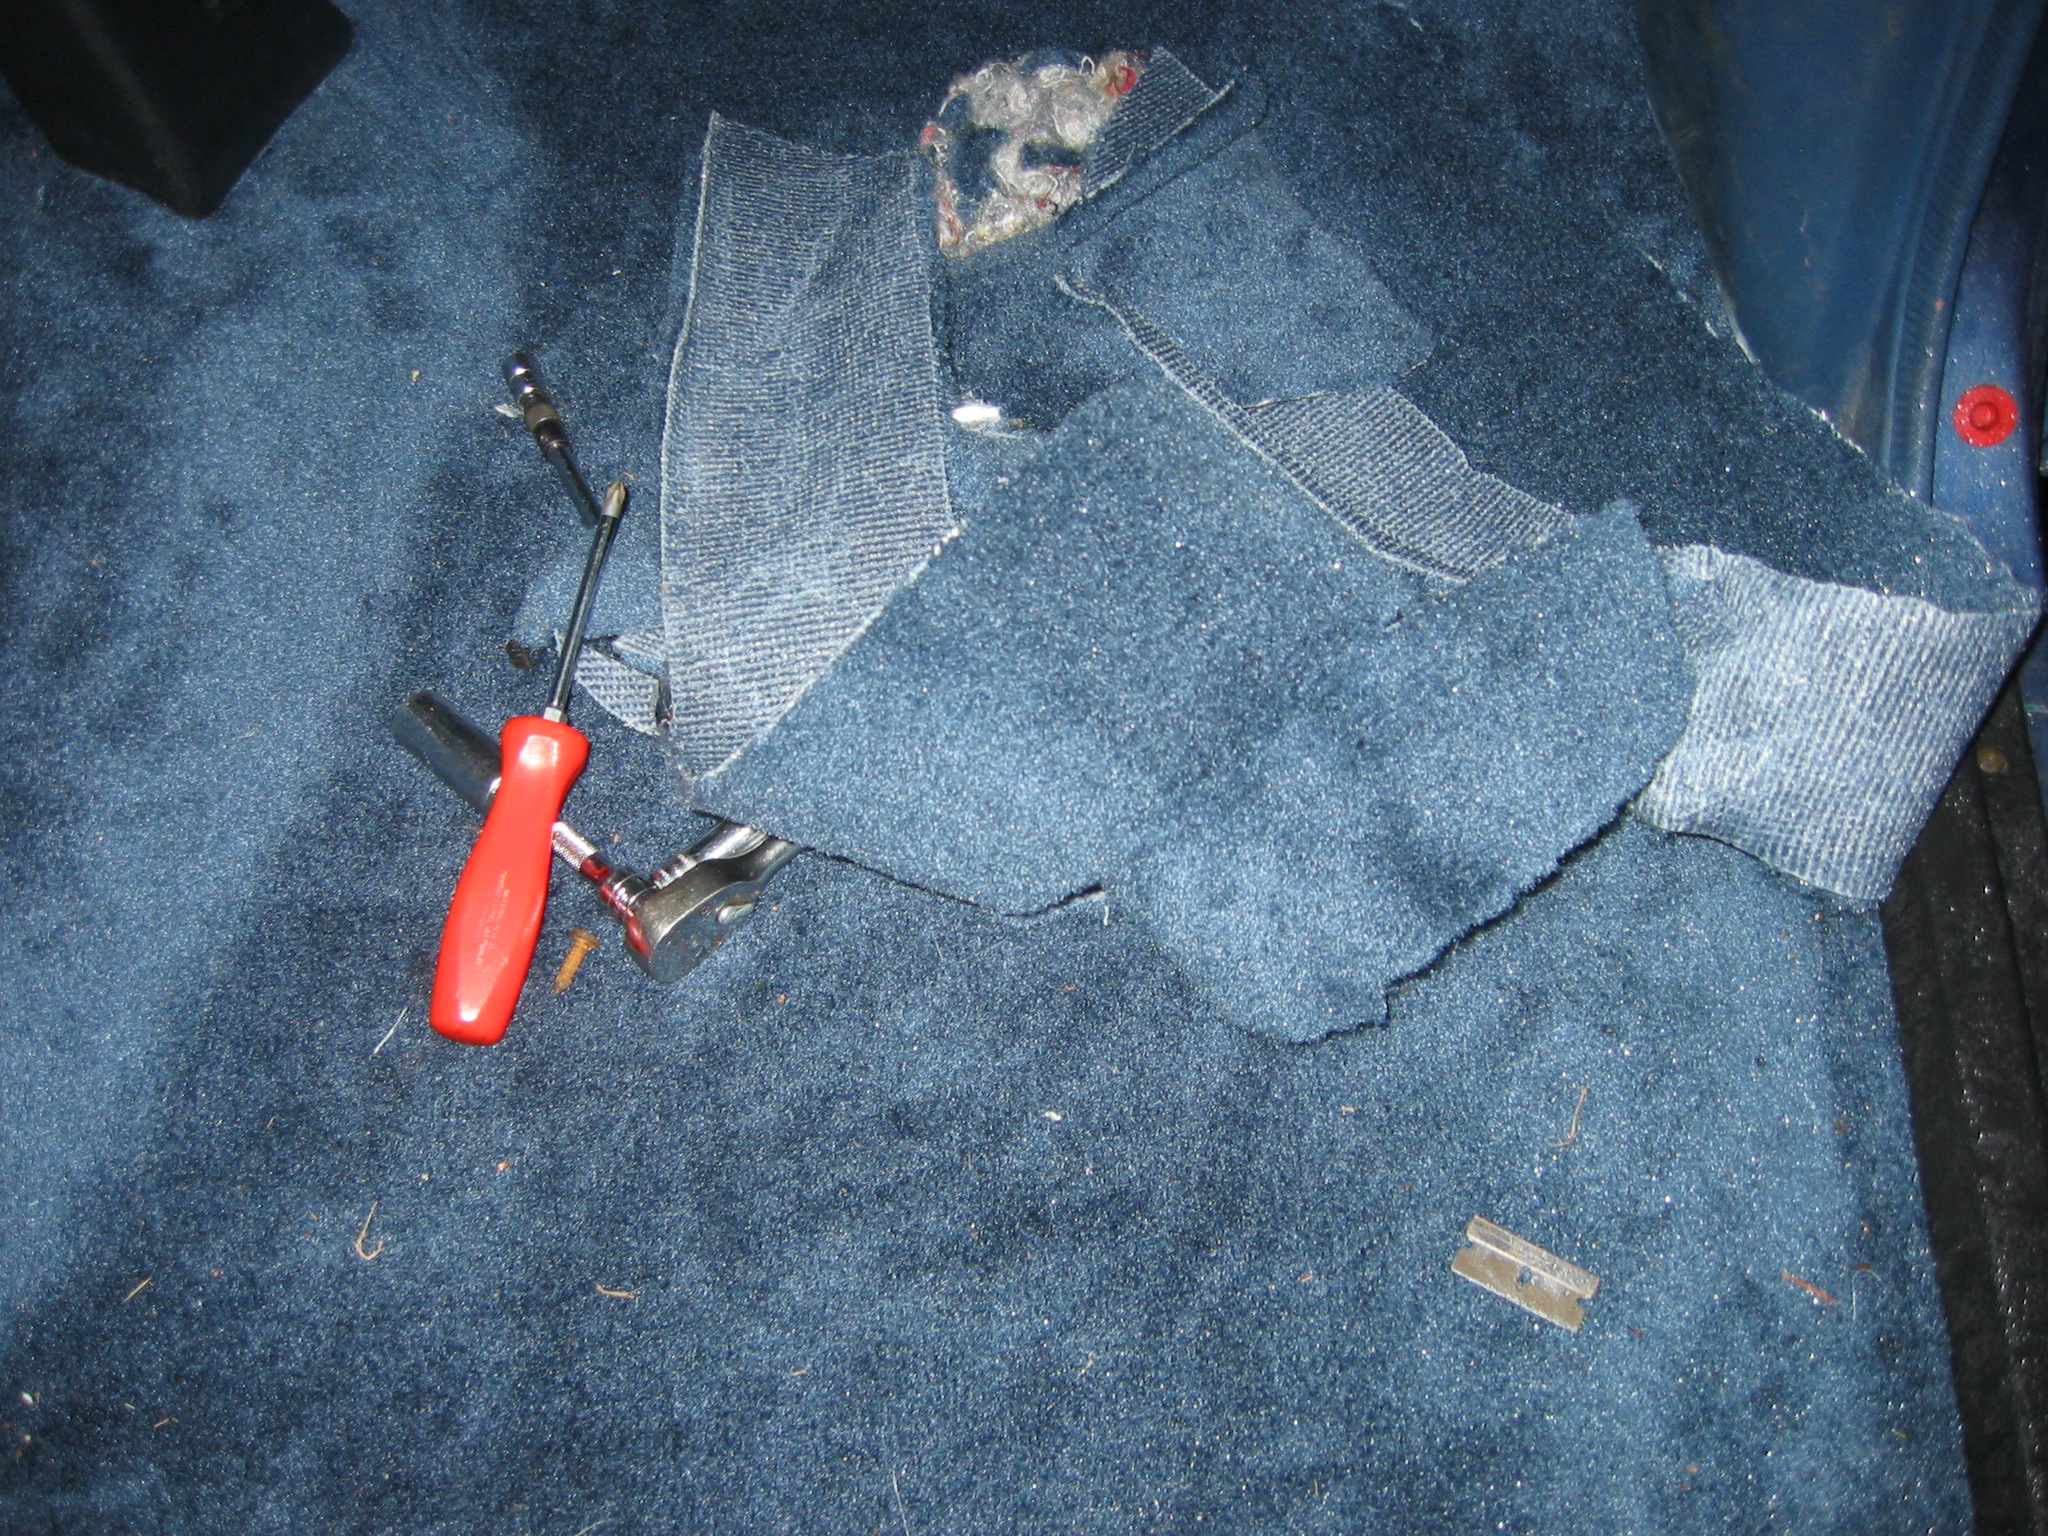
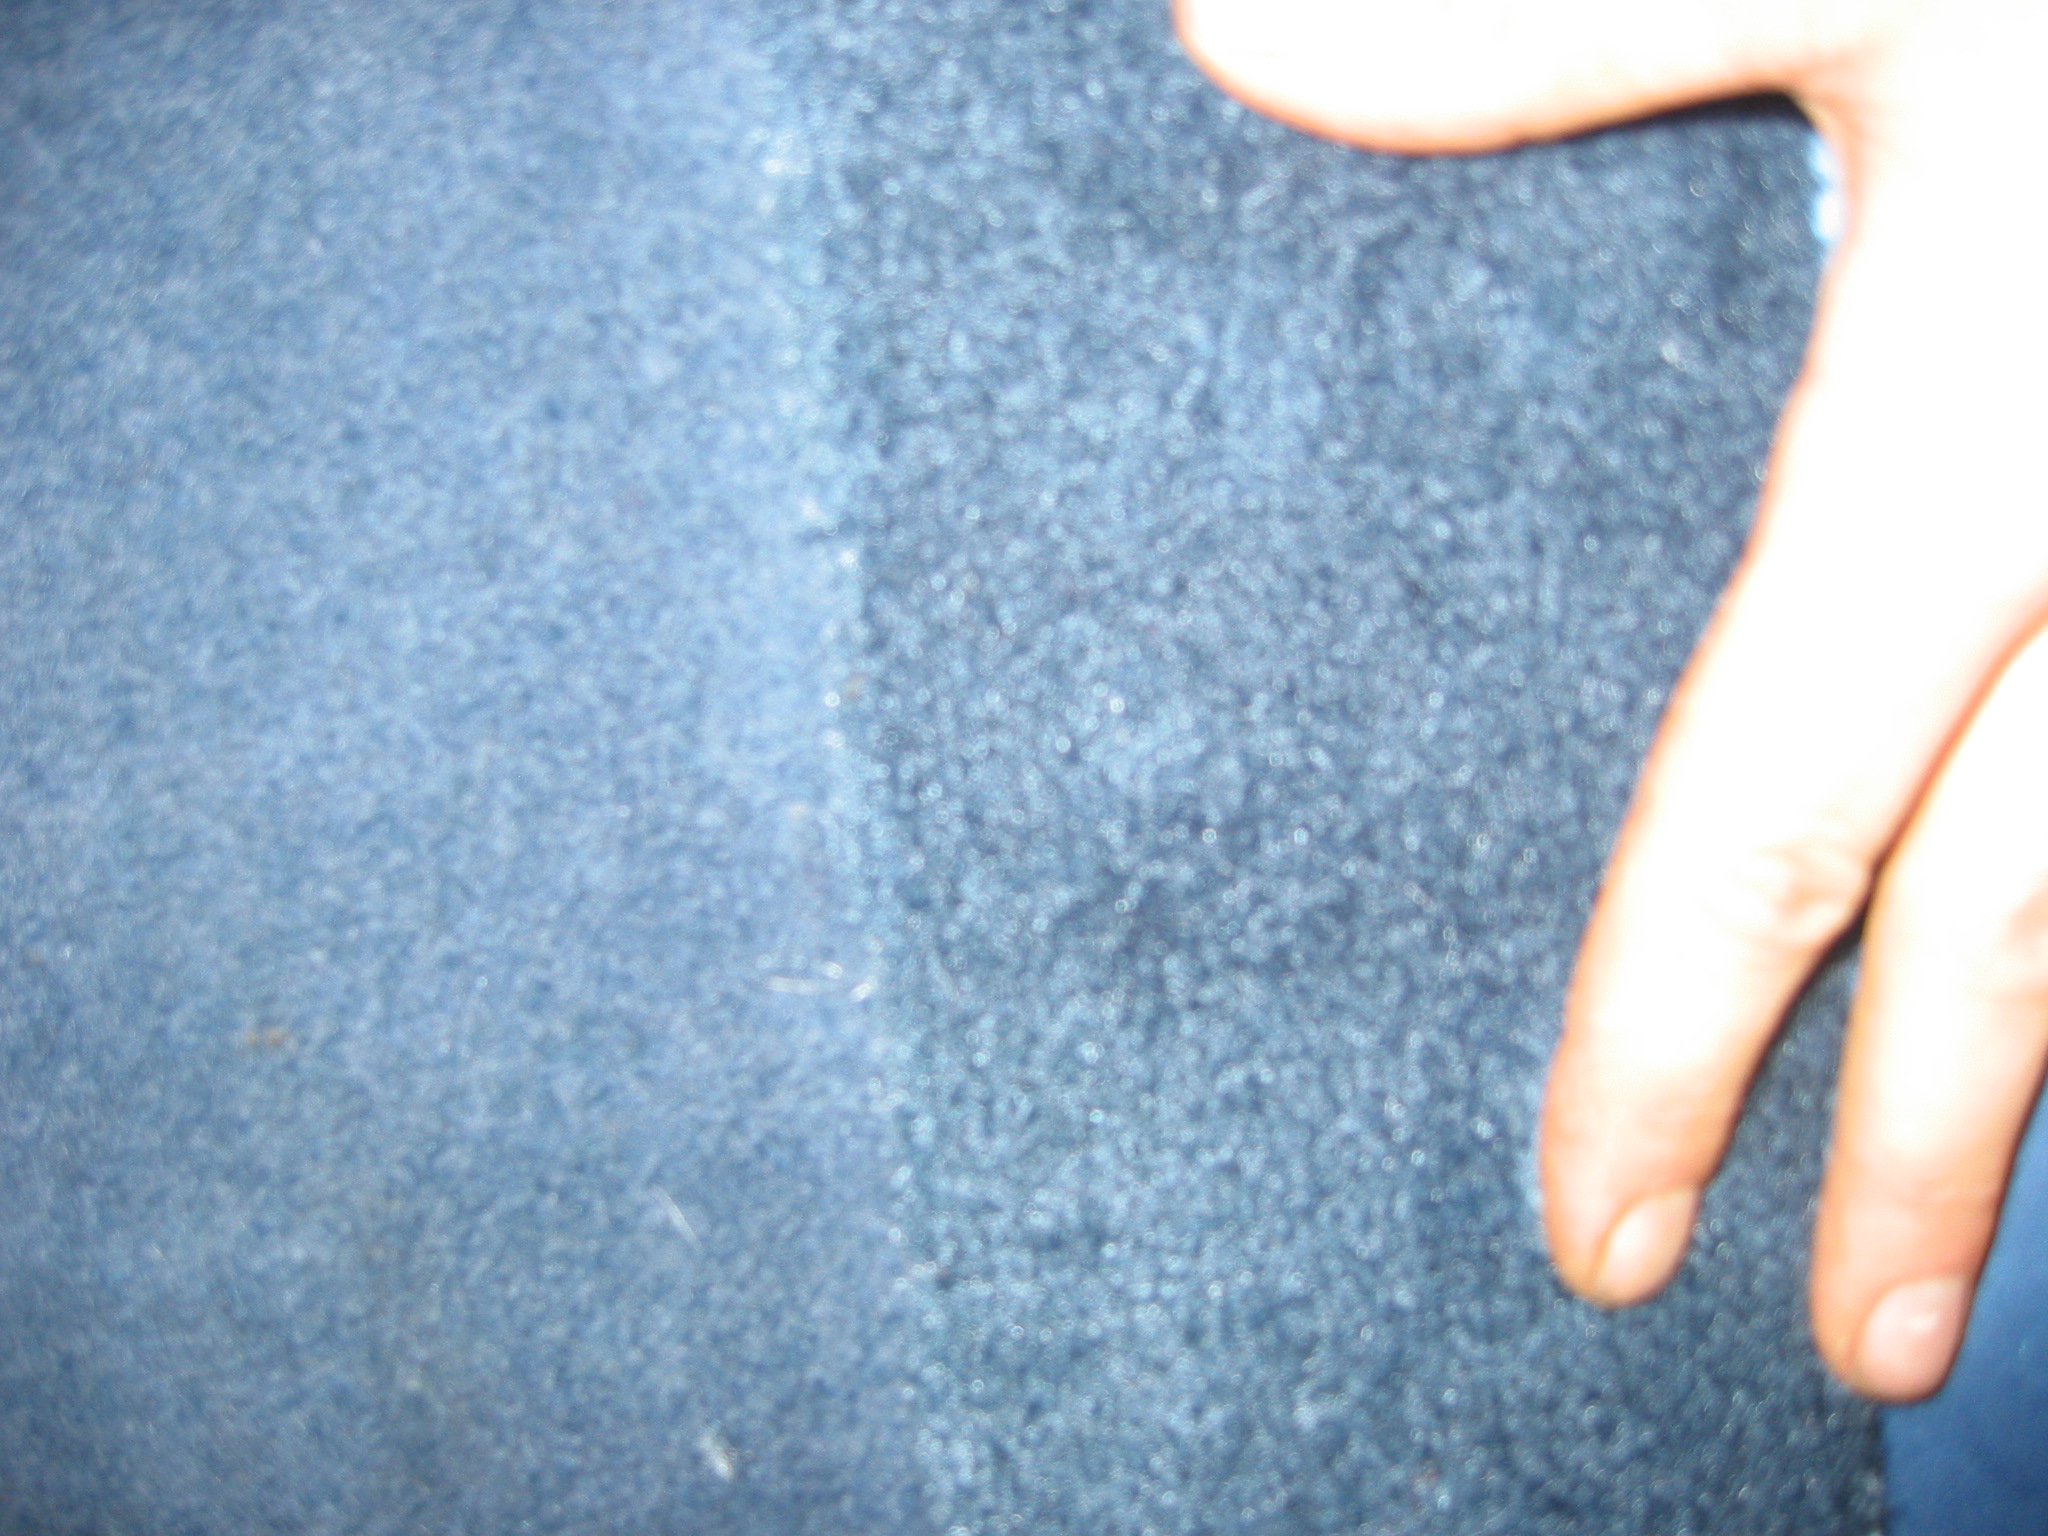
- Rule # 3 – Never cut holes in the carpet, only cut straight slices. For obvious reasons, you can’t fix holes in the carpet once they are cut out in the wrong spot. A slice on the other hand can be taped back together on the back side, and forgotten about.
4) Now where were we? Once you have the carpet right where you want it, you need to begin making very small slices (or X’s) with a utility knife for objects to poke through. This will allow you the get the carpet nice and flat on the floor pan so you can be 100% sure that it is in the right spot. If you accidentally make a slice in the wrong spot, no problem, just grab some tape and tape it back together on the back side. It is a slow process, but you will be rewarded with a factory looking install when you’re done.
5) Work your way around the entire carpet from the center outward, making slices for all the different components. You may have to make a quite a few slices up under the dashboard because there is a lot going on up there. Remember, patience is key.
6) Ok, so you finally have the carpet in its new home. As long as you are 150% sure that every slice is properly located, then (and only then) are you allowed to trim those slices a bit for perfection. Use the seat bolts & seat belt bolts to help hold everything in place while the carpet being trimmed.
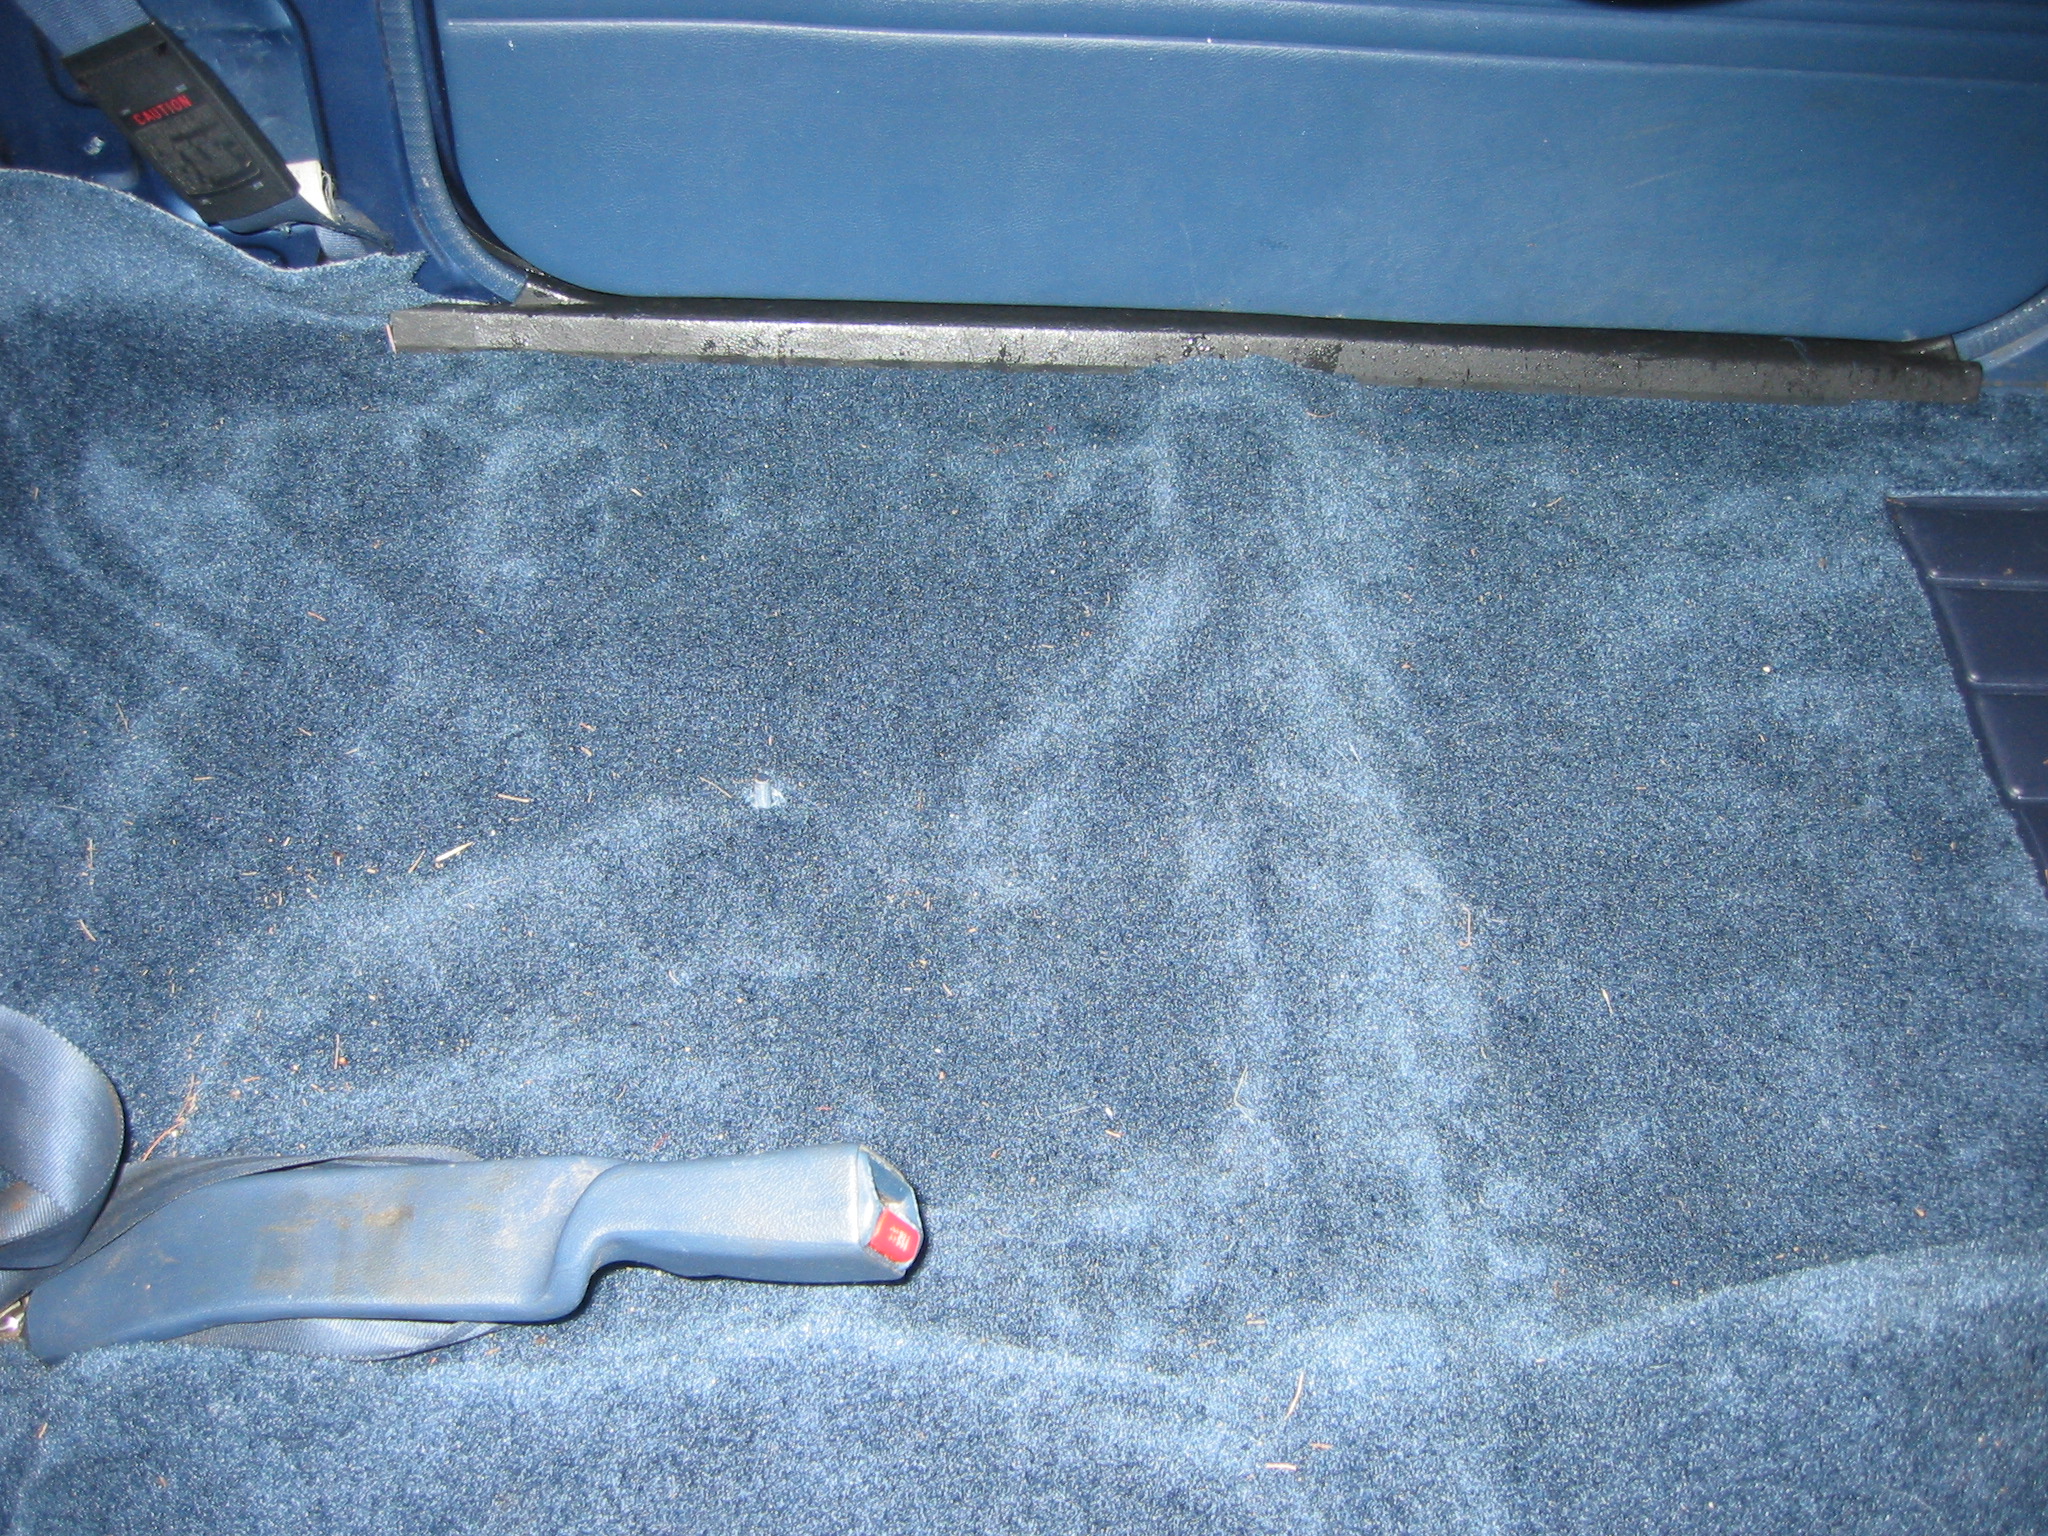
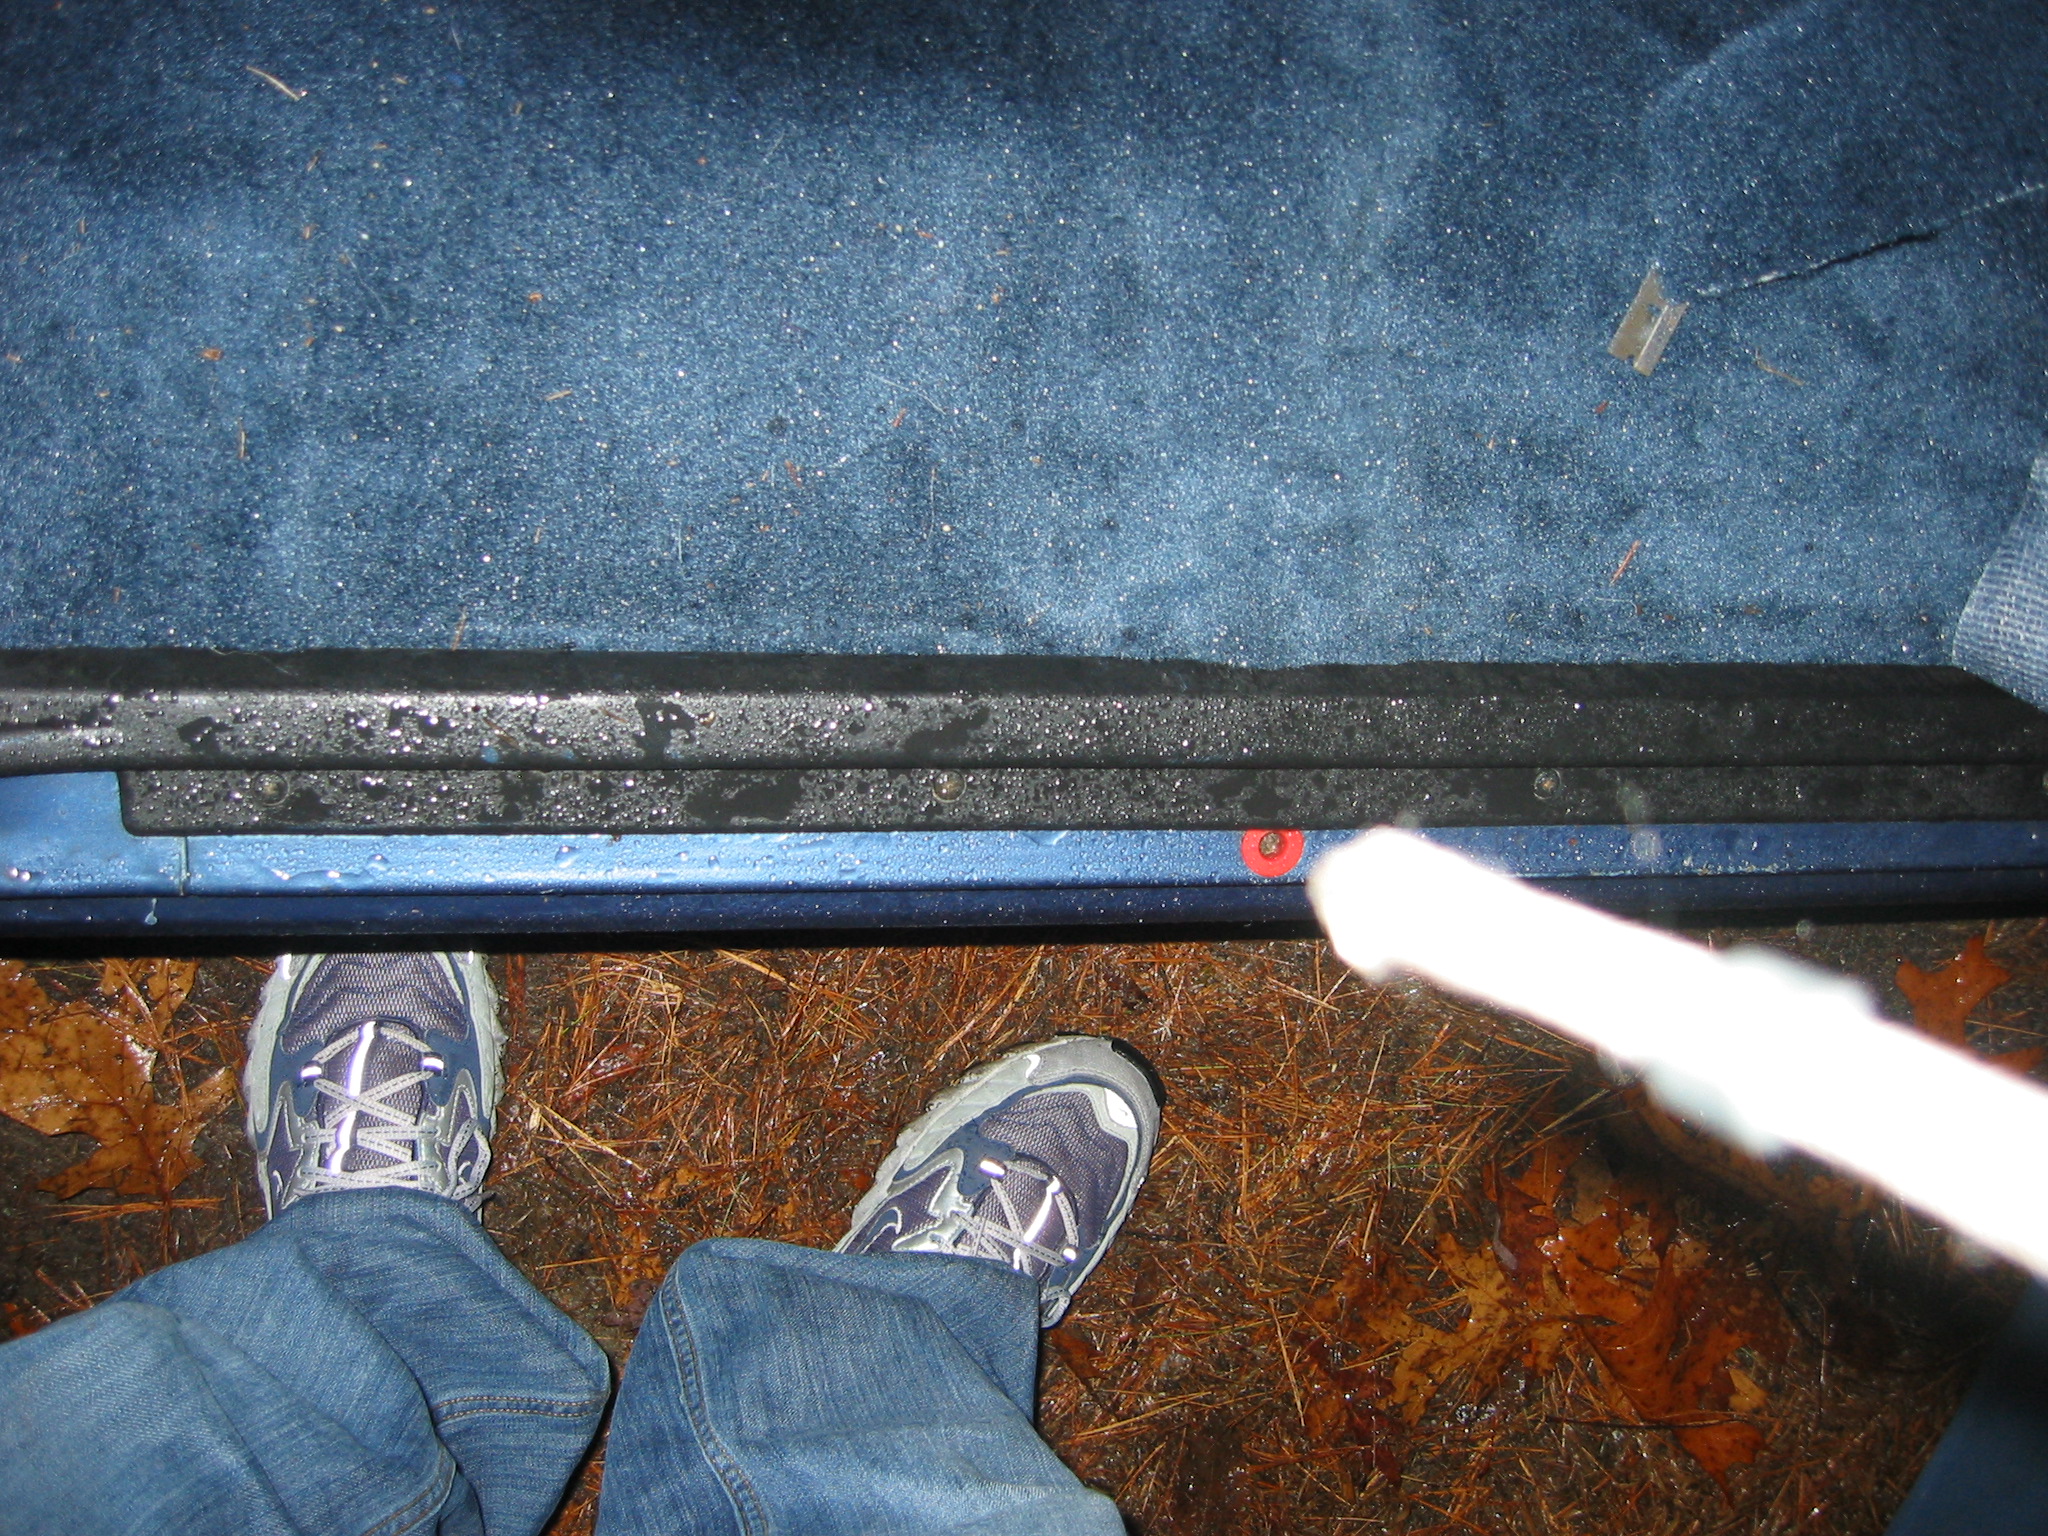
7) Now it’s time for the sides. Some carpets will fit right in without any trimming of the sides, but if yours isn’t one of those, slowly but surely trim back the sides until the door sill trim sits flush and covers them. Remember that it is best to trim a little at a time. You can always take more away, but you can’t put it back. Actually, Doc Brown from Back to the Future could bring it back, but I doubt he would considering he is a fictional character.
8) You are probably thinking that the console, seats, trim, kick panels, and seat belts can go back in now, and you are right. Go for it.
Well, you have done it, installed a brand new auto carpet all by yourself. You can take all the credit, we won’t tell your friends that you had step by step instructions.
My problem is what happens when you have a center console to remove? Someday a new carpet will go into my Javelin, and from what I hear, the center shifter ALWAYS breaks into tiny pieces, thus adding to the cost of the project. Not looking foward to that little detail…