If you have been following the 1A Auto Nutt’s and Bolts blog, you have no doubt seen the pictures of the 60 Pontiac Ventura rot box that is waiting patiently awaiting some love in my garage. If you are sick of hearing about it, I’m sorry, but it is weighing on my brain, and I need to get my thoughts straightened out. So yea, I have spent a lot of time recently trying to figure out what the heck I’m going to do with it. It definitely doesn’t make sense financially to restore it back to original, because you can easily find clean drivable examples for sale for less money than it would be to restore this (and that doesn’t include my 1000+ hours of my “free” labor.) That fact has definitely been established.
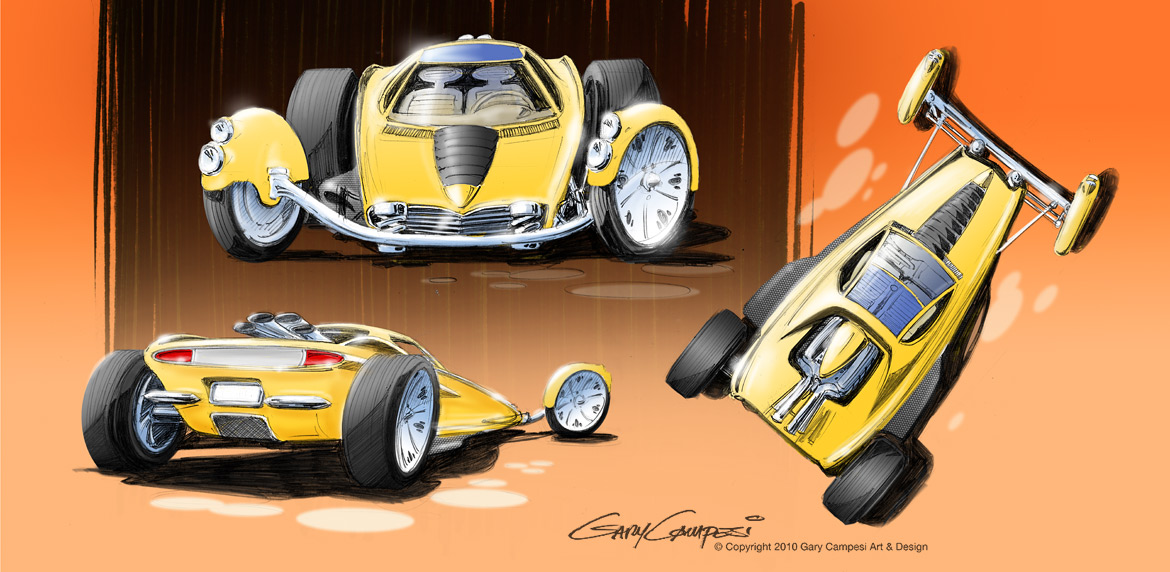
So my latest wild and crazy idea is to turn it into a 1930’s style hot rod. (Disclosure: Yes, I was somewhat inspired from Gary Campesi’s paintings from the other day.) Anyway, I would do this by cutting it up and shrinking the body into a 2 seater, almost like a T-bucket but with all the sexy 1960’s body lines. Then I would drop it on a home made chassis and suspension. I’d probably power it with something more modern like a 4G64, L92, 2JZ, or maybe a KA24DET. No matter which I choose, it would be backed by a manual transmission, because that’s how I roll. Wrap some giant brakes and big wheels around the whole thing, and I feel like it could be pretty slick. Other than the injected engine, I would keep everything super simple, no crazy options. Just simplistic beauty.
Unfortunately I couldn’t find anything similar on the internet (imagine that?), but these four pictures are the closest to the idea itself. Obviously none are 1960 Pontiac’s, but…. well…. you get the idea…
So what do you think? Stupid? Awesome? or just plain “no”?
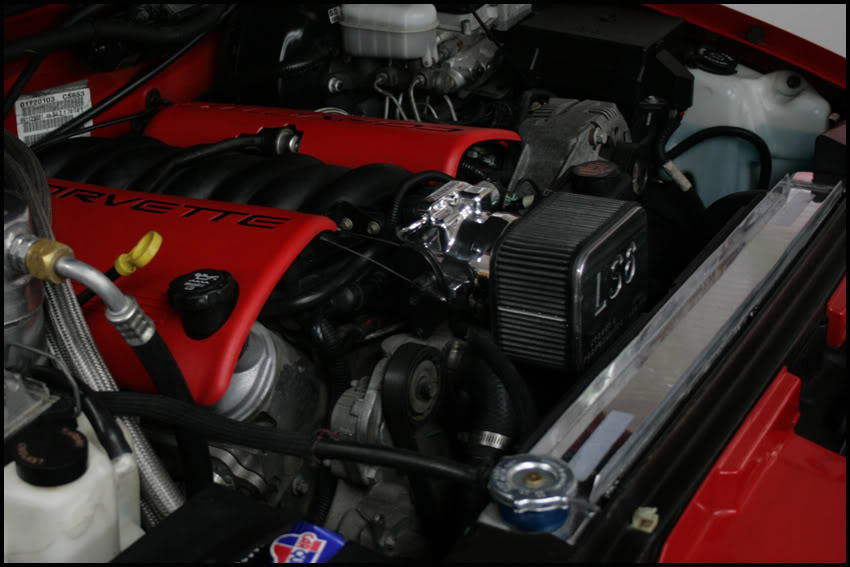
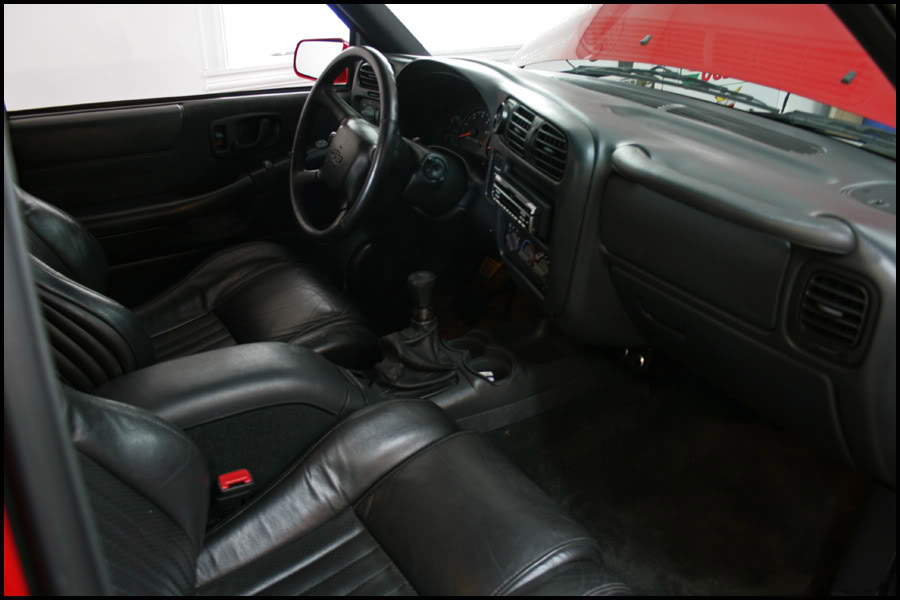
Watching a gross display of horsepower is probably the only thing better than the actual act of building a vehicle with such mouth watering abilities. Today I bring to you a 1999 Chevy S10 Xtreme with a 2003 Corvette Z06 LS6 hiding under the hood. Hanging off the back of the all aluminum V8 is a T-56 6-speed manual transmission that sends power out to the 275/40/17’s. This really is a great way to start a Monday. Maybe every monday will begin with a burnout video…. hmmmm.
When you build a car from a bunch of parts that were not intended to play nicely together, sometimes you end up breaking some random stuff. Normal people don’t have these issues. Unfortunately… hm… no….. fortunately in my world, this kind of issue is the norm. This past weekend my brother in law and I had a hoot of a time pulling the transmission out of his 2nd generation FC RX7 because the throw out bearing had exploded in grand fashion.
In a serious tone, you say: “Jeremy, this is not normal! What is the meaning of this?!” To which I proudly respond: “Truer words have never been spoken!….. but alas! He has a 3rd generation, FD twin turbo engine swap producing mucho POWAH!” You then cover your ears with your hands and shout: “Oh My!”
Back to reality…. where were we? Oh yeah, so the car was built quite some time ago, and then recently sat untouched for a few years outside in the awful New England weather (sadface), which we are thinking maaaaaay have been a contributor to the bearing failure.
To sum it all up: Throw Out Bearings can make the Best Day Evaaaaaar! into the Worst Day Evah!!! in the blink of an eye. Use the picture above to easily determine which day you may be having.
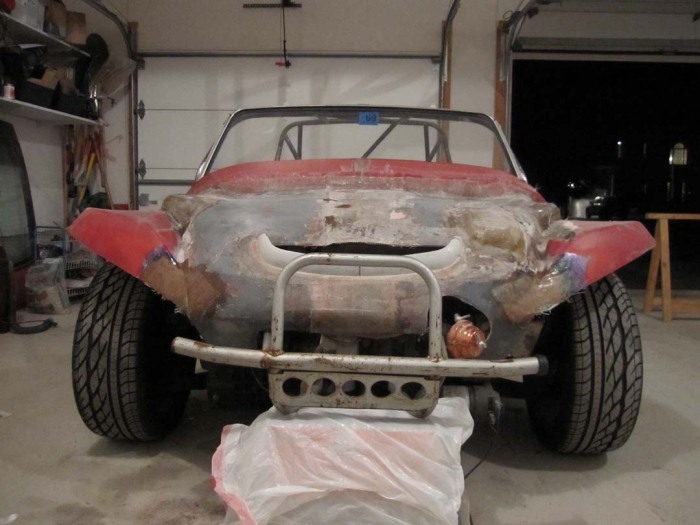
Finally. When I was 15, I bought a 1964 Chevy Impala convertible (my dream car), which you may have read about HERE. Because of it’s sad state of disrepair, I immediately started a body off restoration when it rolled off a flatbed and into my parents driveway. Much to my chagrin, it has never made much progress because of x, y, and z, but mostly because of its full time outdoor storage. Everybody that I know hassles me about it not being done yet because I thought I would be driving it to the junior prom (nope), then senior prom (nope), college graduation (nope), 5 year high school reunion (nope), wedding day (nope), 10 year HS reunion (nope)…… Well..yea….it still isn’t done. However, over the course of this extremely short feeling summer, I built myself a garage to play in. Last night, I finally got all the garage doors attached properly, and Read More
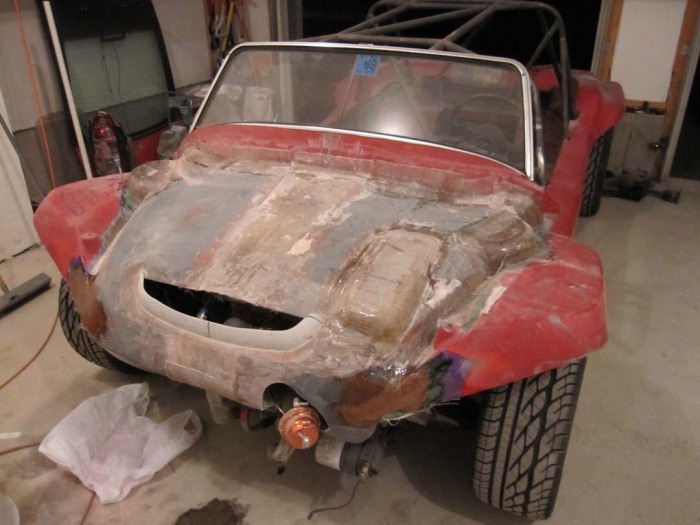
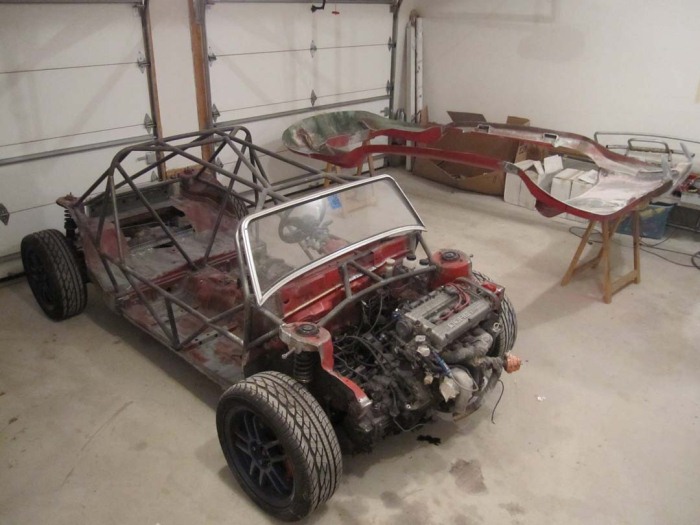
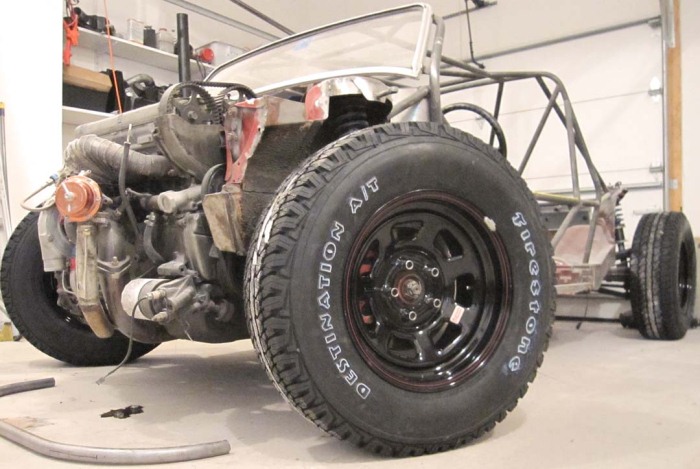
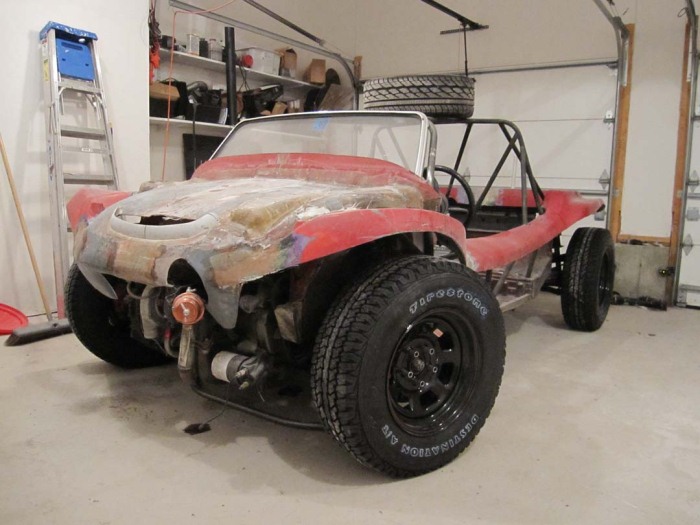
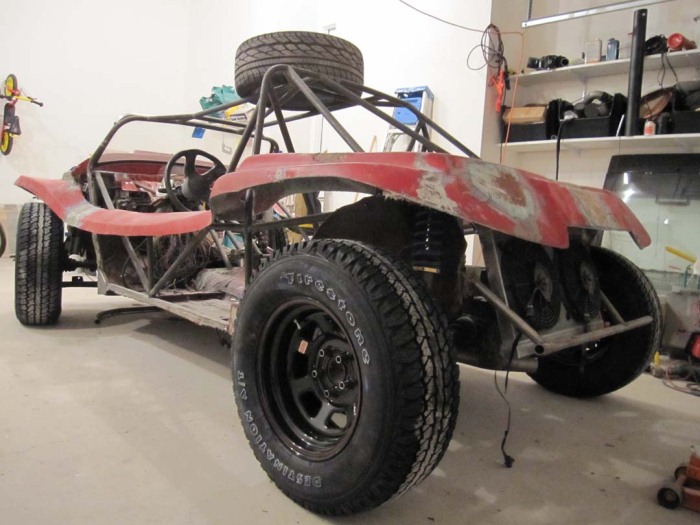
Back in August we had and entire week of amazing automotive projects, and many readers asked for updates as they progressed. Since 1A Auto never disappoints, and Don never stops working on this thing, we bring you Round 2 of the AWD Mitsubishi Turbo Dune Buggy (See Round 1 Here if you missed it). Since the first 1A Auto blog post, I have gotten to know Don a bit, and he is one of the most creative and resourceful builders I have seen. There are not enough thumbs on my hands to give him the amount of “thumbs up” that he deserves! Keep up the great work!
As you can see:
– Many many hours of fiberglass work has been done
– Body mounts have been made
– Front bumper installed
– Strut braces have been made
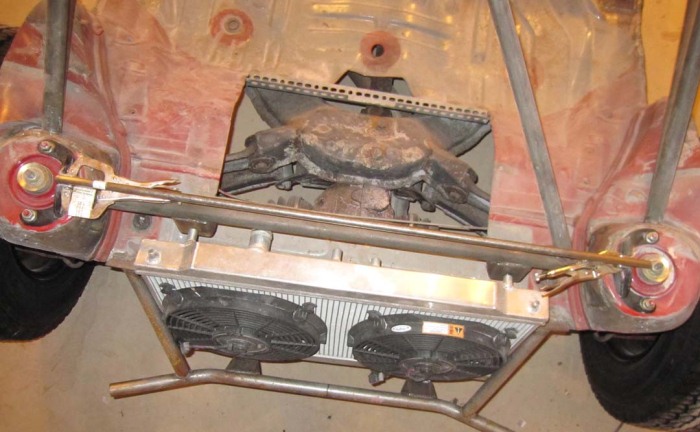
– Radiator and mounted
– New tires and wheels!
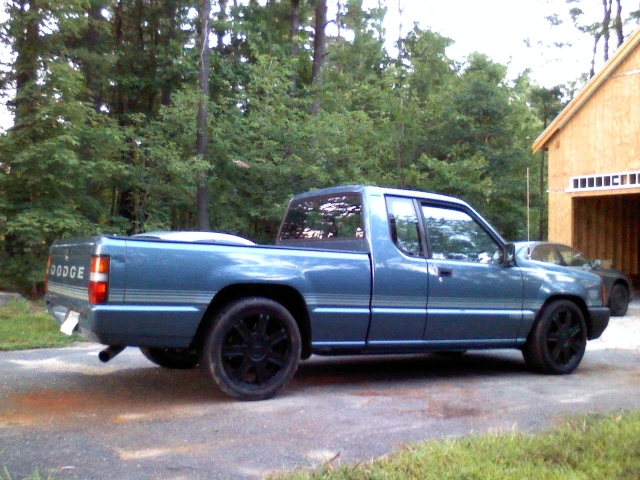
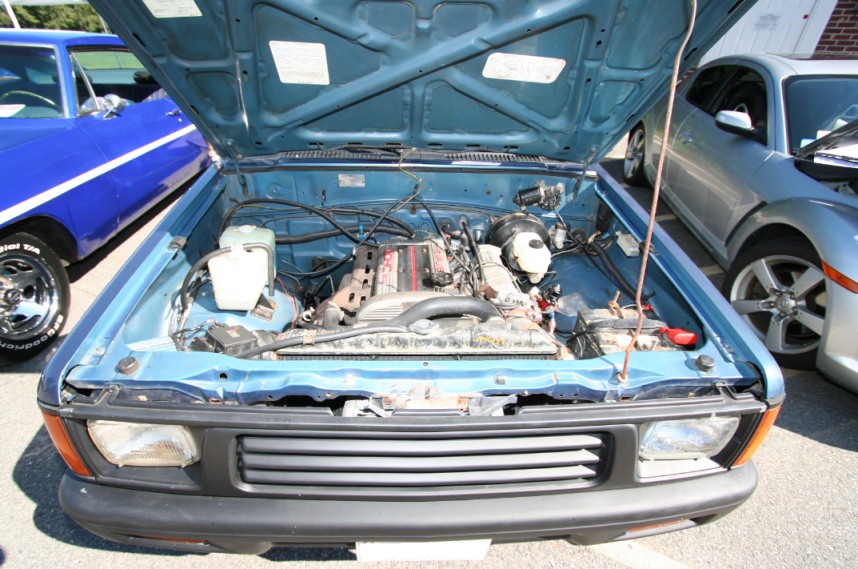
I recently decided that I hated the stock brakes on my 1989 Dodge Ram 50. (It also has a 4G63 turbo engine, custom blah blah…..etc. ) Anyway, a friend of mine gave me four super low mileage calipers and rotors for a early 2000’s Dodge Viper, so I knew what I had to do.
I then realized that the 13″ front Viper rotors were just not going to work out because their depth was too deep, and hit the spindle. Soooooo I did some researching and end up with cross drilled and slotted Cadillac CTS-V 14″ rotors. They fit much better.
Now that I had the “right” rotors, it was time to make some Viper front caliper > Dodge Ram 50 spindle brackets.
At some point, I made the rear caliper brackets & brake lines. I apparently didn’t take pictures of that. I used the 13″ Viper rear rotors (I used to have like 10″ drums), and Viper calipers. I even hooked up my e-brake so it works properly.
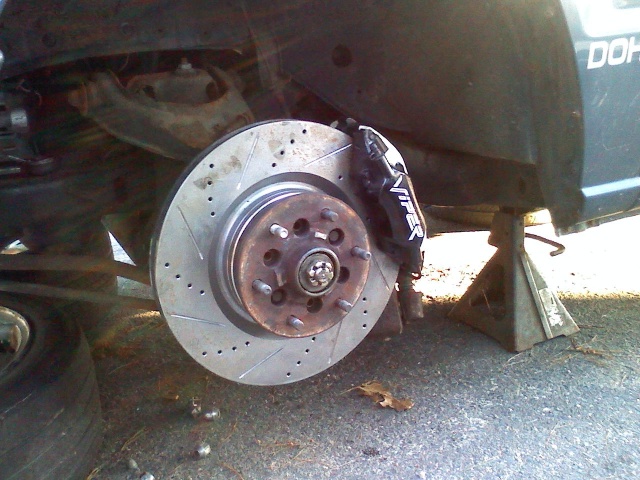
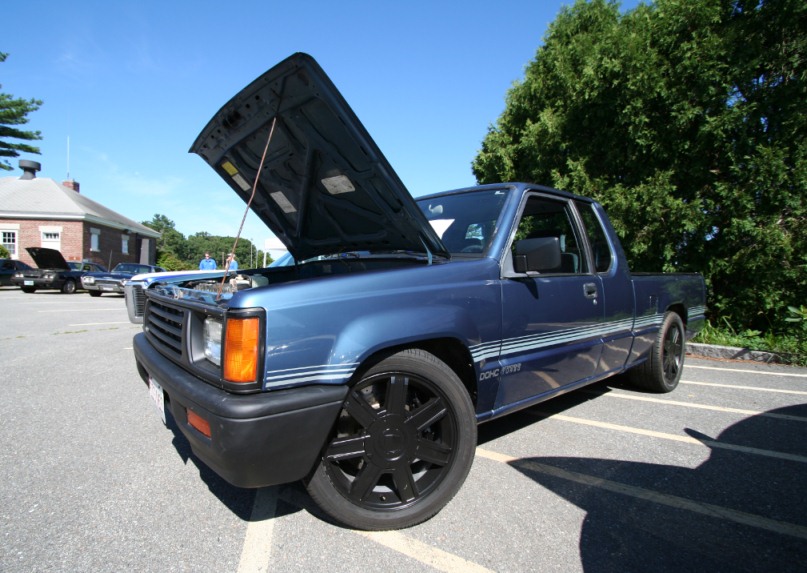
Once together, I decided that black wheels are way more rad than silver, so black wheel paint was added (don’t mind how dirty the wheels/truck are).
Ta-da. Now I can stop fast enough that my tongue sticks out.
-Jeremy
At The 1AAuto Car Show!
I recently decided that I hated the stock brakes on my 1989 Dodge Ram 50. In the 4 + years that I have owned the truck, they have never been quite right. Rather than putting time, effort, and money into the stock brakes, I decided to do a little bit of an upgrade. A good friend of mine gave me four super low mileage calipers and rotors from a early 2000’s Dodge Viper, so I really had no choice with what to do with them. One way or another, I was going to get them onto my truck.
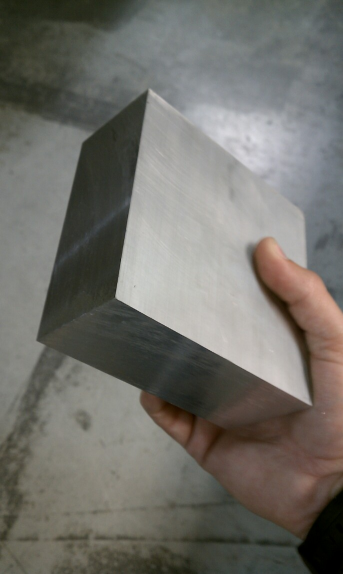
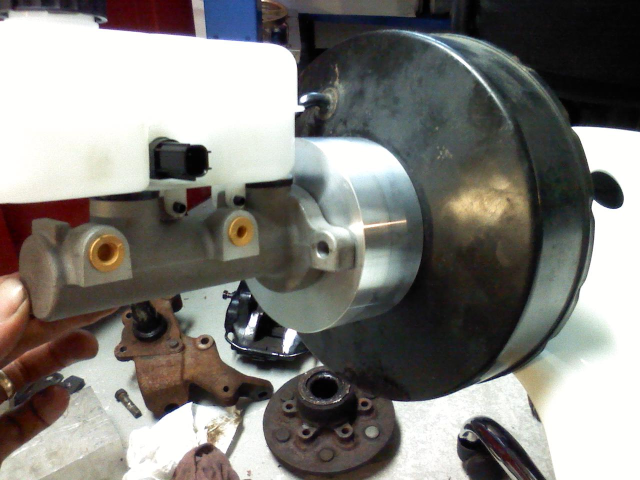
I began the swap by purchasing a 2008 Dodge Viper master cylinder and designed a way to mate it to my truck’s brake booster. Then I had my brother in law build the adapter with his absolutely amazing machining skills. While he was working hard, I provided the moral support, entertaining banter, a delicious meal, and beverages. After a few hours and some serious mathematics, the adapter was complete.
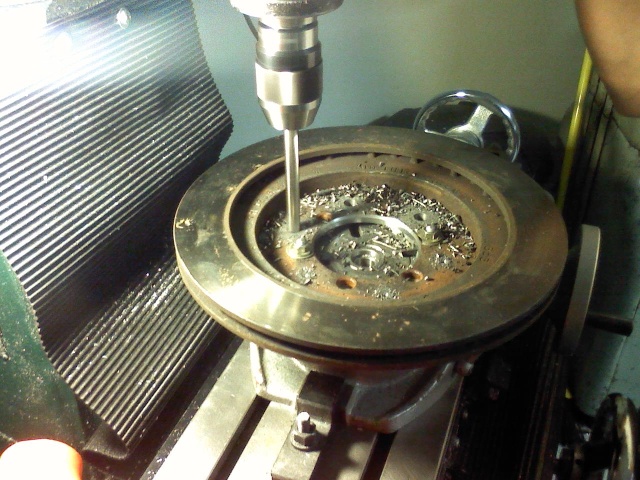
I then started working on the front brake setup, and it was not looking good. The front Viper rotors were going to hit the tie rod ends. There was no way that the Viper rotors were going to work.So, the research ensued. I measured the night away and decided what the perfect size rotor would be. It turns out that 14″ Cadillac CTS-V rotors were what I need. Overkill much? A short time passed and I was the proud owner of cross drilled and slotted CTS-V rotors. They were massive, so massive that I began questioning my own sanity. Ah well, too late. I began fitting them on the truck and all was looking well. I just needed to bore out the center of the rotor and redrill the mounting holes. Back up to my brother in laws I went…. Food, drink, entertaining banter, and machining happened. Viola! The rotors were now a bolt on affair.
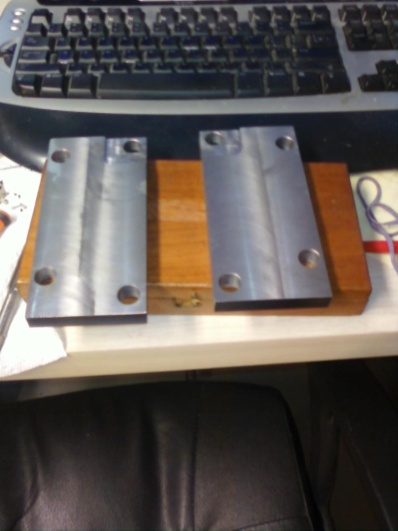
Next up was caliper brackets. There were a bit on the tricky side to make, luckily I was good in geometry class, and I had a brother in law that wasn’t sick of me yet. You know how it goes, food, banter, drink, caliper brackets = done.
The rear brakes were a little tricky because I needed to hook the emergency brake cables into the Viper calipers. Amazingly, with a little drilling and reworking of caliper brackets, it all fell into place. It was as if this was all meant to be. With more braking, I knew I needed more rubber on the road, so I also upgraded my wheels and tires to 18″ Cadillac Escalade wheels with 255/45/18 inch Z rated tires.
The Viper Brakes
Chunk O’ Aluminum
Master Cylinder Adapter Done
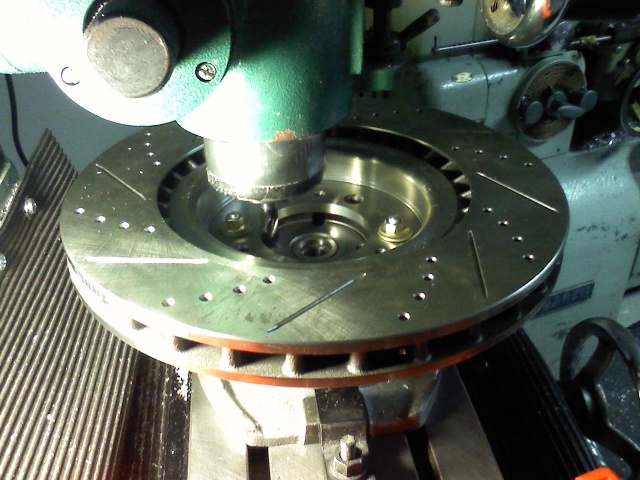
Test Fit!
Rear Viper Rotor Redrill
Front CTSV Rotor Boring
New vs old Front Rotors
Front Caliper Brackets
Test Fit On The Truck
Wheels On!
On The Ground!
Completed!
At The 1AAuto Car Show!
Naturally, the obvious question comes next…. Do they actually work? You bet they do. I can now stop fast enough to make my tongue stick out. I’m not sure if I can stop as well as a Viper (maybe better? gasp!), but this big brake upgrade has vastly exceeded all of my expectations. The feel of the pedal is at least 4000x better, and the added weight on each corner actually makes the truck feel more stable. I can’t explain it, it just is what it is. Accept it.
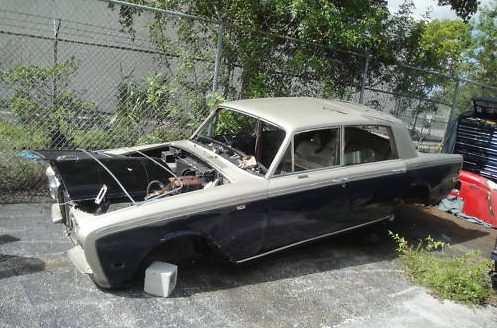
In my never ending search for greatness on the internet, I came across some sad looking cars that gave me a really great idea (for you, not me…). Ok, are you ready for this? These four words might change your world forever, so I hope you are sitting down. Seriously. Ok… here goes…. “Rolls Royce Hot Rod”. That’s right folks! Live the life of luxury with hand built quality, the finest metals, and do it on the cheap! “But how!?” Well, with the Nutt’s & Bolts Blog Guide to greatness of course!!
Nutt’s & Bolts Blog complete guide to greatness – Now featuring more Luxury!
Step 1) Start with a parted out Rolls from eBay for like $700. Doors and trunk lid are recommended but not completely necessary. (Home made tube doors will work fine in a pinch.)
Step 2) Build a custom boxed steel frame, with a junkyard IFS, and a usable junkyard rear differential (welded of course).
Step 3) Pull that spare 350 out from your shed, and shove a 8-71 blower on it. (Trust me on this, do what I say, and you will be the coolest person in your neighborhood.)
Step 4) Gut the interior of the car of anything that has mass. Throw it all in the trash or sell on eBay for maximum money recoupage.
Step 5) Rig up a manual transmission of your liking with a universal hydraulic master cylinder setup. Piece of cake.
Step6) Add drag radials to the back & tub floor pan as necessary. Any wheels that bolt onto the front will be fine. Black steelies maybe?
Step 7) Be sure to paint it flat black, and get the car as low to the ground as possible. It’s the only way to succeed.
Step 8 ) Burnouts, donuts, and jealous friends and neighbors will soon follow. Be ready for high 5’s, gift baskets, and invites to pool parties. So much win, for so little investment.