If your headliner is sagging or has fallen off, you might be tempted to reattach it with glue or another fastener like staples, tacks, or push-pins. Unfortunately these will only provide a temporary solution and you’ll eventually have another loose and sagging headliner. Our mechanic Andy’s tips and instructions in this article and video describe how to do your own headliner repair correctly, which includes removing the headliner and the old fabric and foam, and installing new fabric.
Video: How to Fix a Sagging Headliner
What Causes a Sagging Headliner? Can I Prevent the Roof Liner from Falling Down?
There is no known way to prevent a headliner from eventually sagging and falling loose. Heat, wind, and general deterioration can cause the foam to separate from the fabric and loosen the roof liner over time.
Pulling the roof liner down, spraying glue up on the ceiling and reattaching the it might seem like a safe and easy fix, but the glue will seep through the fabric and it can discolor and mar the headliner. Eventually the foam underneath the fabric will deteriorate, and the roof liner will loosen again. You’ll want to remove the foam and install a new fabric with new foam backing instead.
Tacks, staples, push-pins, and other fasteners may also work temporarily but these can fall out, which is a safety issue. The headliner can also still sag and drop even with the fasteners attached, and it may not look repaired or appealing.
How to Repair a Sagging Headliner Yourself
Steps for Completing a Headliner Repair Yourself
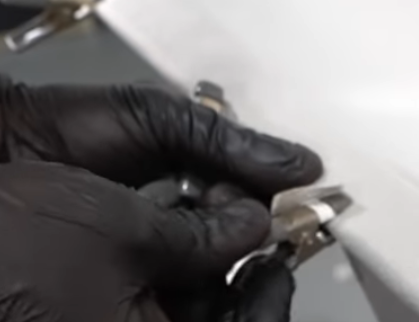
- Remove the Trim from the A, B, and C Pillar
Loosen the screws and push-pins, place them in a cup, and pry the interior trim from the pillar off. You may have to take the front and/or rear seats out to access the trim or remove the headliner
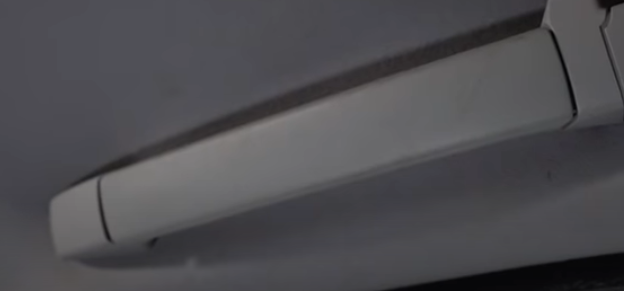
- Remove Parts from the Headliner
Remove other parts that make it difficult to remove the headliner like the grab handles, sunroof trim, dome light, and sun visors
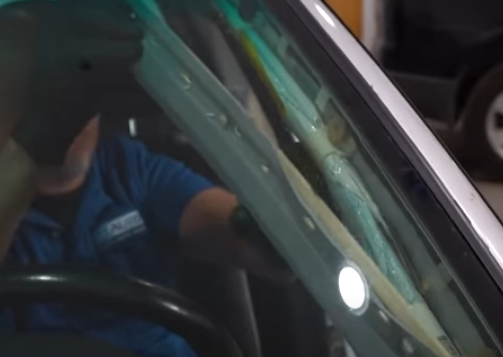
- Peel Back the Weatherstripping and Remove the Headliner
The weatherstripping will be the last part that will be holding the headliner in place. Peel the weatherstripping back to pull the headliner down and out
- Remove the Roof Lining from the Headliner
Peel the roof lining fabric from the headliner
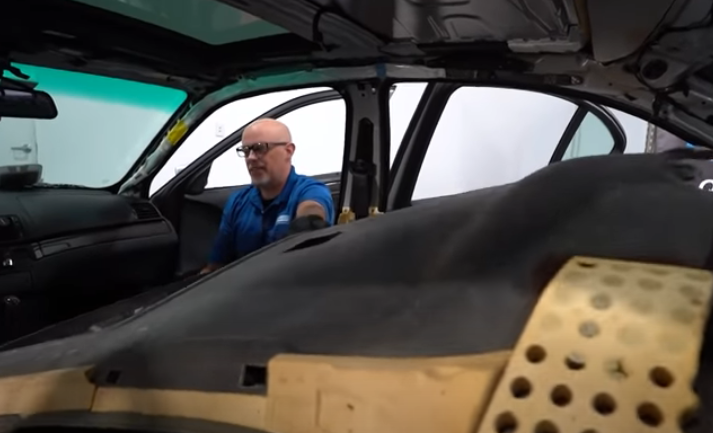
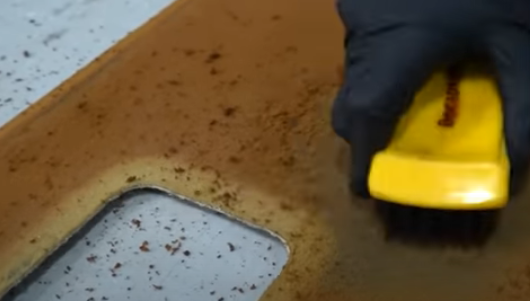
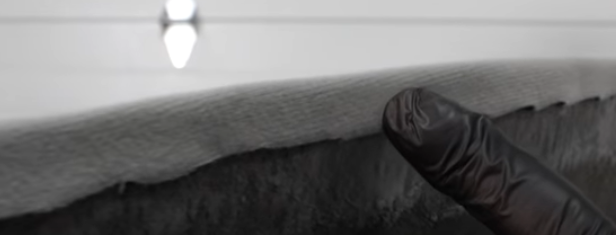
- Remove the Foam from the Headliner
Remove the foam from the headliner with a brush, wire brush, or wire brush attachment. The bits of removed foam will spread, so have a vacuum nearby to clean up debris after or during the removal
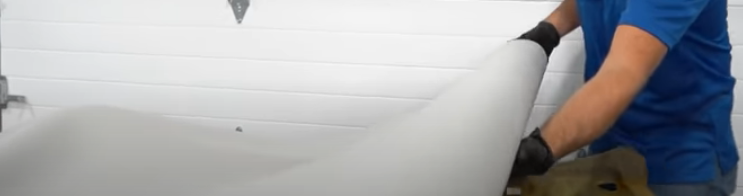
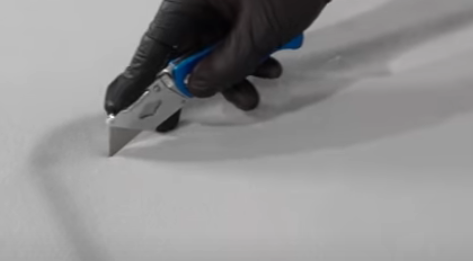
- Cut Enough Fabric to Cover the Headliner
With clean hands or a new pair of gloves, unroll the fabric over the headliner or measure the length of the headliner and cut out enough fabric to cover it. Leave about 4 inches of excess fabric
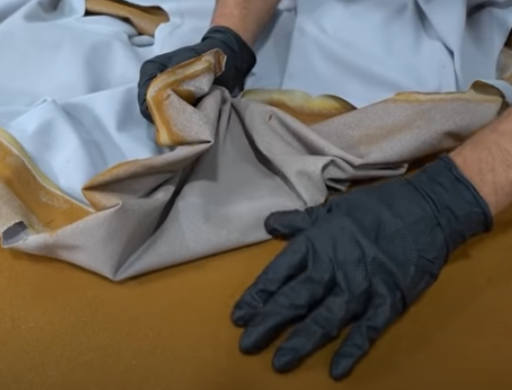
- Glue the Fabric to the Headliner, Starting from the Center and Working Down Both Sides
Fold the fabric halfway over the headliner and apply the fabric adhesive spray down the center of the headliner and the section of fabric that will be attached. Gently press the fabric onto the headliner and smoothen it out to adhere the glue.
Fold back the headliner again without lifting up the secured area and repeat the process. Work your way down the headliner on both sides until it is firmly attached.
Tip: Try to keep glue from getting on your hands or gloves so it does not stick to the fabric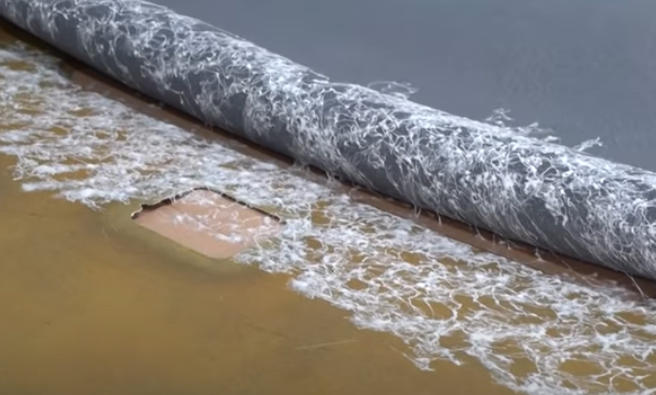
- Trim Any Loose Corners from the Fabric
Trim off any corners the fabric is covering
- Clamp the Fabric to the Sides of the Headliner
Fold the excess headliner over the sides and apply clamps to keep the fabric in place.
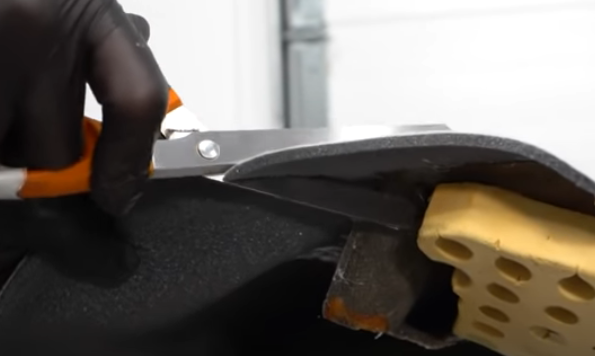
- Cut Out Any Sections of the Headliner
Cut out any sections in the headliner like the sunroof or dome light with a cutting knife. Then clamp down the headliner around these sections with clamps
- Glue Excess Fabric over the Sides of the Headliner
Fold and glue the fabric a little over the sides, and cut off any excess trim. This overlap will secure the headliner fabric for a little longer to keep it from sagging and separating
- Let the Headliner Dry for 24 Hours and Reinstall It
Let the headliner dry for 24 hours before reinstalling, which is a reversal of the install

Learn to Repair More than the Headliner with Our How-to Videos
Learn how to do more DIY repairs on your car with our how-to videos. We have tons of videos specific to many makes and models with professional instructions and tips to help with many repairs.
More Automotive Knowledge
- How Does a Car Radiator Work? What Does It Do?
- Difference Between AWD and 4WD
- How to Defog Your Windows
- Dome Light Won’t Turn Off When the Door Is Closed?
Shop Parts and Tools