Fixing a car interior sounds timely, but there are a lot of parts you can easily replace in a few minutes. If you’ve found worn parts of your car’s interior like the carpet, lock knobs, and seat handles, we cover what you’ll need to do fix them. Find out how to fix a car interior yourself with these tips from our expert mechanic Andy.
How to Fix a Car Interior
There are different parts you can replace to fix up a car or truck’s interior. Some of these, like carpets or headliners, may take longer than others, like trim pieces on a door panel. Below are general steps for replacing the carpet, center console cover, and various trim pieces.
Check out our content articles and how-to videos for more tips on how to diagnose and fix parts, like how to replace a headliner
General Steps for Fixing a Car Interior
General Steps for Fixing a Car Interior
- Replace the Carpet
Disconnect the Battery
Disconnect the battery since there are electrical components underneath the carpet and possible airbags in the seats.
Remove the Seats
Remove the four bolts holding the seat down. Disconnect the electrical connectors. Remove the seats.
Remove the Center Console and Remaining Trim Pieces
You may also need to remove a center console and any remaining trim pieces holding the carpet down.
Remove the Carpet
With the trim pieces, center console, and seats removed, lift the carpet up and out.
Trace and Cut Any Holes
Trace and cut any holes onto the new carpet so that it can be installed, and reinstall the removed parts.
Use Floor Mats
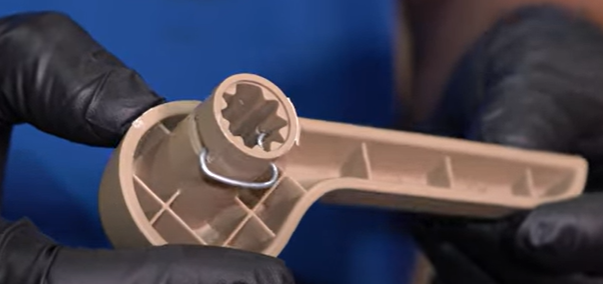
You can always install new floor mats to protect and cover the carpet. - Replace Seat Handles
Over time seat handles can crack and break. Seat handles are easy to replace and can be done by novice DIYers. Some handles will require loosening a clip to remove the handle, and others are screwed in.
- Replace the Center Console Lid
Maybe your center console needs a new latch mechanism to keep the lid down, or maybe its old and worn and you want to replace it.
General Steps to Replace a Center Console Lid
1. Remove any trim to access the screws
2. Remove the screws securing the lid
3. Remove the cover
4. Put the new cover on
5. Tighten the screws
6. Reattach any trim pieces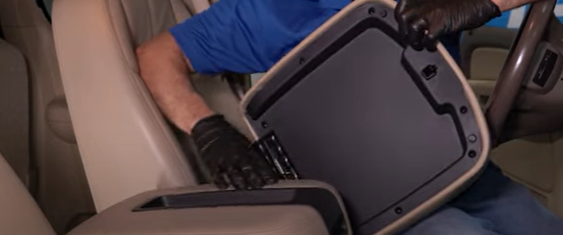
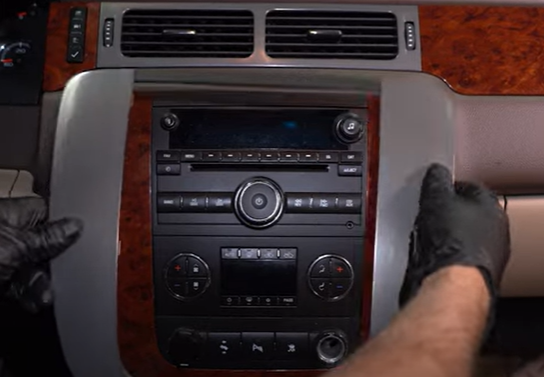
- Replace Radio Trim Pieces
Radio trim pieces may be worn or cracked. Maybe you want to change the appearance of the type of trim in your vehicle. Trim pieces can be easy to reinstall and replace, and many simply pop up and clip back in.
- Replace Auxiliary Outlet Doors
You can also replace auxiliary outlet doors if one is broken or you want to change the ones you have. You can use a accessory outlet removal tool to pry the outlet out, disconnect the connector, and replace the chrome trim piece.

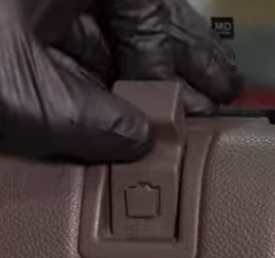
- Replace Trim Pieces
Trim pieces on the door, like lock knob covers, trim piece covers on the door panel, or individual window switches.
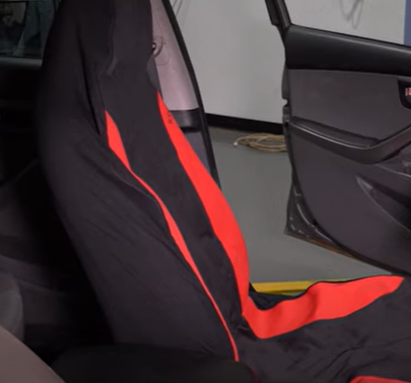
- Install Seat Covers
If you have signs of damaged seats, like stains or rips, seat covers can protect and cover them.