A car window that squeaks every time you open or close it can be really annoying. This mostly happens when the lubricant that came with the car window wears off after some time. Other times, it’s caused by rubber seals that are full of debris. Here’s a step-by-step guide that will teach you how to easily diagnose and fix a squeaky car window.
Diagnosing a Squeaky Window in Your Car, Truck, or SUV
Steps to Diagnose and Fix a Squeaky Car Window
Tools You’ll Need
- Ratchet and Socket Set
- Flat Blade Screwdriver
- Tape
- Lubricant
How to Repair a Squeaky Car Window
- Remove the Door Panel
To remove the door panel, you’ll need to locate all the mounting screws, bolts, or push-pins that secure it. In some vehicles, you’ll find extra screws behind the plastic cover that’s inside the door lock. You’ll need to pop that out first with a flat blade screwdriver.
Other vehicles have more screws under the window switches. Remove them all using your ratchet and socket. Once done, give the door panel a gentle tag to pull it out. You’ll want to be careful with the pull because there are wires that go to the switches and speakers, and cables that link to the door lock.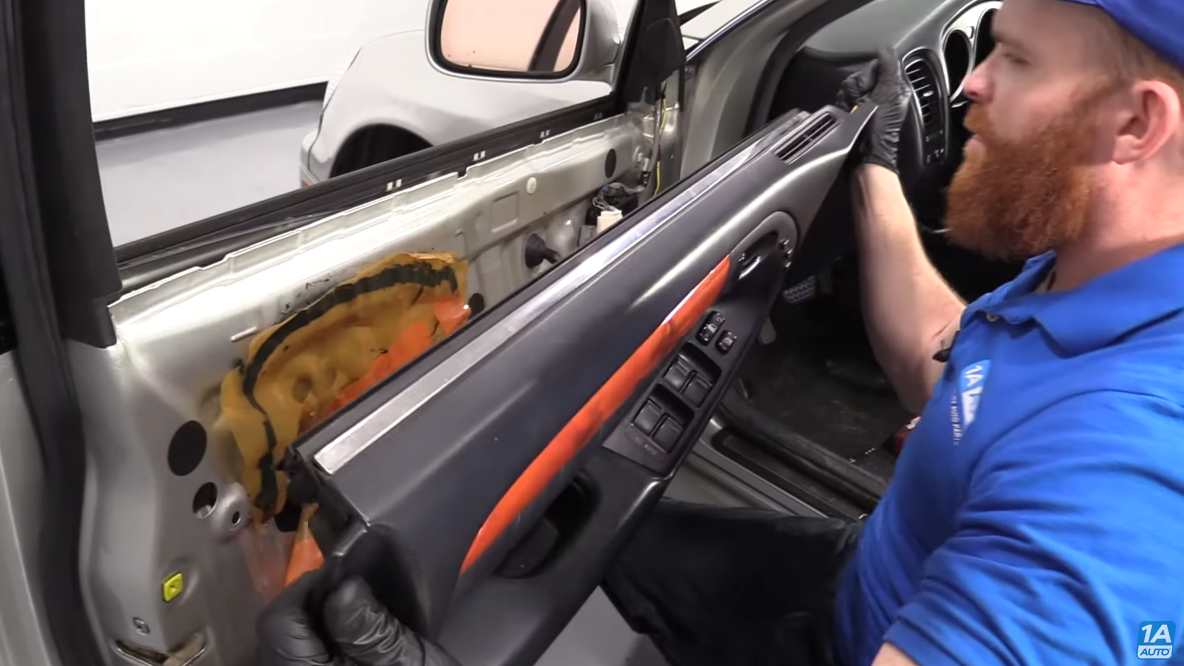
- Separate the Glass from the Window Regulator
Separating the glass from the window regulator will give you more room to work with. Start by lowering the window. Once it gets to the bottom, you should be able to see where the window regulator is bolted to the glass. You’ll need to remove these bolts.
Once done, you’ll want to raise the glass all the way up. You can push it from the bottom using one arm and pull from the top using the other. To secure it in place, tape the glass to the window frame.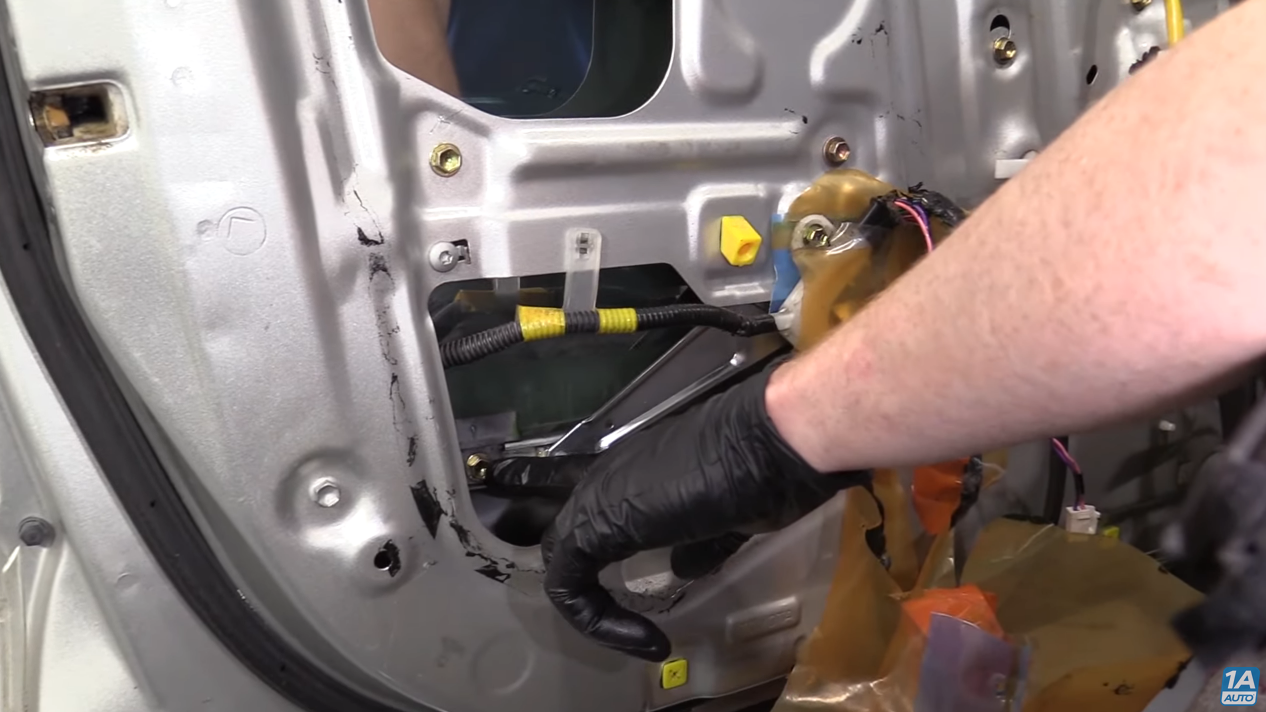
- Inspect the Window Channels
Now that you have the glass out of the way, you’ll be able to easily take a look at everything that’s inside the door frame. Start by checking the rubber on the window channels. You want to make sure they are not coming apart and are not dry, cracked, bent over, or brittle.
Run your finger inside the rubber to make sure there’s no dirt or crud that may have built up. Most of the time, this is what causes a squeaky car window. You’ll also want to check for any internal parts that may be bent, cracked, or broken.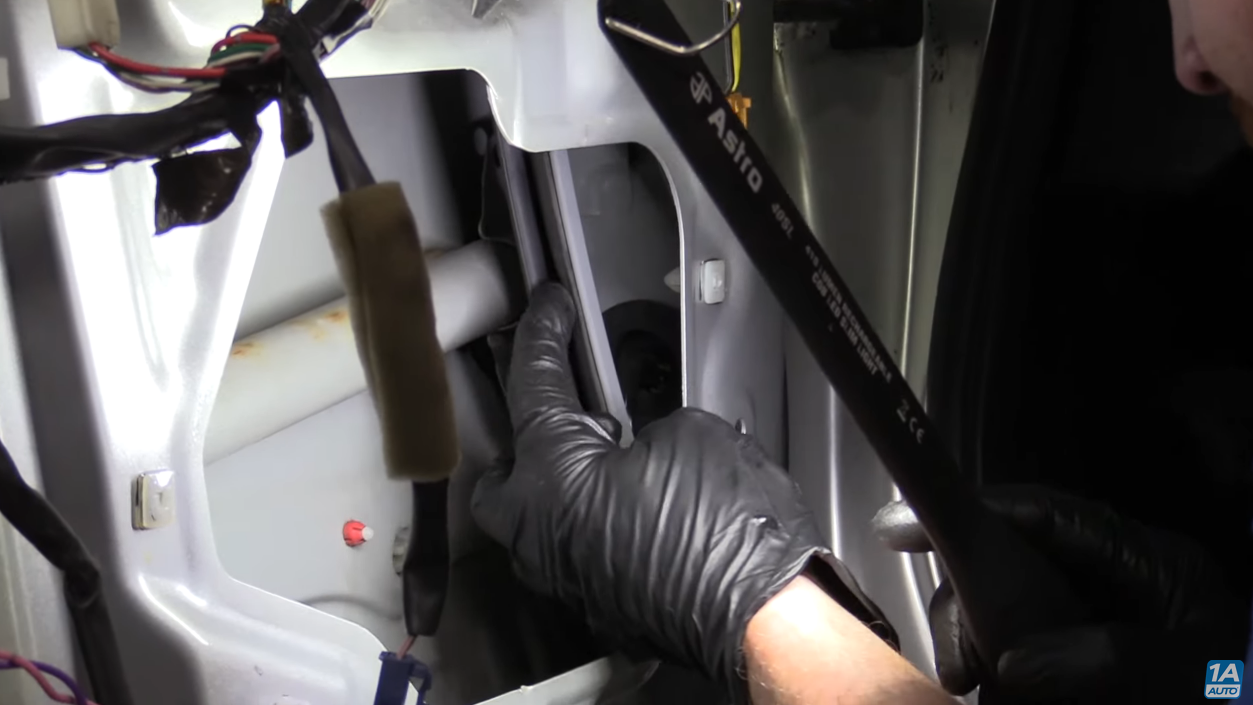
- Inspect the Weatherstripping
The next thing you’ll need to do is inspect your window’s weatherstripping. This is the rubber that seals the edges of your windows. Start by putting pressure on the glass with one hand as you remove the tape holding it. This helps to keep it still and prevent it from dropping down and breaking.
Once all the tape is off, hold the glass with both hands and move along with it up and down. You want to feel if it binds anywhere along the weatherstripping. If there’s dirt or gunk, you’ll need to clean it off.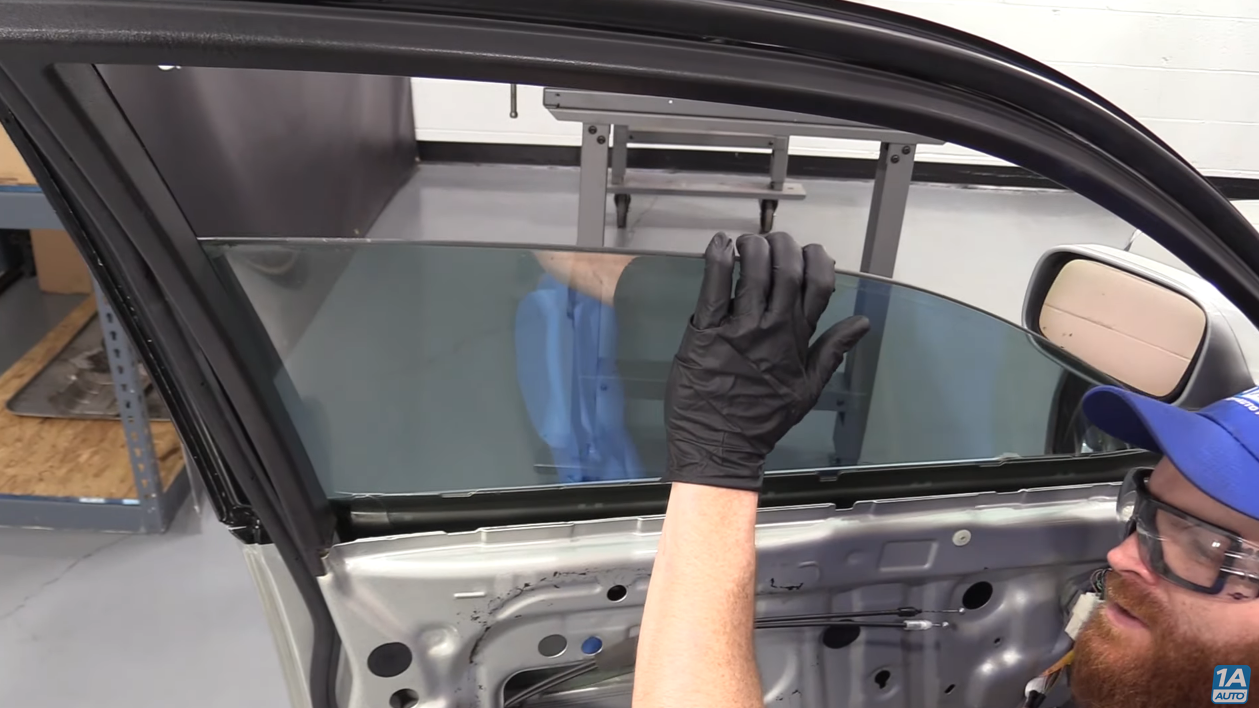
- Lubricate the Window Regulator
If your weatherstripping and window channels are fine, you’ll need to take out the window regulator and inspect all the moving parts. The regulator is normally held to the door frame by mounting bolts. You’ll need to remove those first.
All the metal parts that move or get in contact with each other will need to be lubricated. If there’s crud or build-up anywhere, you’ll need to clean that out as well. Check to see if there’s anywhere where metal parts have been grinding on each other. You’ll need to lube those areas as well. Don’t forget to do the same for any springs and where the motor drives the regulator.
- Screw the Regulator Back to the Door Frame
Once the window regulator is well-lubricated, you can screw it back to the door frame. Remember to screw in the glass as well. Test your car window and listen for any squeaky noises. Watch how the glass moves along the channels and weatherstripping. You want to see if there’s anywhere the glass struggles to move.
If you notice that the glass is bending the rubber at any point, the window regulator could be slightly bent. This causes the window to push on the rubber at certain points while it’s moving. You should notice a struggle in its movement as well. This is a fairly easy problem to fix.
All you need to do is give the window regulator arms a little push to straighten them out. This should help take off the pressure the glass puts on the rubber as it moves. It will also go a long way to change the geometry of the glass and make its movement nice and perfect. This problem occurs mostly during winter.
The ice causes the window to freeze. When you activate the switch to lower the window, the regulator struggles to unmount it from the ice. This causes the regulator plates and arms to bend and get out of shape. You may then get a squeaky car window any time you press on the switch.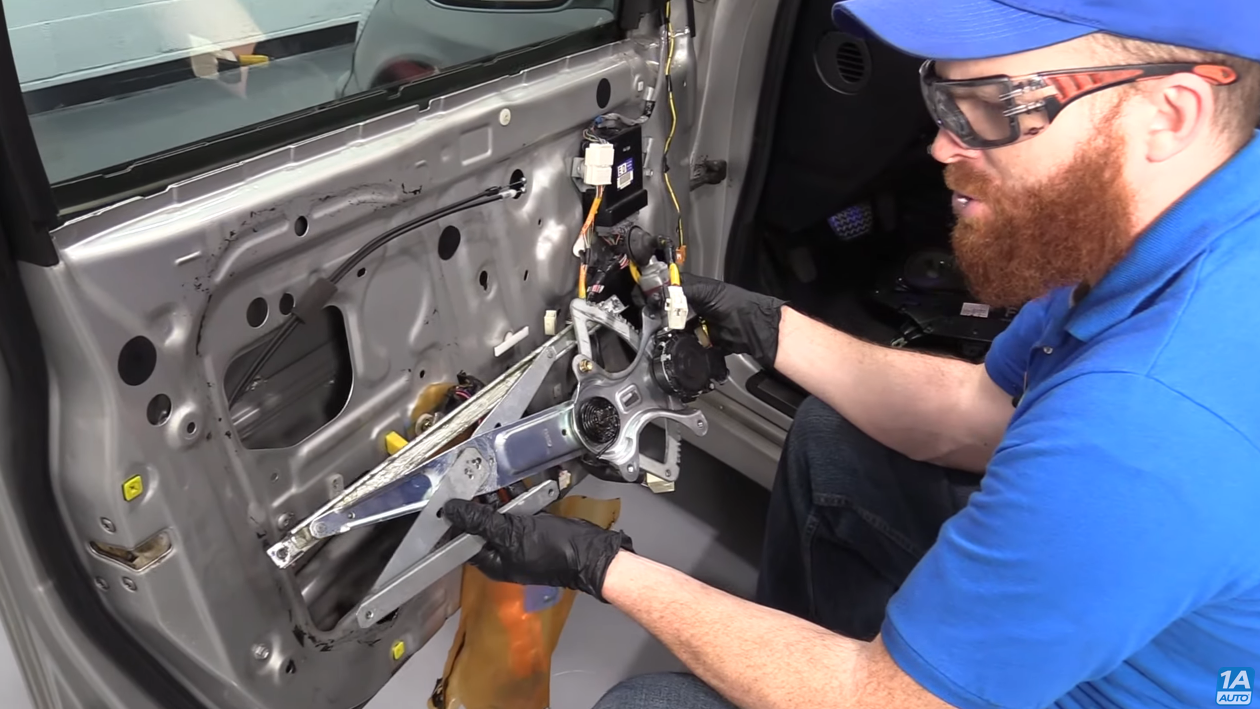
- Reset Procedure
Once you’re done putting everything back in place, you may notice that your window pulls itself down to about half the route it takes every time you try to get it all the way up. This happens when the window parameters that were stored in the control module get lost during repair.
You’ll need to do a procedure that will help reset the stop points for the window motor. This helps the motor to know where the top and bottom points are. It’s a fairly easy process that anyone can do.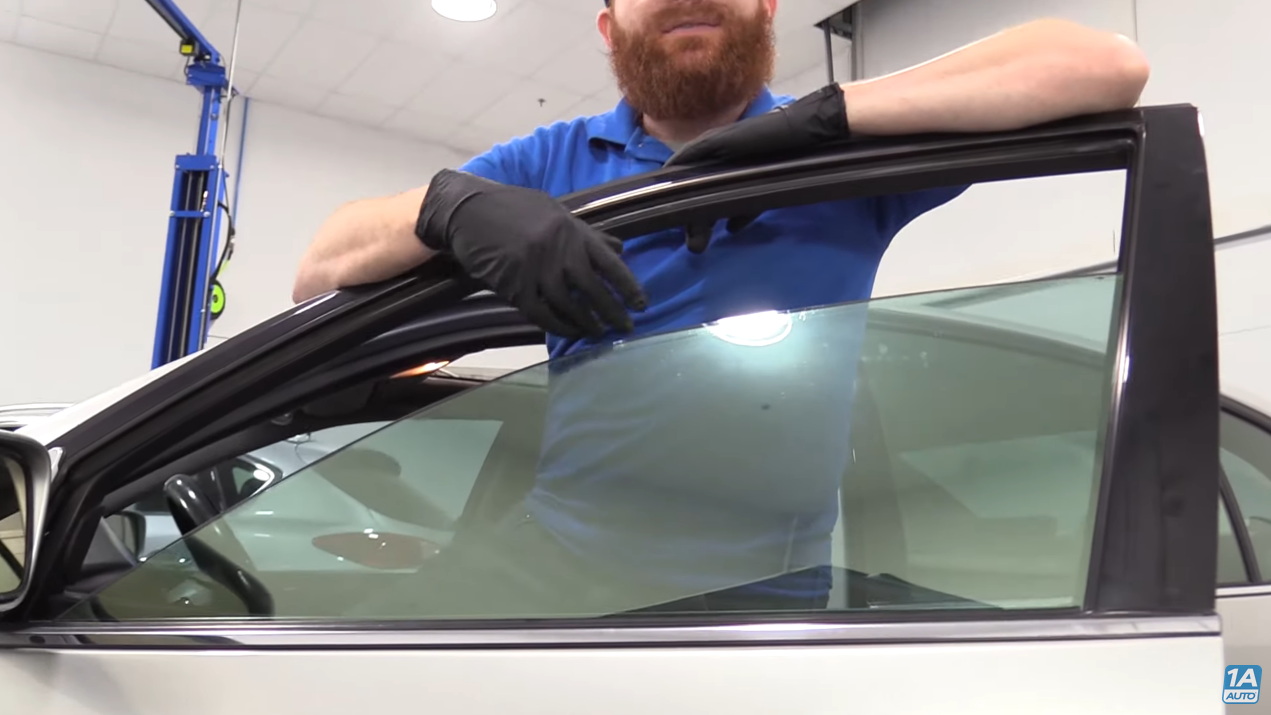
Replace a Window Regulator Yourself
If your window regulator is broken or defective, install a new one with help from 1A Auto’s how-to videos. Find many repairs for different makes and models in 1A Auto’s video library.

Shop Parts Featured in This Article
Related Content
- How to Fix a Car Window That Won’t Roll Up
- Why Is My Power Window Not Working?
- Car Window Won’t Go Up?
- My Car Window Won’t Roll Up or Down
- Why Are My Power Windows Working Intermittently?
- What Does a Window Regulator Do?
