If you want to find a coolant leak or test the pressure of the cooling system after a coolant flush, you can perform a radiator pressure test, also known as a coolant pressure test. The test requires connecting the pressure tester to the coolant reservoir or the radiator and pumping the tester to pressurize the system, which can help find coolant leaks. These steps explain how to use a coolant pressure tester and perform a coolant or radiator pressure test.
Save on Quality Auto Parts with Free Shipping

How to Pressure Test the Cooling System
How to Perform a Coolant Pressure Test
Before beginning, make sure the engine and the system is cool since hot coolant can burn, and that the cooling system has no pressure. Follow these steps for how to use a radiator pressure tester
Steps for a Coolant or Radiator Pressure Test
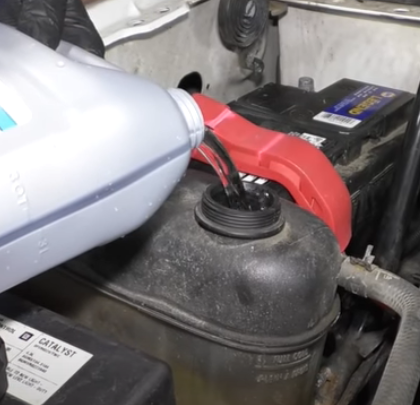
- Add Water If the Coolant Level Is Low
If the coolant level is low, add water or coolant to raise it. If you plan on removing and fixing a part, add water to not waste coolant since the system will be drained and refilled
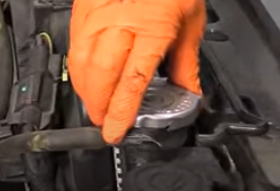
- Remove the Radiator Cap
If applying the tester to the radiator, remove the radiator cap once the system is cool and depressurized.
- Connect an Adapter if Necessary
If you need an adapter and your coolant pressure tester kit has one, connect it to the radiator or the coolant reservoir.
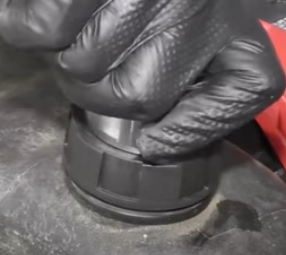
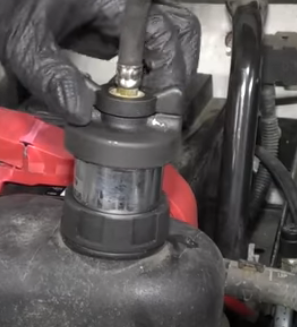
- Tighten the Coolant Pressure Tester
Tighten the coolant pressure tester to the adapter or the radiator or coolant reservoir. Push down and twist the connector clockwise until you feel it click and it locks in place
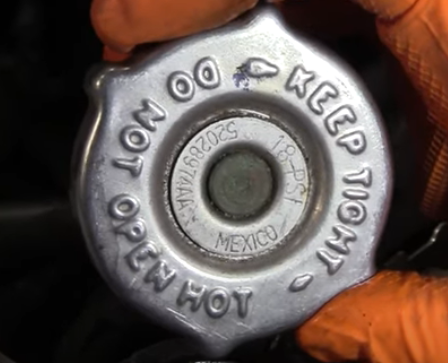
- Check the Radiator Cap for the System’s psi
Check the radiator cap to see how much pressure to apply without going over this number
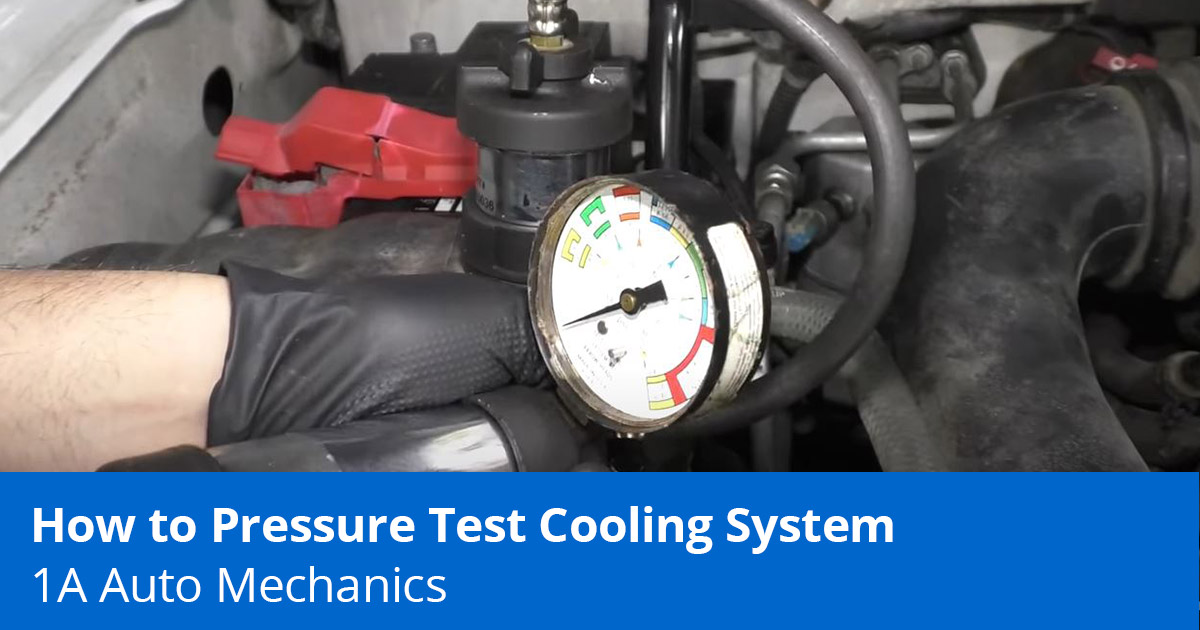
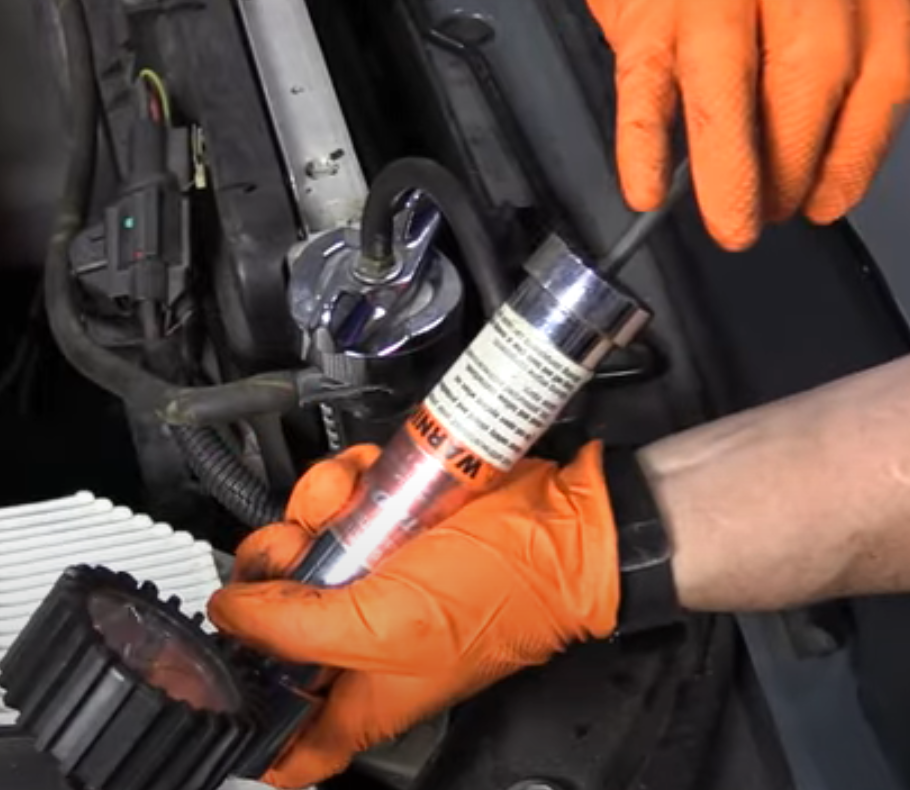
- Apply Pressure to the System without Exceeding the System’s psi by Pumping the Tester
Keep pumping the pressure tester to apply pressure to the cooling system without going over the system’s psi number on the radiator cap, which the pressure tester’s gauge measures. Most cooling systems’ pressure measures between 13 and 16 psi.
- Check the System for Leaks
If the pressure gauge drops quickly, there is a leak. The slower the gauge drops, the smaller the leak. If the system holds pressure at the set pressure on the gauge, check the gauge over a span of 30 minutes and see if the pressure has dropped. If the level drops significantly, there is a leak.
Inspect parts like the radiator, upper and lower radiator hoses and hose clamps, water pump, thermostat, heater core hoses/firewall, head gaskets, intake gaskets depending on the engine, and the interior carpet near the firewall for leaks - Remove the Pressure Tester
Twist the connector counterclockwise and unlock it. Pressure releasing means the pressure tester can be removed.
Fix Cooling System Parts Yourself
Fix cooling system parts yourself like the radiator, thermostat, coolant reservoir, water pump, and more with many videos for different makes and models in 1A Auto’s video library.
Shop Cooling Parts and Tools
- Engine Cooling
- Radiator
- Radiator Hose
- Thermostat & Housing
- Water Pump & Related
- Radiator Overflow Tank
- Heater Core
- Diagnostic & Measuring Tools
Related Content
- How Can I Tell If I Have a Coolant Leak?
- Why Is My Car Overheating?
- How Does a Car Radiator Work? What Does It Do?
- What to Do When Your Car Overheats
- How to Remove Radiator Hose [Loosen Stuck Hoses]
- Car Heater Not Working?
- Bad Water Pump Symptoms? Learn how to diagnose them
- Bad water pump [Expert advice to diagnose & fix]
- What Fluid Is Leaking From My Car?