Weatherstripping protects crevices between parts like trunks and doors to prevent outside elements and debris like water, dirt, and more from getting in the vehicle, corroding the vehicle, and from falling on you. If winter has wreaked havoc on your weatherstripping, or if it’s just time to replace it, there are a few tips you can follow to make the install easier. This article and video reviews how to replace the weatherstripping on your car with some general steps from our expert mechanic Mike.
Tips to Replace the Weatherstripping on Your Car
Signs of Bad Weatherstripping That Needs Replacing
- Wind noise
- Water leaking inside the vehicle
- Water pooling above the door and door jamb
- Stained carpet or waterlogged carpet
- Cracked or split weatherstripping
- Loose or peeling weatherstripping
Wind noise, water leaking in the cabin, water pooling above the door or in the door jamb, and unexplainable carpet stains are all signs that your weatherstripping needs to be replaced. Weatherstripping may also be cracked or split, or it may be peeling off without much adhesive left to keep it in place.
Read more about the different kinds of weatherstripping
How to Test the Weatherstripping for Water Leaks
If you don’t have time to wait for the next rain storm, one method you can use to track down water leaks involves a garden hose. Just spray water over the vehicle and find where it’s leaking. This may take a few tries. Make sure to keep a few extra towels handy.
Read more about how to test your vehicle for water leaks
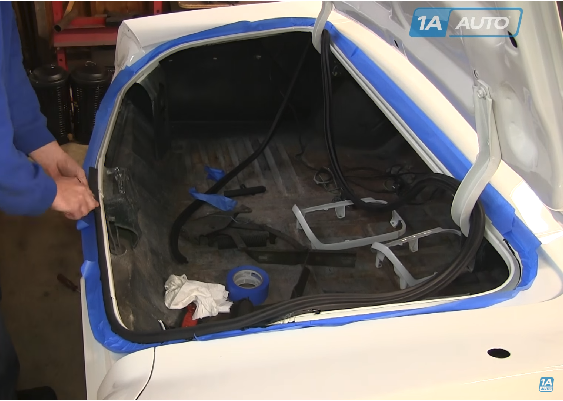
How to Replace the Weatherstripping in Your Car
General tips on how to replace the weatherstripping in your car, truck, or SUV
- Inspect the Weatherstripping Before Removing It
Weatherstripping comes in all shapes and sizes. You can find it as a door seal, roofrail seal, windshield seal, windshield pillar seal, header seal, window sweep, window channel seal, hood-to-cowl seal, or trunk/rear hatch seal. They have always been a part of cars, and for good reason. They protect your vehicle from outside elements like rain, snow, dirt, and wind entering the cabin.
Inspect the weatherstripping for screws, clips, staples, or adhesive. This will give you an idea of what you’ll need to replace it. - Use Heat to Remove Adhesive
If your weatherstripping has adhesive, removing it will be easier if you heat up the adhesive either by using a heat gun or high temperature hair dryer or by letting it sit in the heat in hotter weather.
- Remove the Weatherstripping
Removing any screws or staples, etc. from the weatherstripping. With the weatherstripping loose, peel it out of the channel.
- Clean the Channels
The cleaner the channels are, the better the weatherstrip will seal. Adhesive keeps the weatherstripping in place and also prevents outside elements like water from sitting in the channels and rusting the body.
To protect the paint, remove adhesive stuck to the channel with a heat gun, rubber scraping or prying tool, plastic putty knife, or a flat blade screwdriver wrapped with electrical tape. Then clean the surface with an adhesive remover. - Test-Fit Before Applying
Measure the old adhesive up against the new strip. Sometimes you’ll have more than you need and will have to measure it out yourself. Test-fitting the weatherstripping can help with measuring and cutting accurate lengths before applying any adhesive.
- Reinstall All Screws, Clips, and Staples
Some weatherstripping will be attached by clips, screws, or staples. You don’t want to miss reinstalling any of these. Without them, the seal may not deter all the water from pooling or leaking inside the vehicle. You may also have to puncture the new weatherstripping before applying adhesive.
DIY Videos: Learn to Fix Your Car
Learn how to do your own repairs. Our how-to videos have step-by-step instructions to diagnose and replace tons of parts.
More Content
- How to Remove Tree Sap from Your Car
- Shaking or Pulling Steering Wheel? How to Check the Brake System and for a Seized Brake Caliper
- Why Is My Brake Light On?
Shop Part and Tools
