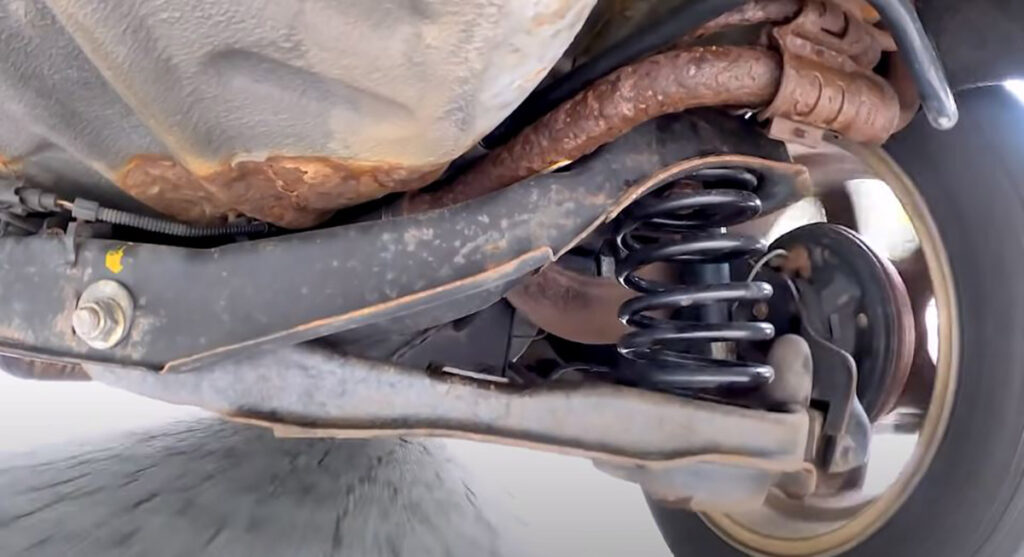
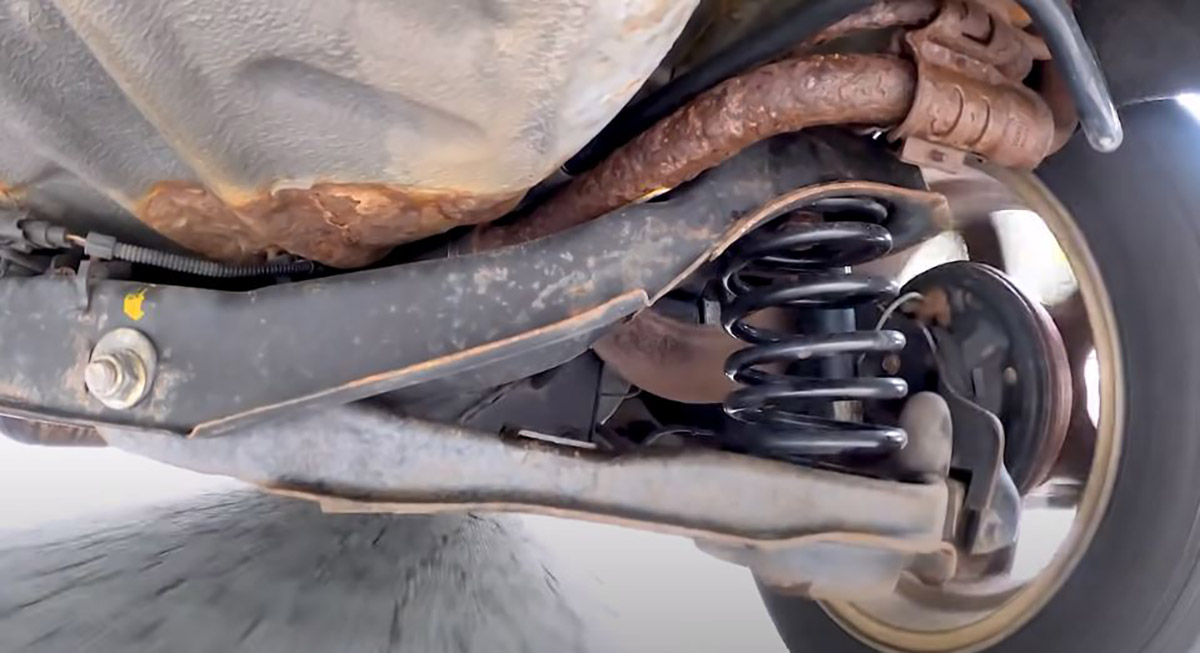
If you hear a clunking or creaking noises from the suspension when driving, there could be a few different causes. Our mechanic Sue gives some tips in this article and video on what to look for if you have a squeaky suspension problem with your car.
How to Diagnose a Squeaky Suspension Noise Problem

Parts that Can Cause a Creaking or Squeaky Suspension Noise when Driving
How to look for problems with your car’s suspension
- Look for Broken or Loose Suspension Parts
Check for broken parts on the suspension. If the noise is severe, the suspension is likely to have broken parts. Look for loose parts since movement can also cause a squeaky or clunking sound.
- Check for Suspension Parts that Have Shifted
The creaking or clunking suspension sound could be caused by parts like a bolt that moved, such as a chassis bolt. If it has shifted, you might find the residue of a ring where the washer was sitting. Check the same marking on other side to see if it shifted.

If there are steel rings on bushings for example, look for looseness and compare the distances between the ring and where it should be sitting with the one on the other side. - Look for Ripped Bushings
Look for ripped bushings on parts. The front bushings may be ripped or torn. They may also be dry rotted, but this isn’t as much of a cause of creaking and clunking sounds as much as tearing.

- Check for Wear and Tear on Parts
Check for wear and tear on parts like the shocks. The bell housing on the top of shocks in this example has marks on the front. This is abnormal. The suspension may have shifted back, causing the housing part of the shock to scrape against it and emit a squeaky sound.

Diagnosing and Fixing a Creaking Suspension that Shifted and Damaged Parts
Noticing Scratches on the Shocks

The vehicle in this example had shocks with scraped markings on the front. The owner had the rear subframe cradle replaced by a salvage yard and got an alignment, but only the front may have been adjusted. In this case an alignment machine could improve this. If the suspension shifted, even moving the cradle 1/8 of an inch could improve the symptoms.
Replacing a Shock and Testing the Squeaky Sound

To fix this problem we decided to replace the shocks. We replaced the first one with the rear suspension jacked up by placing a pole jack underneath the control arm. After test driving, the rear suspension still made a clunking sound.
Adjusting the Suspension and Testing the Shock’s Position
Next, we loosened the three cradle bolts on one side and two bolts on forward part of lateral arm. We pried the independent suspension forward and after loosening and placing a pole jack underneath the control arm again, the shock centered. We tightened the bolts and loosened the five on the other side and pried the suspension forward. With the shocks replaced and the suspension adjusted, the clunking noise stopped.
A Sign that the Suspension Has Shifted

The mark in this photo shows where the cradle used to be. This can also show shifting of a cradle if for example after a car accident you feel like the ride isn’t right. If your car was checked off, you’ll have one year to open the claim again. Movement like this can show that the inspector missed the shifting of the cradle or an engine support, so if after your own diagnosing you see markings of where the bolt used to be, reopen the claim.
Learn to Fix Your Own Car
Learn to fix your own car with 1A Auto’s how-to videos. We’ve created thousands of how-to videos covering general knowledge and specific repairs for many makes and models.
More Automotive Tips and Content
- Car Stuck in Park? How to Move the Transmission Shifter
- Does Your GM Need a New Air Suspension Kit?
- Clunking Noise from the Rear of the Car? [Diagnose & Fix]
- Front End Clunking Noise While Driving?
- Shocks Vs. Struts
- How to Loosen and Remove a Stuck Wheel Bearing and Hub Assembly
- Common 1999 to 2004 Jeep Grand Cherokee Problems
- DIY Alignment
- Common 1st Gen Tundra Problems (2000 to 2006)
- Common Hyundai Santa Fe Problems: 3rd Generation (2013 to 2018)
Shop Parts and Tools

