If the heat isn’t working or isn’t as hot as it used to be, your vehicle could have a clogged heater core. If there are no signs of a coolant leak, a full coolant level, and no signs of disruption in the flow of coolant, flushing out the heater core may fix this problem. This post explains the importance of a heater core flush and how to flush the core yourself.
How to Flush the Heater Core Yourself

Signs of a Clogged Heater Core
- No heat inside the vehicle
- Heat is not as hot
How to Unclog or Flush a Heater Core
1. Locate the Heater Core Hoses
Find the heater core hoses, which are usually connected to two ports on the firewall.
2. Identify the Inlet and Outlet Heater Core Hose
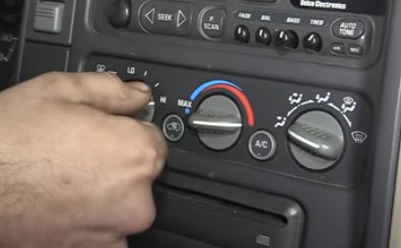
Let the vehicle run and warm-up. Turn the heat and fans to the MAX setting. This will allow the coolant to flow and can help identify if there’s a clog. If coolant is flowing through the heater core, an inlet hose will be hot and the outlet hose will be cool. If the heater core is clogged, the inlet hose will be hot and the outlet hose will be ice cold.
3. Remove Any Parts to Access the Heater Lines
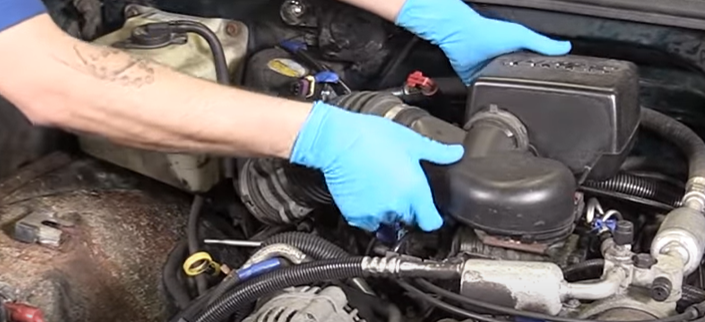
Remove any parts blocking easy access to the heater core, like the air intake filter housing.
4. Decide to Drain or Block Off the Coolant
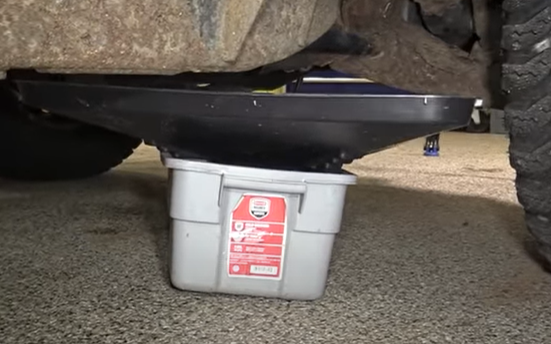
Place a drain bucket underneath the heater core hoses
Before disconnecting the lines, you can drain the coolant from the system or seal the hoses with radiator hose block off clamps.
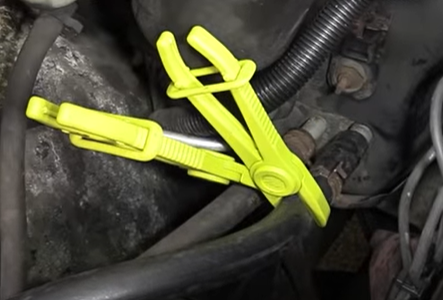
If using the radiator hose block off clamps, let the coolant system cool before removing the hoses. Hot coolant left in the hoses can burn you and the surrounding area.
5. Run Water Through the Heater Core
With the hoses disconnected, let the coolant drain into the drain pan. Attach rubber hosing to both heater core hoses. Place the hose attached to the inlet hose into the drain pan.
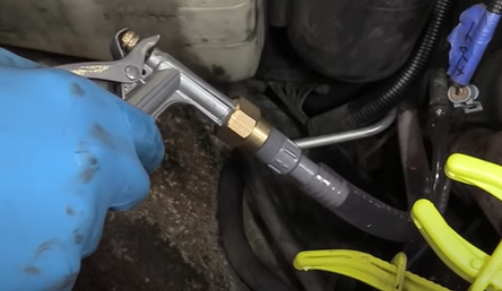
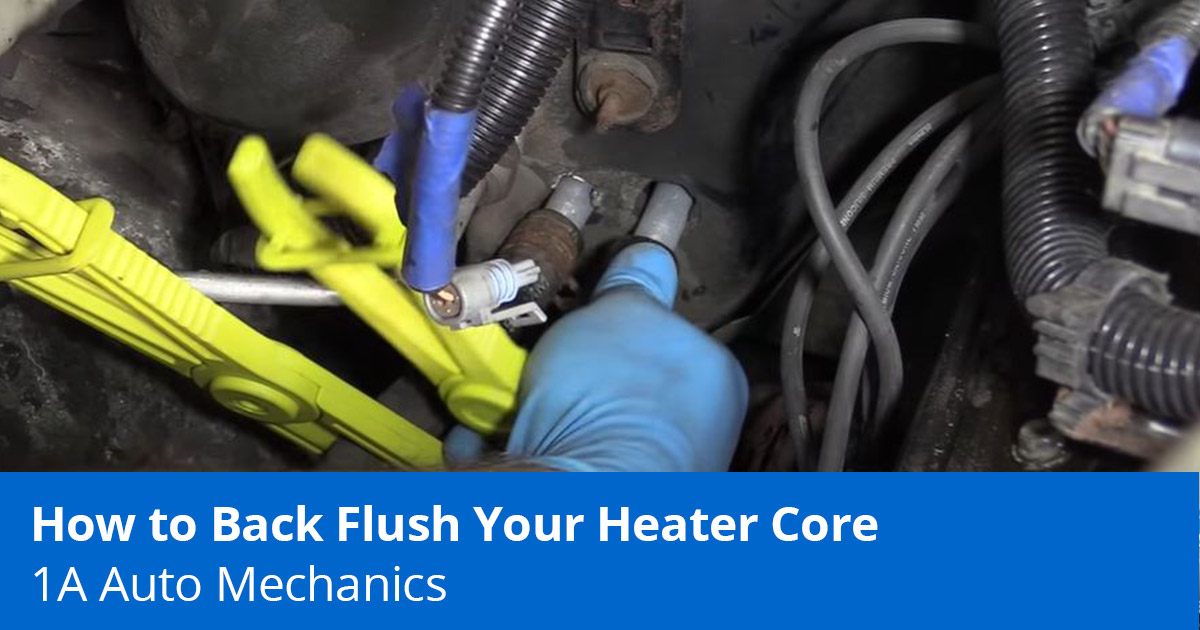
Attach a garden hose nozzle (with a fitting if needed like in the photo above) to the hose attached to the outlet hose.
With everything securely connected, run water through the heater core without applying too much pressure to keep from damaging it. Let the water flow through the heater core and remove any debris inside.
Once the water flowing through and exiting the heater core is clear without debris, turn the water off and let it drain from the heater core. Remove the flushing hoses and properly dispose of the flushed coolant left in the drain pan.
6. Reinstall the Hoses and Any Components Removed
Reinstall the heater core hoses. Make sure both hoses are attached and clamped before removing the radiator hose block off clamps. Reinstall any components removed to access the heater core lines.
7. Fill and Bleed the Coolant
Fill and bleed the coolant with the appropriate coolant.
Fix Coolant System Parts Yourself
Check 1A Auto’s how-to videos that cover repairs for many coolant parts like the coolant overflow tank or the radiator.
Content Related to Heater Core Flush
- Common Bad Radiator Symptoms
- How to Perform a Radiator Pressure Test
- How to Remove Radiator Hose [Loosen Stuck Hoses]
- Signs of a Coolant Leak
Shop Coolant System Parts