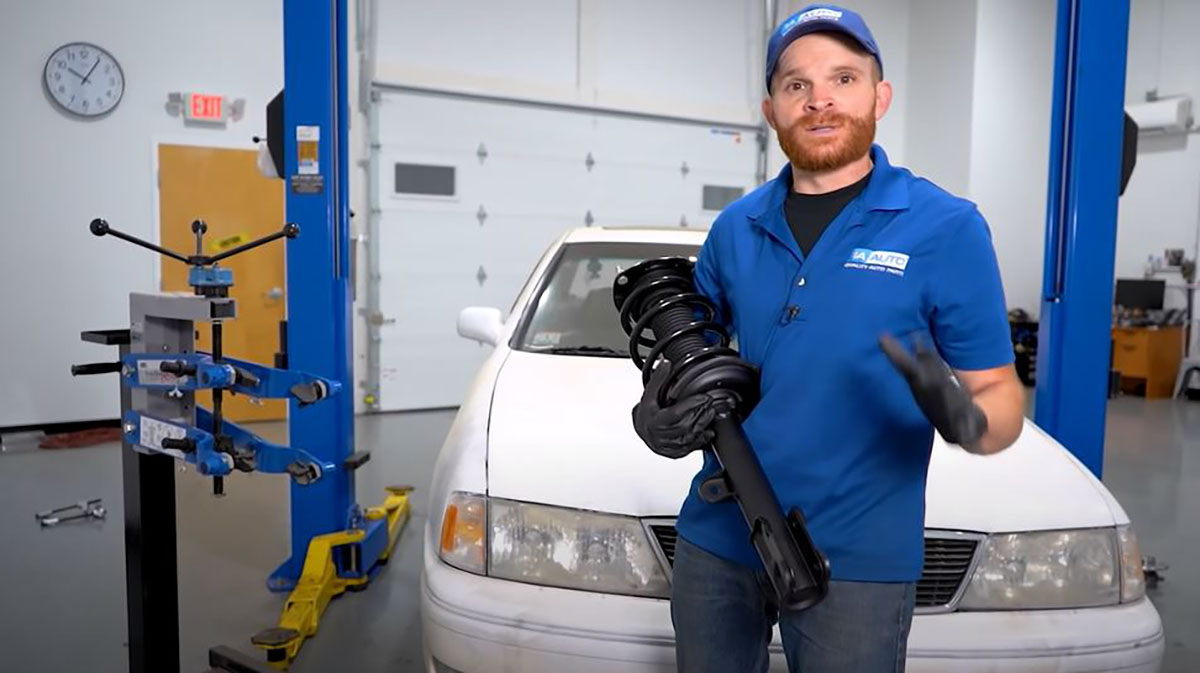
It’s important to install struts the right way so you don’t damage other parts or hurt yourself. Whether disassembling or reassembling a strut with a coil spring or installing a preassembled one, this article and video has some tips for how to install struts correctly.
Video: Avoid These Mistakes and Learn How to Install Struts Like a Pro
Strut Installation Tips: How to Install Struts

Steps and tips for how to install struts
- Jack Up from Safe Location Points
When jacking up the vehicle, jack up from safe location points so you don’t break or damage other parts.
Don’t place a jack underneath the control arm, especially when replacing the strut. You don’t want upward pressure on the control arm. Also, don’t jack up from underneath the transmission pan, the oil pan, the exhaust, and pretty much anything except a solid part like the subframe or pinch weld.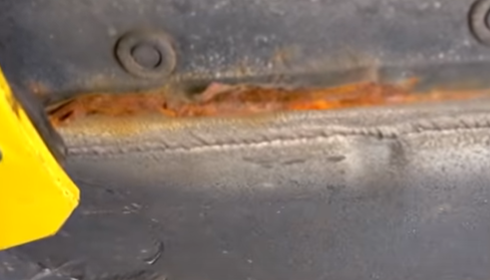
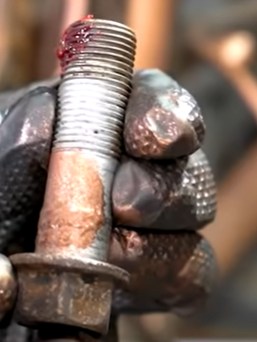
- If a Nut Is Stuck, Don’t Just Loosen It with a Blow Torch
Don’t just heat up a bolt or nut if it’s stuck. Some struts are gas-operated and you could damage it or cause an explosion. You could also light other parts on fire, like electrical wires or brake lines.
Also, don’t try to remove a stuck sway bar link nut by placing locking pliers on the back of the link, or with a blow torch. You can damage the sway bar link, which means you’ll have another part to replace. Hold the stud with an Allen wrench and spin the nut off with another wrench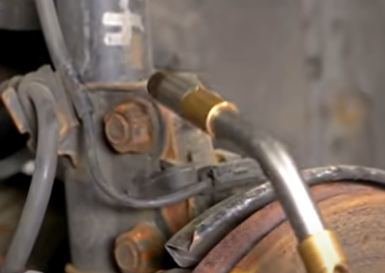
- Once the Lower Strut Bolts Are Loose, Don’t Just Rip the Strut from the Knuckle
Don’t aggressively pull the knuckle from the strut once the bolts are removed. Pulling too strongly can break the boot on the axle or disconnect it. Since the axle has bearings and a container underneath the boot, you’ll have a difficult time trying to put it back together with a boot covering it.
The bearings could also pop off and disconnect, causing a serious issue with the axle. You could also tug the ABS wire and brake hose line if you just pull the strut off once it’s loose. Instead, just remove the axle nut and other mounting bolts that hold the brake hoses and ABS wires.
Once plenty of slack has been created, remove the strut.
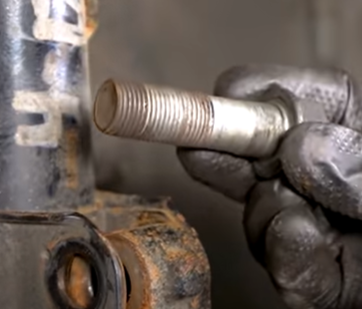
- Remember the Original Position of the Strut’s Bolts
Remember the direction the bolts came out and put them back in in the same direction. You may have an alignment adjustment bolt, also known as a cam bolt, which is not round looking but oblong like an egg and it’s so the alignment professional can turn it to angle the steering and suspension. Not installing the bolt back in same direction, especially with this bolt can cause an alignment problem on your car and one for the professional.
- Don’t Remove the Center Nut That Holds the Strut Together
If you just remove top center bolt, the strut can fall in and damage parts like the axle boot, ABS wire, and stabilizer link bushings. Don’t remove the center nut that holds the strut together. Remove the three mounting bolts surrounding the center nut. Then, with two removed and a third loose, grab the strut, remove the third bolt, and lower the strut down.
Spring loaded struts are under a lot of tension, and loosening and removing the center bolt will cause them to disassemble and disperse, where it could impact you, causing harm and possibly death.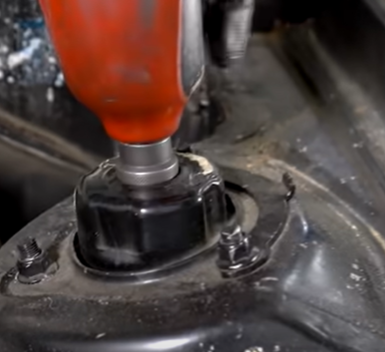
- If Disassembling the Strut, Use a Spring Compression Tool
Some people may choose to replace certain parts if, for example, the coil spring breaks but the rest of the strut is in good condition. Compressing and decompressing struts that don’t come with preassembled loaded springs is one of the most unsafe aspects of this repair.
Not everyone will have a spring compression machine, but this is the safest method. Alternatively, you’ll likely have a compressor tool that hooks on to the spring and allows you to compress it. Since the coil is not straight, the hooks can slide down and fall next to one another and bend the spring, so it’s important to have these hooked up correctly.
- If Reassembling the Strut, Make Sure Everything Is in the Correct Position and Don’t Overtighten the Bolt
If you disassembled the strut and want to reassemble it, make sure the spring is lined up where it should be. This is usually indicated by a divot at the bottom of the strut, designed for the end of the coil. If the coil is placed before this and the assembly is tightened up, the strut may be loose and can shake and cause a misalignment.
Tightening the center nut with a ½ inch air gun can raise the chances of damaging the bearing located underneath the top of the cap. When you tighten it down and squeeze on the bearings, they are going to tighten up, and you may hear clunking and grinding when turning. You just need to tighten the center bolt tight and then torque it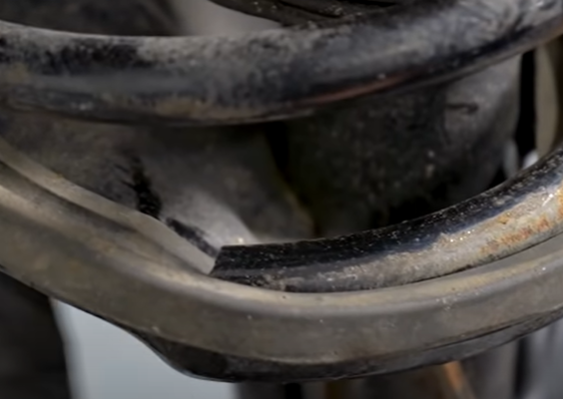
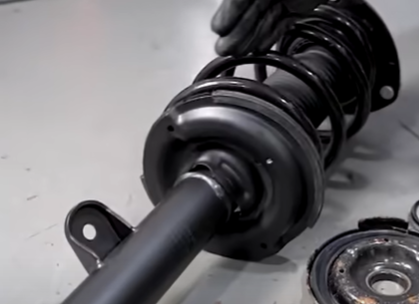
- Consider Replacing the Struts with a Preassembled Replacement
Replacing your old strut with a complete preassembled strut assembly will save time and prevent you from having to take the parts off the strut to replace it. You’ll just need to remove the old strut and install the new one.
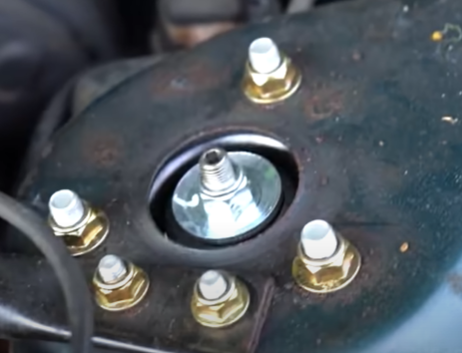
- Tighten the Strut’s Top Bolts by Hand First
Put the strut into the vehicle and secure it by tightening the upper bolts by hand. Make sure the upper strut bolts are on and snug with the wheel on the ground and the weight of the body on the ground. This will settle the strut into position and place the studs fully up. If the top bolts are tightened before lowering, you wont know if the strut is sitting in the correct position and will hear banging and clunking sounds over bumps
- Be Careful Installing the Strut if Jacking Up the Control Arm to Align the Parts
If jacking up the control arm to simulate ride height and align all the parts during reinstallation, you want to be careful so you don’t, for example, jam the axle against the strut
- Apply Some Copper Anti-Seize and Red Thread Locker to the Strut’s Bottom Bolts
You don’t want to put copper anti-seize all over the bottom bolts, but you can place it on the smooth area before the threads, and then place red thread locker on the end of the threads.
- Tighten the Axle Nut with a Torque Wrench
It’s dangerous the remove and tighten the axle nut with an impact wrench—especially for the wheel bearing. The axle travels through the hub and behind the hub sits the wheel bearings. The air gun will apply pressure and overheat the bearings by compressing them, which will create friction, heat, and then damage them. Torque the axle nut to the manufacturer’s specifications
- Tighten the Lug Nuts in a Criss-Cross Pattern with the Tire Suspended. Then Lower the Vehicle and Torque the Lug Nuts with the Vehicle on the Ground
Tighten the lug nuts in a criss-cross or star pattern. Then lower to the ground and torque to spec in a criss-cross or star pattern. If not torqued correctly, the wheel can unkilter, loosen over bumps, and possibly fall off. It can also damage other parts like the rim, control arm, and wheel hub, so don’t hammer them on with an impact wrench/air gun
- Replace the Strut on Both Sides of the Vehicle
We recommend replacing the strut on both sides. If you just replace one strut, you may notice the car sitting lopsided and off balance. This is unsafe to drive with and can affect the steering and stability.
Replace the front struts and the rear ones at the same time - Get an Alignment After the Repair
Get a four wheel alignment for suspension and steering front end work
DIY Repair Tips: Learn How to Do More than Install Struts
Find out how to install other parts than just the struts. Diagnose and replace parts on many makes and models with our how-to videos that cover diagnosis, installation instructions, and general tips to help you fix your own car.
Read More Automotive Tips
- How to Tell Which Wheel Bearing Is Bad While Driving
- Is It Safe to Drive with a Bad Wheel Bearing?
- When Should Shocks & Struts Be Replaced?
- Can You Drive a Car with Leaking Struts?
- How to Debadge a Car: 4 Ways to Remove Emblems
Shop Parts and Tools
- Brakes & Wheel Bearing
- Steering & Suspension
- Headlights & Lighting
- Engine & Engine Management
- Tools & Accessories