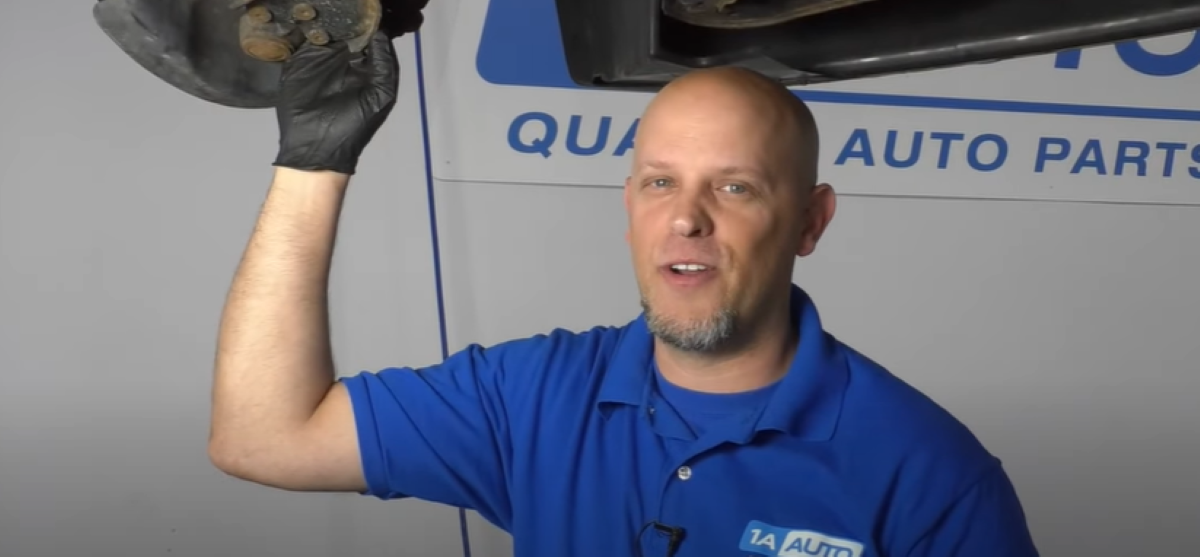
Find out how to remove ball joint rivets yourself. This article and video covers three methods to remove ball joint rivets, one of which is recommended from our mechanic Andy.
3 Ways to Remove Lower Ball Joint Rivets

Steps on how to remove lower ball joint rivets
- Drill Out the Rivet and Remove It with a Drill, Drill Bit, Hammer, and Chisel
Get an 8mm Drill Bit, Electric or Air Drill, Hammer, and Chisel
One way to remove a ball joint rivet is to drill it out with an 8 mm drill bit and an electric or air drill. Having larger sizes is also useful since you may need to increase the drill bit size as the rivet is drilled out. A hammer and chisel is also needed to chisel out the rivet.
Wear Safety Protection and Punch a Divot in the Center of the Rivet
Wear safety glasses and eye protection. You want to drill in the middle of the rivet. If the rivet doesn’t have an indentation, create one with a center punch and hammer for a good starting point.
Drill the Rivet, Cool Down the Drill Bit, Alternate with the Hammer and Punch, and Increase the Bit Size
Drill out the rivet with a drill and drill bit. If the drill bit is getting hot, use grease or rust penetrant on the rivet to cool it down.
Halfway through drilling out the rivet, take a punch and hammer and see if you can break it the rest of way. If this doesn’t work, drill the rivet out more if needed. Upgrade to a larger size drill bit and keep the drill bit cool.
Repeat this process of drilling, chiseling, and upgrading the drill bit size and drilling again until the rivet has been removed.
You may upgrade to a much larger drill bit size. In our example, we started with an 8 mm drill bit and ended up using a 15/32″ bit size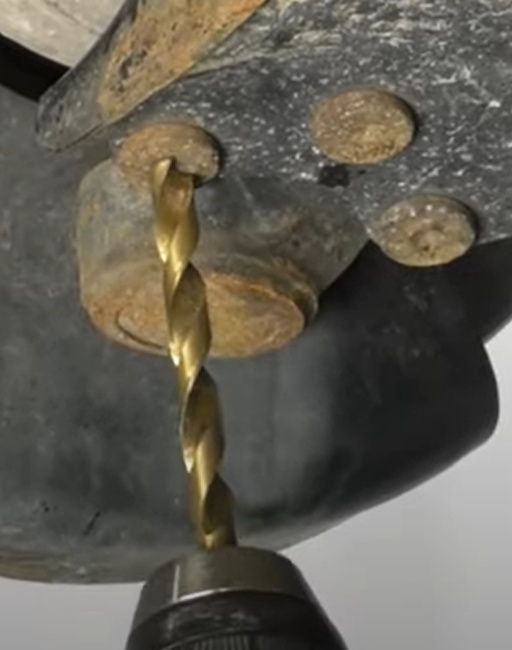
- Remove the Rivet with a Cutting Wheel and Hammer and Punch
Get a Cutting Wheel, Hammer, and Punch
You can also remove the ball joint rivets with a cutting wheel, hammer, and punch.
Avoid the Lower Control Arm
Try not to get too close to the lower control arm. You can scuff it up, but don’t dig in too deeply to it.
Wear Safety Protection
Wear ear protection and safety glasses.
Alternate Using the Cutting Wheel, Hammer, and Punch and Remove the Rivet with Pliers
Cut away at the rivet with a cutting wheel, and use a hammer and punch to remove the rivet. Alternate between cutting out the rivet and chiseling it with a hammer and punch.
Once it is ready to be fully removed, remove it with pliers. You may scuff up the area, which is fine as long as you don’t cut it too deeply.
- Remove the Rivet with a Cut-Off Wheel and Air Chisel
Mark an “X” on the Rivet with the Cutting WheelYou can also remove ball joint rivets with a cut-off wheel and air chisel. Create an “X” on the bottom of the rivet with the cutting wheel. Then air chisel the rest of the rivet off.
Air Chisel the Rivet Off
Marking an “X” with a cutting wheel will remove the ball joint rivet very quickly. You could try to chisel if off without cutting an “X,” but we guarantee it will come off quicker if you do.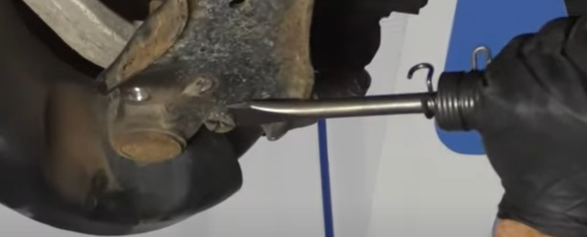
- Punch the Rivet Through with a Punch and Hammer
Last Step: Punch the Ball Joint Rivet Through with a Punch and Hammer
Whatever method you use to remove the ball joint rivets, punch them through with a punch and hammer from the bottom, and watch your fingers when doing this.
Lower the Control Arm with a Pry Bar, Tap the Ball Joint Loose to Remove It, and Remove the Ball Joint
Once the ball joint is loose, pry from the knuckle and lower the control arm with a pry bar. Then tap the ball joint out with a hammer. Continue to pry the control arm down, watch your fingers, and safely remove the ball joint.
DIY How-to Videos to Help with Repairs
Our how-to videos have instructions and tips from real mechanics to help you maintain, diagnose, and repair tons of parts. Follow the steps and learn many DIY repairs.
Shop Parts and Tools
- Brakes & Wheel Bearing
- Steering & Suspension
- Headlights & Lighting
- Drivetrain
- Heating & Cooling
- Fuel & Emissions
More Automotive Tips
- What Is a Tail Light? Tail Lights 101
- What Are Fog Lights?
- Parking, Corner, Side Marker, Turn Signal, Bumper, Repeater Lights & Reflectors Guide
- How to Diagnose and Fix A Squeaky Car Window