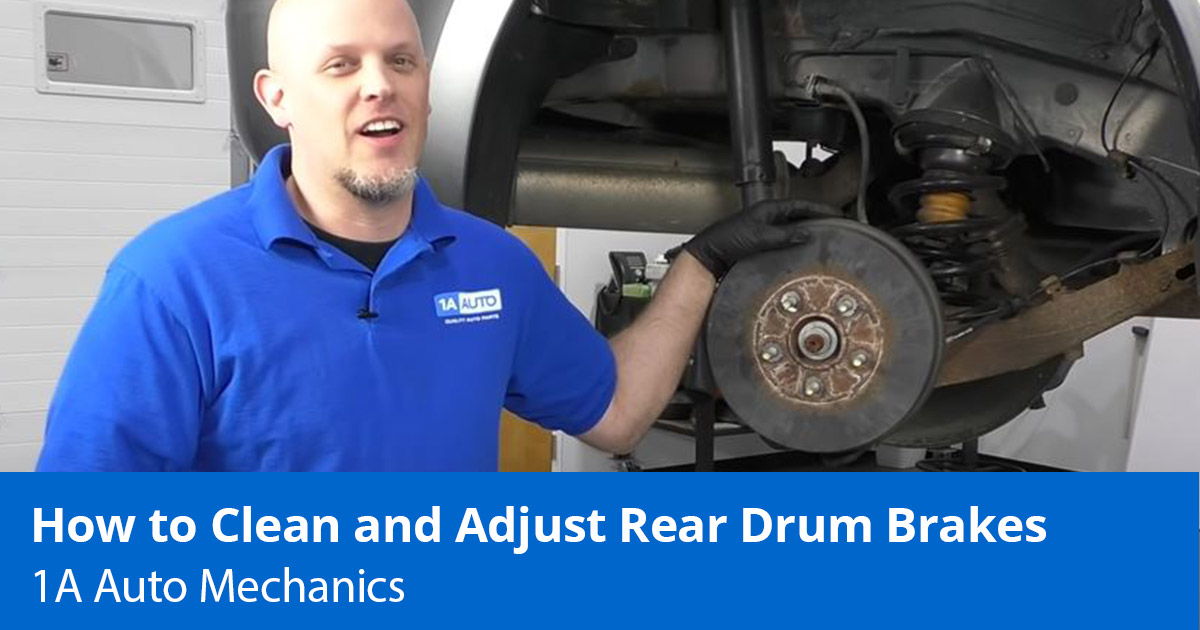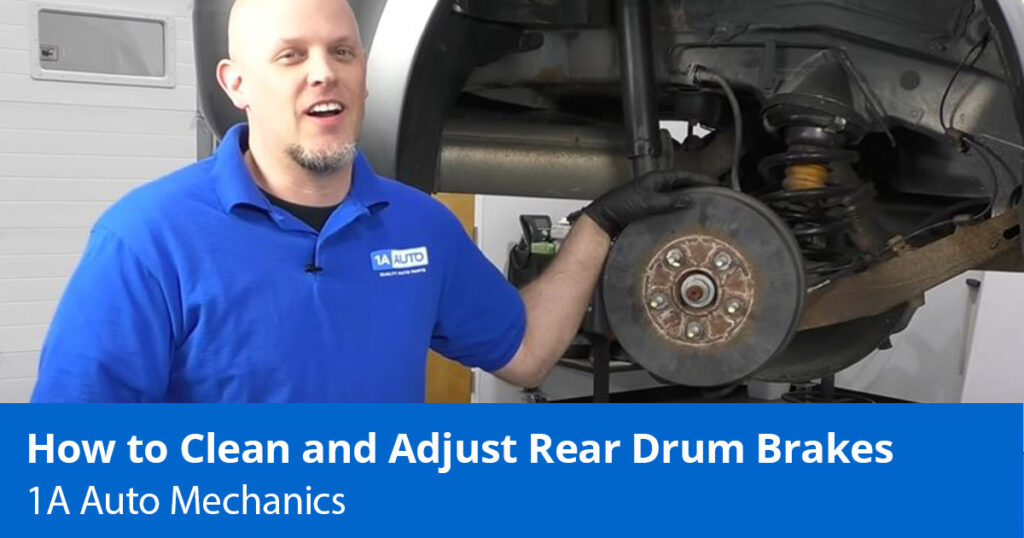
If your vehicle has drum brakes and you have a soft brake pedal, it might be time for a drum brakes adjustment. The drum brakes can be adjusted with a few simple tools. This post and video explains how to adjust the drum brakes yourself as well as clean them.

How Do I Know I Need to Adjust the Drum Brakes?
If your vehicle has drum brakes and you’re driving down the road, you may feel the brake pedal soften over time when pressed. Sometimes that’s from a malfunctioning self-adjuster. If the self-adjuster is having difficulty functioning, the rear drum brakes will need to be cleaned and re-adjusted. Giving the rear drum brakes an adjustment will help improve and make for safer braking.
Tools Needed to Clean and Adjust the Rear Drum Brakes
Items Needed
- Mask
- Gloves
- Ball peen hammer
- Pliers
- Flat blade screwdriver
- Brake parts cleaner
- Jack and jack stands
- Breaker bar
- Metric socket set
Steps for a Rear Drum Brake Adjustment
This procedure is very similar for most vehicles
1. Remove the Rear Brake Drum
General Steps for How to Remove the Rear Drum Brakes
- Turn the Parking Brake Off
Make sure the parking brake is off. Removing the brake drums with the parking brake on can change the adjustment or make it difficult to remove the brake drum.
- Jack Up the Vehicle and Remove the Tire
Loosen the lug nuts with the vehicle on the ground, raise the vehicle with a jack and jack stands, remove the lug nuts and tire
- Remove Clips from the Lug Nut Studs
Take off any clips from the lug nut studs with pliers by twisting and breaking them off
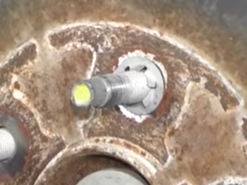
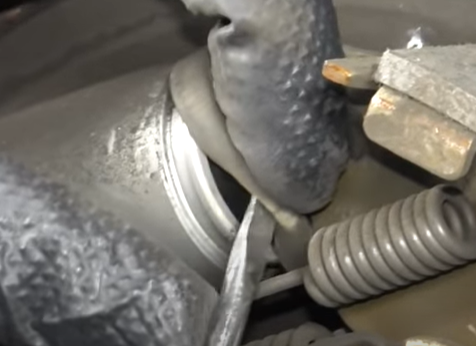
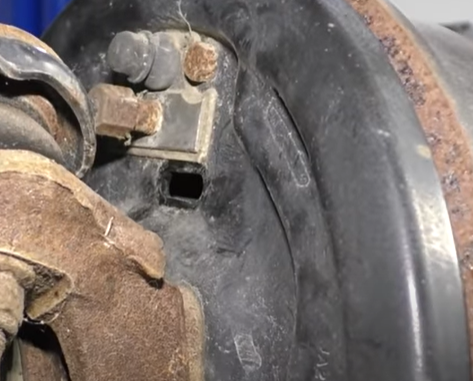
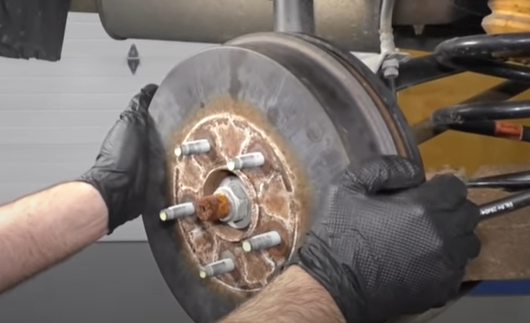
- Remove the Brake Drum Rotor
Remove the brake drum.
If the brake drum is stuck tight, strike around the flat areas between the lug nut studs with a ball peen hammer to loosen it. Try not to hit the studs. This should help brake any corrosion or rust that might be stuck to the brake drum.
Pro Tip: Remove the brake drum carefully. There will be a lot of brake dust in the brake drum that should not be inhaled. Wearing a mask can help prevent inhaling these particles.
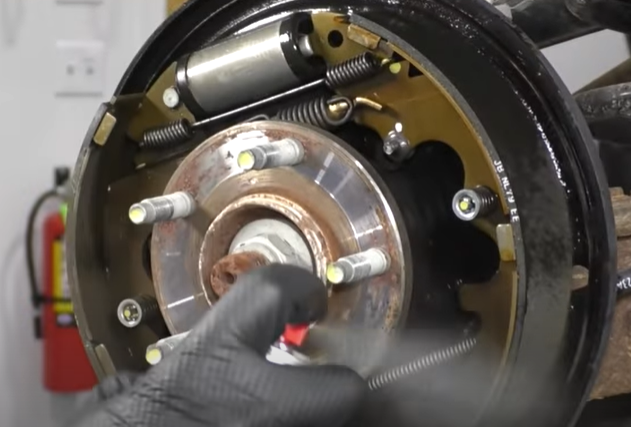
2. Check the Condition of the Brake Shoes and Adjuster
Check the Condition of the Brake Shoes
Measure the thickness of the brake shoes with a brake pad material measuring tool.
Brake shoes last a lot longer than brake pads do, so it’s normal for them to not wear as quickly as brake pads. Make sure the friction pad material is connected and lined to the brake shoe. Gently grab and pull the brake shoes to check for looseness. If the brake shoes are in bad condition, replace them.
Check the Condition of the Adjuster
Wearing a mask, check the wheel cylinder for leaks.
Lift the dust boots on the adjuster with a flat blade screwdriver without ripping or distorting it. See if the adjuster is dry. If the adjuster is leaking, replace it.
3. Clean the Brake Shoes and Drum
Spray all around the brake parts and coat them with brake parts cleaner without inhaling it or any of the dust that’s airborne. A catch pan or cloth can help catch any brake parts cleaner.
Spray the inside surface of the brake drum with brake parts cleaner in a well-ventilated area. Wipe the parts cleaner off with a rag or paper towel. Let the brake drum dry.
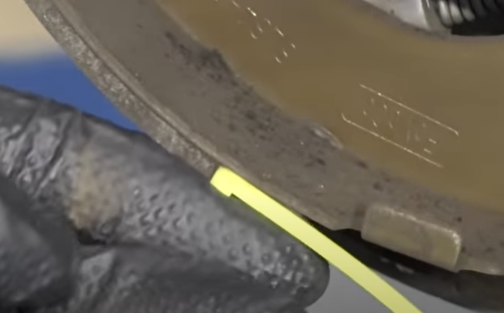
4. Adjust the Brake Shoes
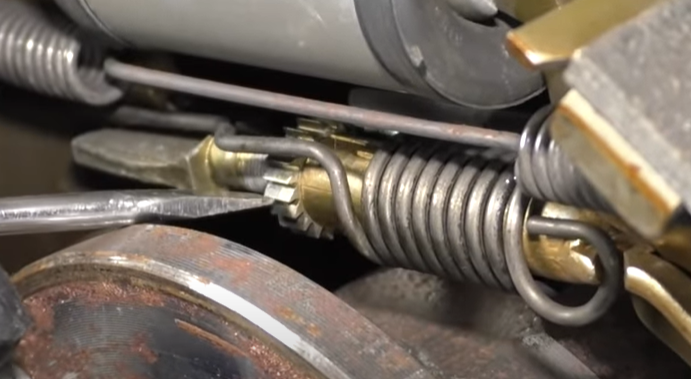
Find the adjuster. The adjuster wheel should spin the tighten the pads. Sometimes the adjuster wheel can fail.
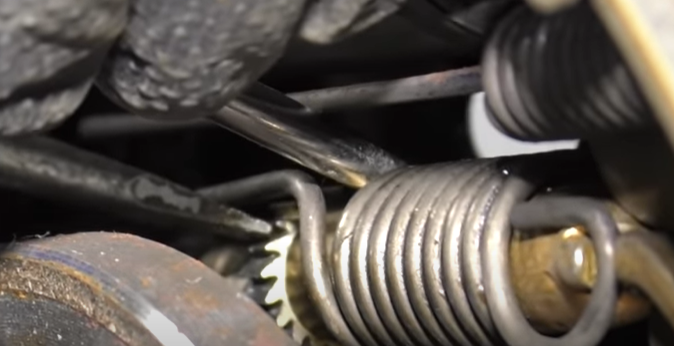
Turn the adjuster wheel with a flat blade screwdriver (in this case turning the adjuster wheel up tightens the shoes). Count and remember the revolutions or clicks the adjuster wheel makes. Then, with the brake shoes dry, lift the brake drum and turn it, feeling for drag. It helps to have the brake drum on the opposing side removed, since sometimes it can feel like the brake shoes are secure and tight enough but really have drag coming from the opposite side.
If the brakes have been adjusted too tightly, turn the adjuster wheel in the opposite direction. In this case we push on the lever in the back with one screwdriver for the automatic function and turn the adjuster wheel down to loosen the shoes.
On some brake drums, brake shoes can be loosened from a door behind the behind drum with a screwdriver or a special tool called a spoon that is bent and built for this specific task.
When the brake drum and shoes are tight enough to create resistance but still loose enough so the brake drum can move and spin, check and center the brake shoes and reinstall the brake drum.
Related Content
- How Long Do Brakes Usually Last?
- How to Bleed Brakes By Yourself
- Why Are My Brakes Sticking?
- Why is My Parking Brake Not Working?
Shop Brake Parts and More