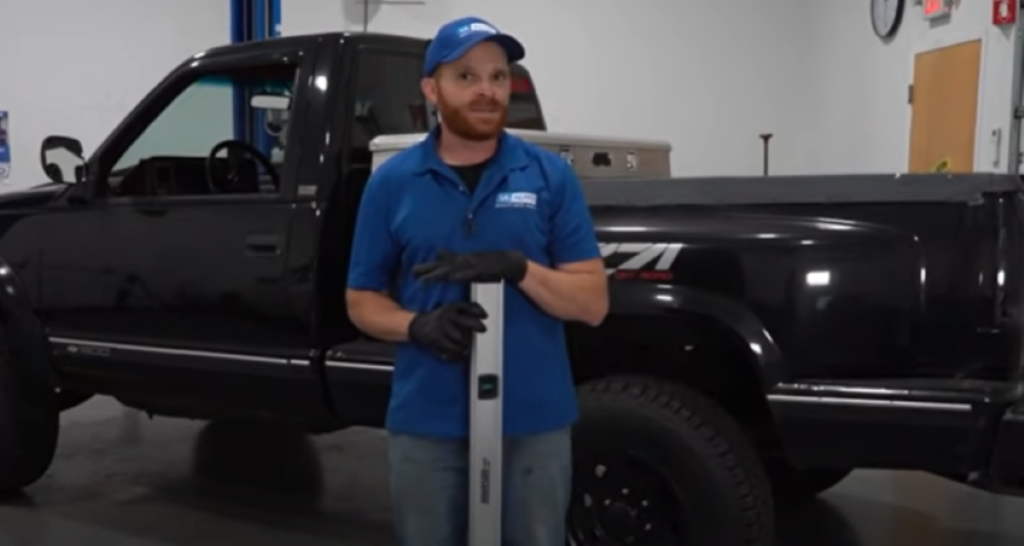
If you have a truck raised slightly higher at the rear, it will be ready for and capable of handling heavier loads, like weight in the bed or weight from towing, that may weigh down the rear. If you apply this weight to the rear of an evenly balanced truck, it risks having the front unsafely lose traction with the road. You’ll need to adjust the torsion bar suspension to change the rake on your vehicle. This guide and video has torsion bar adjustment tips from an expert mechanic, and we review what rake is and why it’s important in making sure your truck is leveled properly.
Torsion Bar Adjustment Tips: What Is Rake? Why You Need to Know About It

What Is Rake on a Truck?
Rake is how far forward your truck leans, or how high the rear is raised, and this can be adjusted by tightening or loosening the torsion bars. You want to have your truck raised a little more at the rear. This way, when there is a heavier load in the truck bed, the extra weight will not throw the truck off balance enough to lose traction at the front.
Why Do Trucks Have Rake?
If a truck is kiltered evenly or evenly balanced without weight, when heavy loads are applied in the bed or from towing, it’s less safe and more likely to cause the wheels to lose traction at the front instead of the rear losing some height from the extra load.
What If My Truck Has Too Much Rake?
Too much rake at the front could cause the truck to skid out, or slip in unsafe conditions. The lack of pressure to the wheels will reduce traction, and that increases your chances of losing control of the vehicle.
Can I Adjust the Rake on My Vehicle?

You can adjust the rake with the torsion bars. Decide how much rake you want depending on how you use your vehicle. If you tend to lug heavy objects and tow, you’ll want more rake than if you use your truck more as a daily driver without doing a lot of heavy lifting that will weigh the back down.
How Can I Measure My Vehicle’s Rake?

To find out how much the vehicle sags, fully load it up and take a measurement so you know how much sag there is in relation to the front. If you find that the truck is level or lower in the rear, you’ll have issues with steering and braking, especially around corners. If you hit a bump, you might lift the front of the truck off the ground and lose traction.
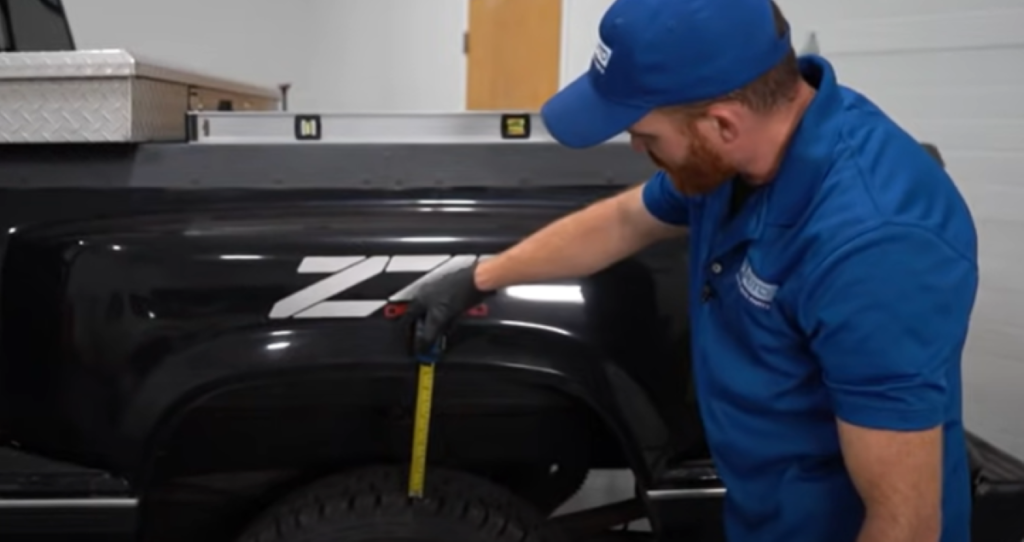
Place a leveler on the bed rail to see how well your vehicle balances. With a tape measure, you can also measure the distance from the tire to the wheel well. Check all four tires and compare measurements.
Torsion Bar Adjustment Tips: How to Adjust the Torsion Bars Yourself Properly
What Is a Torsion Bar?

You can find the torsion bar from the center of vehicle to the lower control arm. It’s purpose is similar to a shock absorber, and it absorbs shocks from bumps on the road for a better ride quality. It works like a spring under tension to make sure the wheel stays connected to the ground.
Today, different vehicles will have different front suspensions, like torsion bar, coil springs or leaf springs. Leaf springs are mostly on the rear but you might see the coil springs and torsion bars on the front of many vehicles.
Steps for a DIY Torsion Bar Adjustment
How to adjust the torsion bars yourself
- Lift the Front of the Truck Up from the Frame
Get the front wheels up off ground. Lift it from the frame so suspension can hang.
- Find the Adjustment Area
The adjustment area is behind the transfer case on most pickup trucks. You will have to tighten the bolt on the torsion bar to adjust the rake. You’ll find this bolt attached to a lever. The lever is attached to the torsion bar leading to the front control arm.
If you find the bolt loosened all the way down, it is de-adjusted completely. This means the truck has maximum rake, where the front is lower than the rear.
Adjust the other side in the same area.
- Decide How Much Rake You Want
Decide how high you want to raise the front. You don’t want the same measurement for the front and rear. You want the front a little lower. For example, you may want 8 inches at the rear and 7 ½ inches at the front.

- Turn the Bolt to Adjust It
You want both sides of front at same level as each other. You don’t want one side higher than the other. Take a measurement for an accurate number by measuring from the wheel to the wheel well with a tape measurer.
If the sides are uneven, de-adjust the bolts so they are loosened all the way down and start from the beginning for a precise measurement.
1/2 of a turn will raise the vehicle by 1/8 of an inch.
To raise the vehicle 1/2 of an inch, turn the bolt for 2 full rotations.
- Once Adjusted, Take the Vehicle for a Road Test
Once you’ve adjusted the height, road-test the vehicle to see how well it drives.
- Remeasure the Height After Road-Testing
Once you’ve road-tested the vehicle, remeasure the height to confirm it’s adjusted.
- Adjust the Screw and Road-Test Again If Needed
If the height still needs adjusting, adjust the bolt on the torsion bar as needed and road-test the vehicle again. Make sure the passenger and driver side are level.
DIY Videos: Learn to Fix Your Car
Learn how to fix your own car. Do you own DIY repairs with steps from our expert mechanics that have instructions for hundreds of makes and models.
More Automotive Tips
- What Is a Solenoid in a Car? Solenoid Valves Explained
- TPMS Meaning, What to Do When the TPMS Light Is On, and More
- How to Reset Your Car’s Computer
- DIY Plastic Bumper Repair: How to Fix a Cracked Bumper Yourself
Shop Parts


