If you’re interested in doing your own window regulator repair, there are a few things you should know. This article and video reveals some common mistakes, general tips, and what to avoid when removing and installing a window regulator yourself.
How to Do Your Own Window Regulator Repair
Steps for a DIY window regulator repair
- Remove the Door Panel Correctly
Find All the Fasteners on the Door Panel
Door panels are not designed the same. Some door panels have fasteners and push-pins that look like the trim on the door panel, some are fastened with screws, and some are fastened with both.
Find all the locations of these screws and push-pins. You can usually find them around the perimeter of the door panel, and in areas like behind the door panel or in the door pull. You may have to pry off trim doors to access the screws.
Slide the Door Panel Up, or Pry It off with a Trim Tool
Door panels also connect to the door differently. Some have pins that press into the door, requiring you to pry off the door panel with a trim tool. Other door panels may have metal slide pins, requiring you to remove the panel by sliding it up.
Try to lift the door panel up and off. If it’s not sliding up, pry around the trim panel to loosen the clips and remove it from the door.
Disconnect Wires and Hooks Before Completely Removing the Door Panel
Once the door panel is loose, don’t yank or pull the door panel off right away, especially if there are wires and hooks still connected to parts like the window switches and door handle. Pulling the door panel too hard and quickly can damage these parts. Disconnect the door panel and, with it loose, disconnect any remaining parts still connected to it.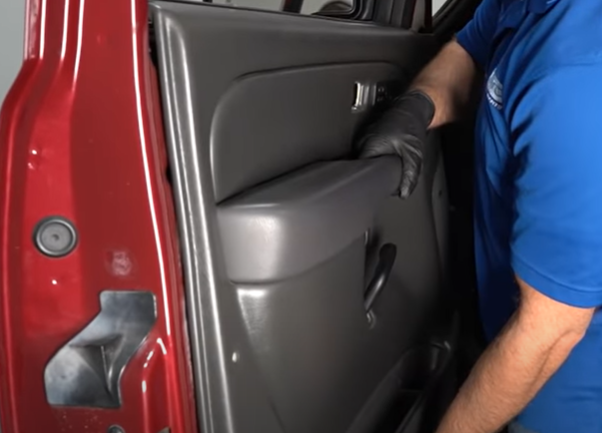
- Disconnect the Window and Secure It Properly
Lower the Window
If you can move the window down, lower it so you can access the area that connects the window regulator to the window. You may have to move the window down manually or lower it by turning the key to the ON position and reconnecting a window switch.
Disconnect the Window Motor
If the vehicle has power windows, disconnect the window motor. Some window motors will still work with the vehicle turned off.
Disconnect the Window from Fasteners on the Window Regulator
Support the window and disconnect any fasteners from the window that are securing it to the window regulator.
Some window regulators have a channel for the window to clip in, and some have brackets that glue to the window, which can be hard to get off. A torch or heat gun can loosen brackets that glue to the window, but you want to disperse the heat evenly throughout the window. If you concentrate the heat to just a little area, you could shatter the window glass.
Secure the Window in the Window Channel With Tape
You could remove the window from the door, but you risk breaking it. We recommend pushing the window all the way up and securing it in place with painter’s tape. Place the tape on one side, bring it over the top of the door, and secure it on the other side. Use a couple pieces of tape along the length of the window. Make sure the glass is clean so the tape sticks and the window doesn’t loosen and fall down into the door.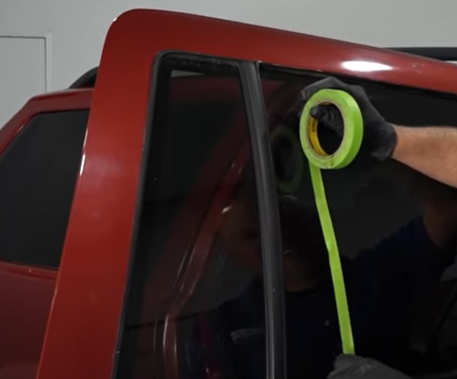
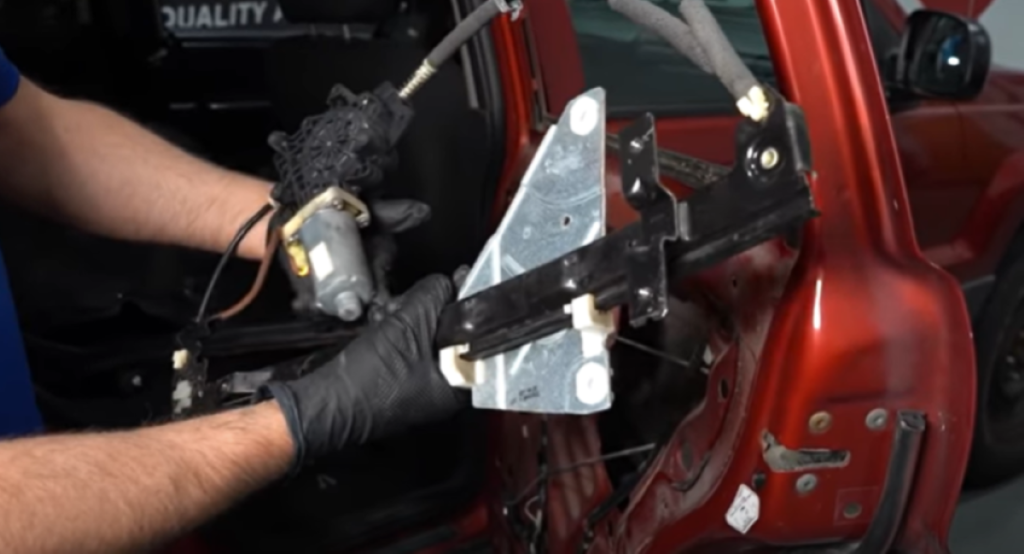
- Remove the Window Regulator Carefully from the Right Area
The window regulator should maneuver out of the door. There is no need to use force and yank or pull the regulator out of the door, and doing so may damage other parts or hurt you.
There are different areas and holes on the door. Find the area that the window regulator will fit through and remove the regulator through this area.
All window regulators are different, so they will need to be removed from different sections depending on the vehicle.
Read more about the different kinds of window regulators - Be Careful When Removing the Window Motor
Newer vehicles usually have cable-style window regulators. If you’re just replacing the window motor, carefully remove it so the cable, for example, doesn’t loosen. If the cable on the regulator does loosen and separate, it can usually be fixed without having to replacing the entire part.
Scissor window regulators have a loaded spring that is under a lot of tension, so you want to be careful when removing the motor. Tension will release when the motor is removed and there are a lot of pinch points on the regulator, so don’t place fingers in any open areas.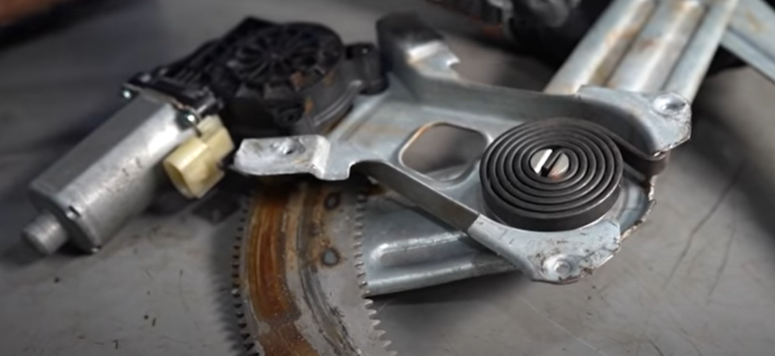
- Install the Window Regulator in the Same Position
You want to place the window regulator in the same position it was originally in. Some regulators twist and position a certain way, and it’s important to put them at the right angle when installing.
The window regulator is also meant to be closer to the door, so don’t put the window over the regulator when it should be behind it, for example. Doing so can break the window when you try to lower or raise it.
- Torque the Bolts to Secure the Window Properly and Check the Weatherstripping
Some windows will clamp to the window regulator with a bolt and two pieces of rubber. If the window is going to be secured with bolts, check the torque and tighten the bolts to the right specification. Tightening the bolts too tight can break the window.
Make sure there is weatherstripping in the window, and if any came off during the repair, reattach it. If there is no weatherstripping, the window can rattle and eventually break.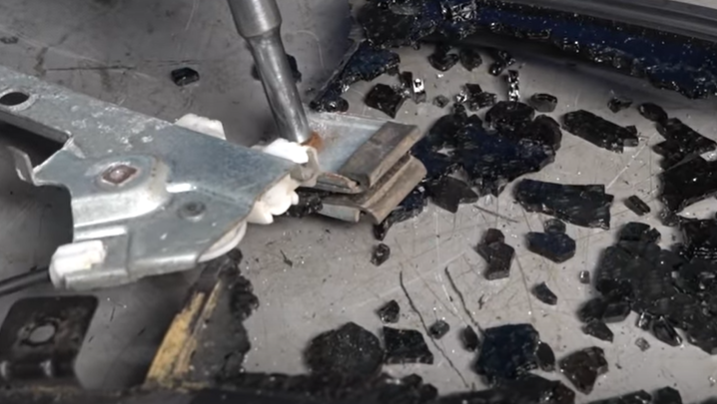
Learn to Do More Than Repair the Window Regulator on Your Car
We have thousands of how-to videos to repairs and diagnostics on hundreds of makes and models. Let our experts guide you with our step-by-step instructions and learn how to do DIY repairs on your car, truck, or SUV.
More Tips
- Car Window Rattling?
- Why Is My Power Window Not Working?
- Car Window Won’t Roll Up or Down? How to Diagnose and Fix Power or Manual Windows
- Brake Installation Tips: How to Change Brake Pads, Brake Rotors, Brake Calipers, and More Correctly
Shop Parts

