Learn How to Diagnose and Fix Bad Brake Lights.
It’s not always easy to notice when your brake lights are not working. Sometimes, you may not even realize that your tail lights are not working until someone else points it out. Other times, you may get pulled over for it. Some modern vehicles make it easier for owners by producing a warning light on the dashboard to inform the driver of a bad brake light or tail light.
Whichever the case, you’ll need to check your brake lights to find out what’s the issue. There could be a bad bulb, a burnt fuse, or some bad wiring. In this post, we’ll teach you how to diagnose tail lights or brake lights that are not working. We’ll also provide some tips on how to fix the problem whether you have just one brake light that’s out or all of them.
Tools you’ll need to test bad brake lights
1. Test light
2. Jumper harness

How to Diagnose Car Tail Lights or Truck Brake Lights That are Not Working
1. Check for Burnt Fuses
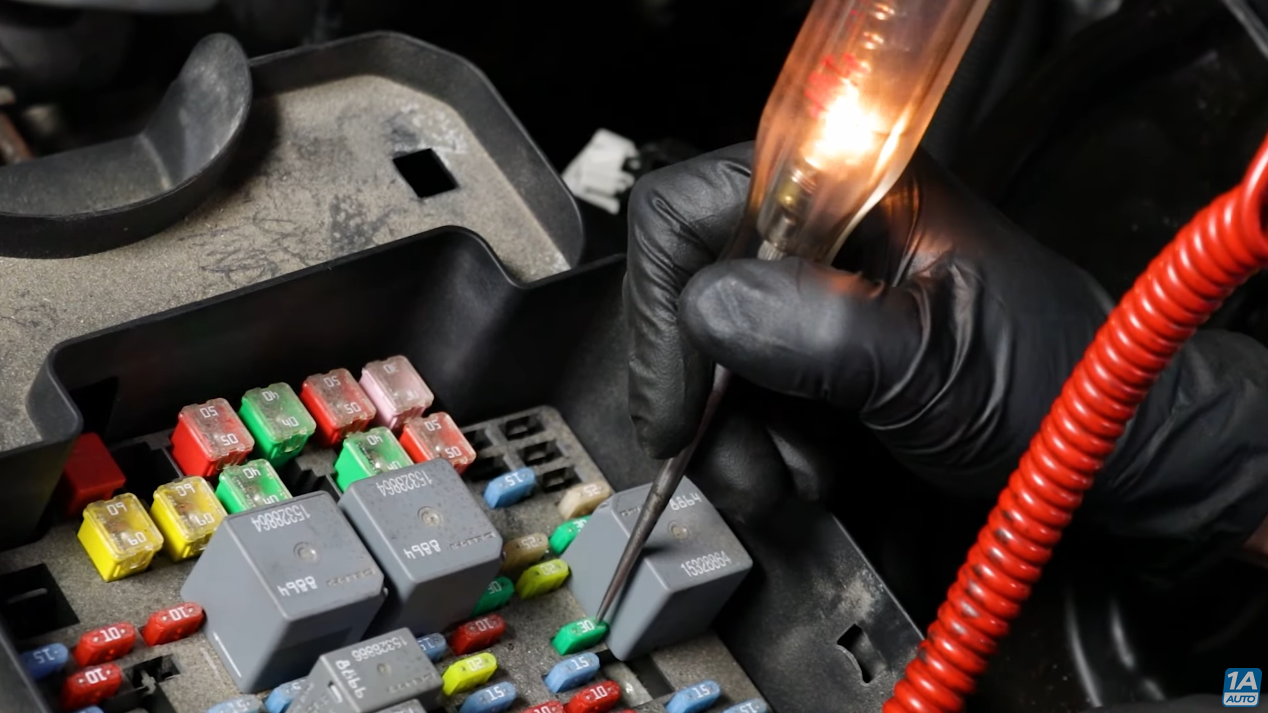
Regardless of whether you have just one brake light or all of them not working, it’s always best to check your car fuses. Your vehicle could have up to three different fuses dedicated to each tail light. When either of these is damaged, you could either have just one, two, or all brake lights out.
Take out each fuse and check if it’s burnt or broken in the middle. Alternatively, you could test each of them with a test light. Turn your key ON and place the test light on each contact on the fuse. As long as the light lights up on both sides, then you know that your brake light fuses are good.
If you have a bad fuse, replacing it could solve the problem. However, fuses don’t just go bad on their own. It’s important that you check for corrosion, a wiring problem, or a connection issue at the tail light or brake light bulb. These could be the reason behind the burnt fuse.
2. Check the Trailer Connector

In some cases, a corrosion problem at the trailer wiring could cause your lower tail lights to stop working. You’ll need to clean the connector and apply some dielectric grease to prevent further corrosion. Dielectric grease is a viscous substance that coats the car’s electrical connections to waterproof and prevents future corrosion. This may, not only, fix your current brake light problems but could prevent further issues.
Other times, you could have connected a trailer with an issue in its wiring which took out the lights without you noticing. You’ll need to check your brake lights and tail light bulbs to see if they are blown.
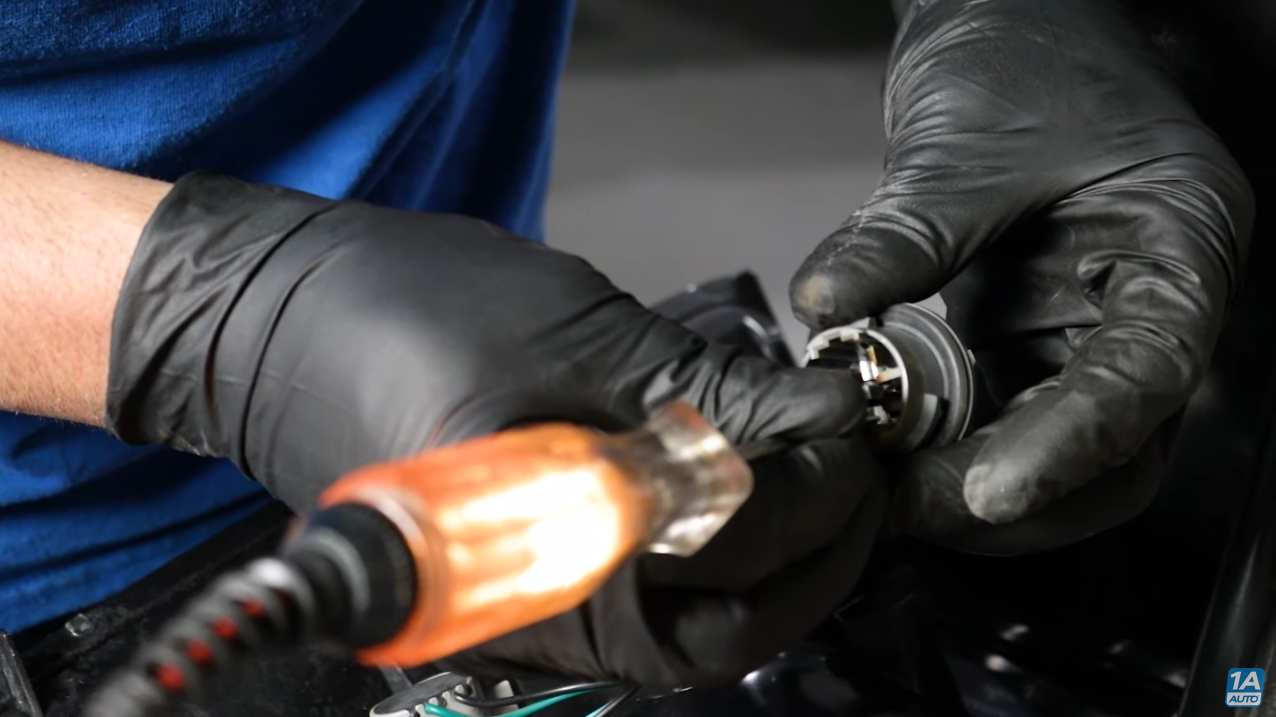
3. Check the bulb and its connection

Take your tail light bulbs out and check their connection. There could be rust that has accumulated over time. If that’s the case, you’ll need to clean it off. `
If there’s nothing wrong with the connection, check the bulb to see whether the filament is broken. Sometimes, it may look fine but still have an internal break. You can swap the bulb with a new one of the same type to confirm. If the new one works, you’ll definitely need to replace the old one.
4. Test the bulb connection
If your bulb is fine and the connection is not corroded, you’ll need to test the terminals with a test light. Check for power and ground while someone steps on the brake pedal.
To test for ground, connect the test light to the positive terminal of the battery and use the tip to test the terminals. Be careful not to touch more than one terminal at the same time as this could cause them to spark. If the test light lights up, then your ground is good. If your car has a third brake light, test it in a similar manner.
5. Trace the bulb wiring
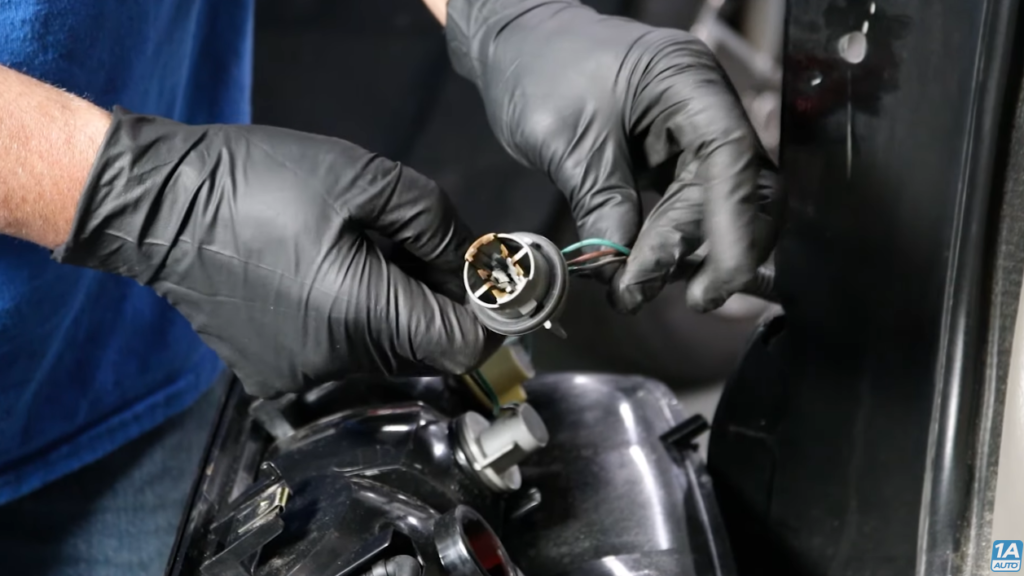
If you’re diagnosing a vehicle that has just one brake light out, you can trace the wires from where they connect to the bulb. Depending on the type of vehicle, they may go straight to the brake pedal or to a junction block. You may need to replace your tail light wiring harness or a damaged or corroded junction block that needs to be replaced.
6. Test the brake light switch

A bad brake light switch could also be the culprit behind tail lights that are not working. You should find the switch located just behind the brake pedal. But, its location could vary depending on the type of car you own.
To test the brake light switch, take a jumper harness and connect it to the connector. You’ll have to first find out which wires go directly to the brake lights. Jump those wires by connecting them to the jumper harness. You can have someone check the brake lights as you do it.
If the lights work while you’re using the jumper harness, your switch is damaged and you’ll need to replace it with a new brake light switch.
A ScanTool Can Detect Brake Light Problems on Newer Vehicles

Newer vehicles have a body control module that sends signals to the brake lights whenever you step on the brake pedal. A scan tool helps to check if you have an internal problem, a bad brake pedal switch, or an issue with the programming of the control module. It also helps to carry out most of the diagnosis outlined in this post. This will guide you on what parts to repair or replace.
For Related Blog Posts from 1A Auto: