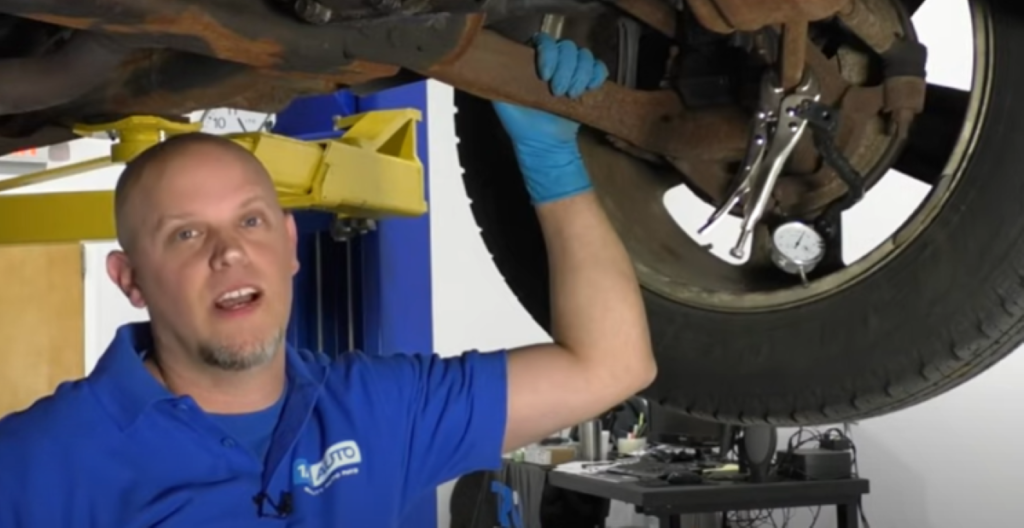
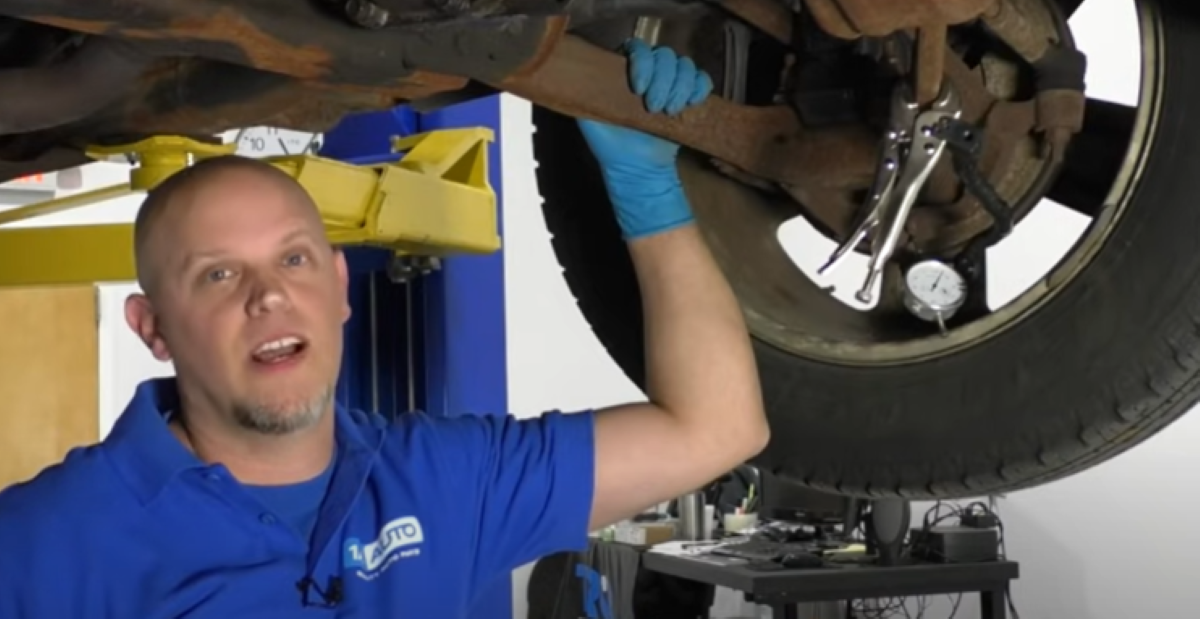
If you want to know the condition of the front lower ball joints on your vehicle, you can check them with a dial indicator. We review bad lower ball joint symptoms and how to check front lower ball joints with a dial indicator, floor jack, and a pry bar.
How to Inspect the Front Lower Ball Joint

What Is a Load-Carrying Ball Joint?

A load-carrying ball joint is a ball joint installed on vehicles where the weight is on the control arm, which pushes down on the ball joint to stabilize.
The location of the strut’s coil spring can tell you if your vehicle has a load-carrying ball joint. If the spring attaches to the lower control arm, you have a load-carrying ball joint. If the spring attaches to the upper part of the knuckle, the lower ball joint is not load-carrying.
Torsion bars that connect to the lower control arm also mean you have a load-carrying ball joint.
Signs of a Bad Ball Joint
- Boot of the ball joint is ripped
- Ball joint is binding
- Ball joint squeaks when turning left or right
Replace the ball joint if the boot is ripped, the ball joint is binding, or if you hear the noise of a bad ball joint, like squeaking when turning.
How to Check the Front Lower Ball Joint for Play with a Dial Indicator
You can measure how loose or how much play is in the front lower ball joint with a dial indicator and the knuckle suspended. A dial indicator will measure the distance between the control arm and the knuckle, and the ball joint’s movement as the knuckle moves up and down.
To check a load carrying ball joint, steps will include raising the suspension to take weight off the lower ball joint, and lifting a pry bar from underneath the tire to measure how much play there is.
Play in the ball joint doesn’t always mean it’s defective. A ball joint in good condition will meet a certain tolerance of play, which is up and down vertical movement. You can find the tolerance number in a repair manual for your vehicle.
Too much tolerance or a lot of side-to-side movement means you’ll need to replace the ball joint. In this example, we check the condition of a ball joint on a 2009 Chevy Suburban, which is allowed 20,000 tolerance of play.
Steps on how to check for bad lower ball joint symptoms
- Set Up the Dial Indicator
Attach locking pliers to the lower control arm and press the gauge to the knuckle. Lock the dial indicator so it stabilizes, and make sure the gauge isn’t touching the tire.

- Support the Lower Control Arm and Raise the Suspension
Jack up as far out as possible on control arm without hitting the dial indicator tool. You might have to readjust the dial a little. Raise the lower control arm so there is about an inch of clearance underneath the tire.

- Zero the Gauge, Put It in Place, and Move the Tire Up and Down to Feel Movement
Zero the gauge, raise the tire from underneath with a pry bar, and feel for play. You can have an assistant do this while you check the gauge.

- Measure the Ball Joint’s Tolerance
Check the gauge to see what condition the ball joint is in. In our example, the measurement is at 50,000 tolerance, which is 30,000 over spec, so we replaced the ball joint.
If the ball joint is only moving at about 10,000 tolerance, it is in good condition.

Learn How to Repair Your Own Car
Watch our how-to videos and learn how to do your own repairs. Our expert mechanics have tips and instructions top help you diagnose and replace tons of parts.
Read More Tips
- Common 4.0 Liter Jeep Engine Problems on the 1984 to 2001 Cherokee
- How to Remove Ball Joint Rivets
- Exhaust Manifolds 101
- What Does an Alternator Do?
Shop Parts and Tools

