Just because you have a cracked bumper on your car doesn’t mean you need to replace the entire thing. Knowing how to fix it can save you hundreds. If you’re able to close the crack’s gap on your bumper, you can attempt this repair yourself. This article and video covers how to do your own plastic bumper repair with a fiberglass repair kit and tips from our expert mechanic, Andy.
How to Fix and Repair a Cracked or Broken Bumper Yourself
Tools Needed for a DIY Plastic Bumper Repair
- Wire Ties
- Acetone Cleaner
- Rag
- Compressed Air
- Sandpaper
- Sanding Block
- Dual Action Sander
- Fiberglass Repair Kit
- Paint Brush
- Paint Mixing Stick
- Painter’s Tape
- Plastic Sheet
- Piece of Cardboard
- Squeegee
- Fiberglass Resin
- Fiberglass Resin Hardener
- Regular Body Filler
- Regular Body Filler Hardener
- Fiberglass Body Filler
- Fiberglass Resin Body Filler Hardener
- Primer
- Paint
- Clear Coat
- Protective Eye-Wear
- Mask
- Gloves
- Die Grinder
- Scuff Pad
- Locking Pliers
- Wire Cutters
- Utility Knife
DIY Repair: How to Fix a Cracked or Broken Plastic Bumper Yourself
- Remove the Bumper
You’ll need to remove the plastic bumper to do this repair and get access to fix the damage.
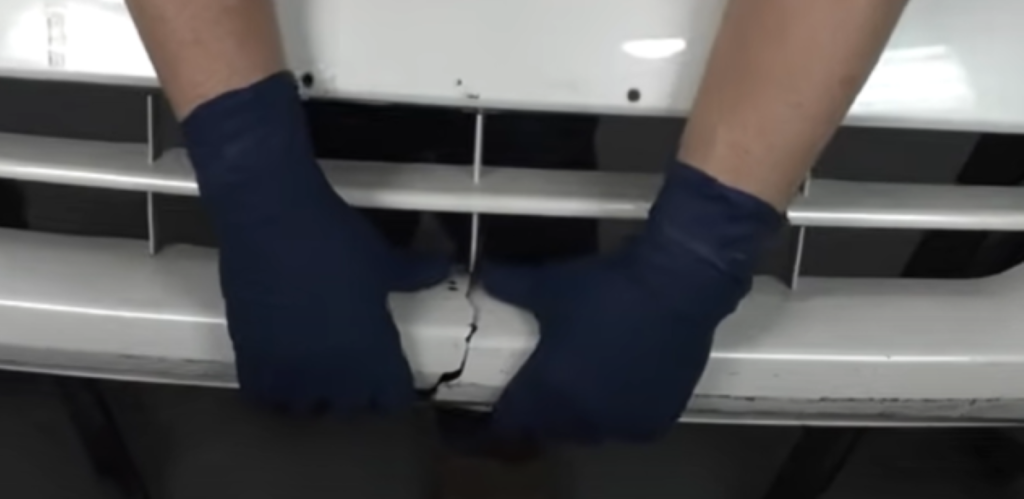
- Line the Crack on the Plastic Bumper Up and See If It’s Repairable
Close the gap and line the crack up as best as possible. Look at it from the back of the bumper and inspect it. Decide if you can repair the crack or if it’s repairable.
- Sand the Cracked Area
Wear safety glasses and a mask.
Take a sanding disk and die grinder and grind two inches on each side of the crack and a little in between the crack to roughen up the area.
We are using a fiber glass repair kit in this example, so we want to create a good surface the fiberglass can stick to.
Some kits may not use fiber glass. Some may use epoxy or items like screens, but you will still likely need to sand down that area before applying anything.
If the sanding disk is too big for some areas, you can trim it down with a pair of scissors.
Try to sand the crack itself. Sand the edges and shape the crack like a V so the material can get inside.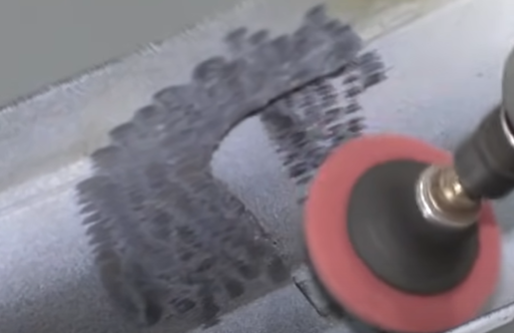
- Clean the Area
Clean the front and back of the cracked area on the bumper with acetone cleaner and a rag.
- Wire-Tie or Tape the Crack to Prepare and Secure It for the Repair
If the crack is larger, you might be able to press it together. You can secure it with wire ties. If needed, drill a hole on each side and tie the wires ties together.
If the crack is small, tape it together. This will keep it secured for the repair. Add a second layer of tape for security.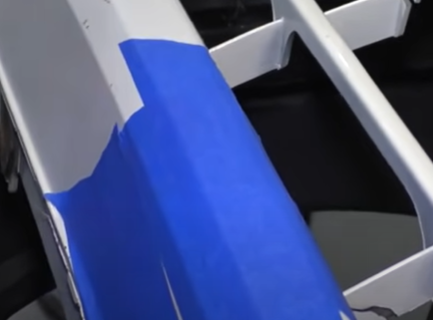
- Clean the Area
Wipe the back of the bumper with acetone cleaner.
- Mix Resin with Hardener and Apply the Mixture and Fiberglass to the Crack
You want the fiber glass strips ready before you mix the resin because you only have so much time to apply it. So cut a piece of fiber glass that covers 2 inches on both sides of the crack.
Follow the directions on the resin’s container. Mix 1 ounce of resin with 10 drops of hardener. If you think you need more, double the amount to 2 ounces and 20 drops. Then mix the mixture with a paint mixer.
Wear gloves and work in a well-ventilated area. Take a paint brush, and from the back of the bumper, paint the mixture deep into the grooves of the crack, filling it up. Apply the pieces of fiber glass to the back of the bumper on top of the mixture. Press the fiberglass on with the paint stick. Then paint another layer of the mixture on top of the fiber glass. Repeat this until the bumper has enough layers of fiber glass. We added 4 layers.
After the fiberglass is applied to the cracks, let it dry for 2-24 hours.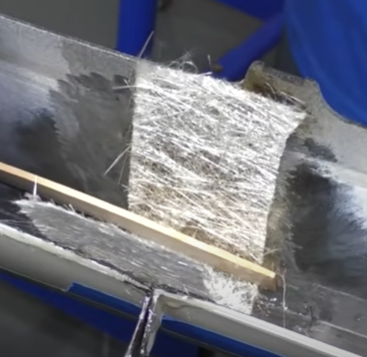
- If the Crack Is on the Grille, Tighten It with Wire-Ties or Pliers
If the crack is on the grille, apply the mixture and fiberglass. Place paper on the teeth of the locking pliers to prevent the pliers from sticking, and tighten the locking pliers over the area to mend the crack until it dries. You could also tighten the grille with a string of wire-ties.
Let the crack dry for 2-24 hours, then cut the wire-ties with a wire cutter.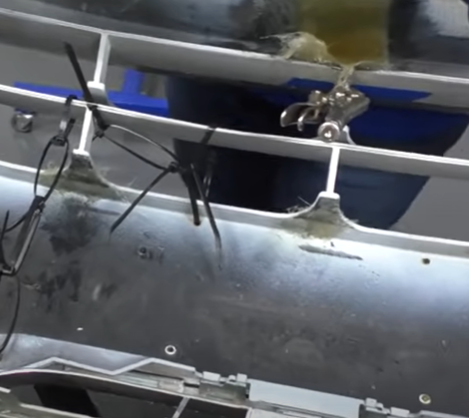
- Remove Excess Fiber Glass
Cut out any excess fiber glass with a utility knife. It’s not needed, but it can clean back of the bumper
If its too thick, you can cut it off with a grinder, but be careful not to cut yourself.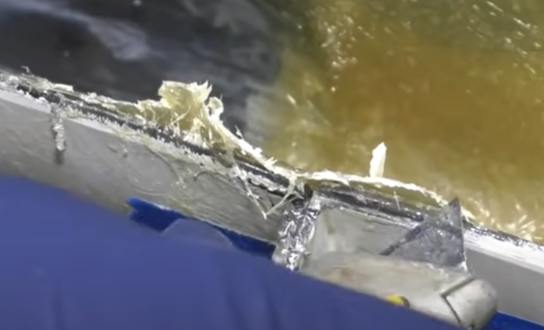
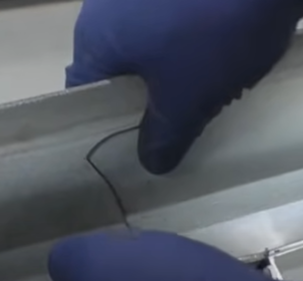
- Inspect the Crack
Inspect the crack from the front and see how well it tightened.
To make it stay and look less visible, you can sand down the front of the bumper and add fiberglass to the front by repeating steps 3 to 9. This can raise the front of the bumper up and take a lot of time to smoothen. Alternatively, you can sand along the crack and fill it out with body filler that has fiber glass.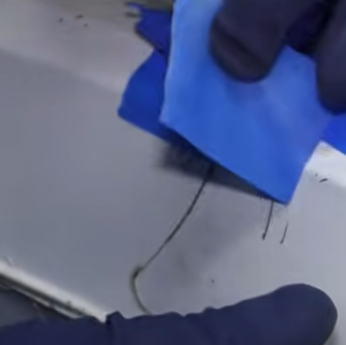
- Sand the Front of the Bumper
Sand the cracked area on the bumper with a die grinder. Wear a mask. You could sand by hand, but it will take long.

- Clean the Area
Wipe the area clean with a rag and acetone cleaner.
- Apply Fiberglass Filler
Take a piece of cardboard and plastic and put plastic on the cardboard.
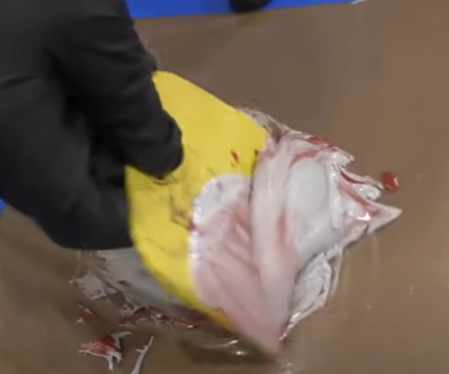
Place body filler on it and then apply the hardener. Follow the directions, but generally you’ll put a circle of fiber filler on the cardboard and then a line of hardener across its diameter.
Mix it with a plastic squeegee. Make sure not to stir but mix it until its all 1 color, which is usually brownish.
Press the filler on top of the front of the crack and put on the coat. Do it quickly since it has 10 to 15 minutes to dry. As you apply it, smoothen it as much as possible or you’ll have more filler to sand down.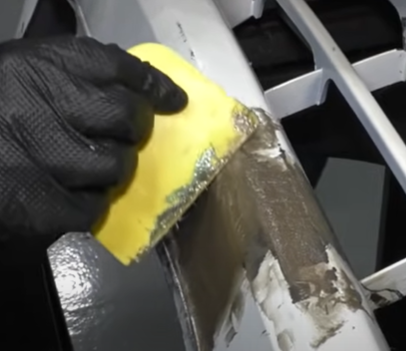
- Sand Down the Filler
Once it’s dry, sand the area with 80 grit sandpaper with a sanding block and dust mask. You could also use a fan to blow the dust away.
When sanding on a plane, keep the block flat and sand in one direction. This will help sand out and blend the corners. The more you sand, the better it will come out.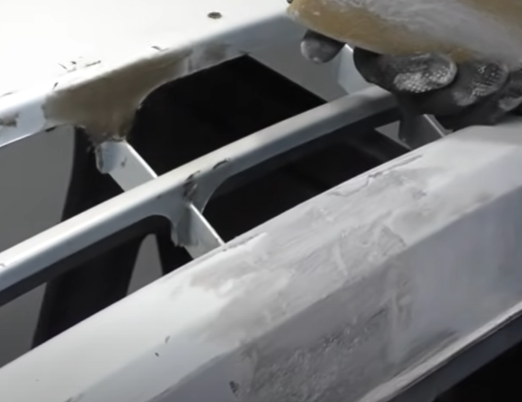
- Apply Body Filler to the Front of the Cracked Bumper
Fill any pin holes with another layer of body filler or regular body filler, but not fiber filler. Then repeat the steps 13 and 14.
- Sand the Filler on the Front of the Bumper
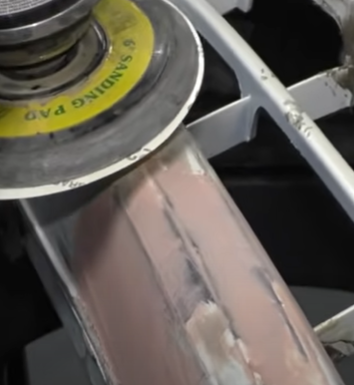
Let the filler dry and then sand it with a dual action sander. You could use a block and apply more filler and sand until the surface is even with the bumper.
- Dry the Area with Compressed Air and Clean It
Dry the area with compressed air and wipe it down with cleaning alcohol.
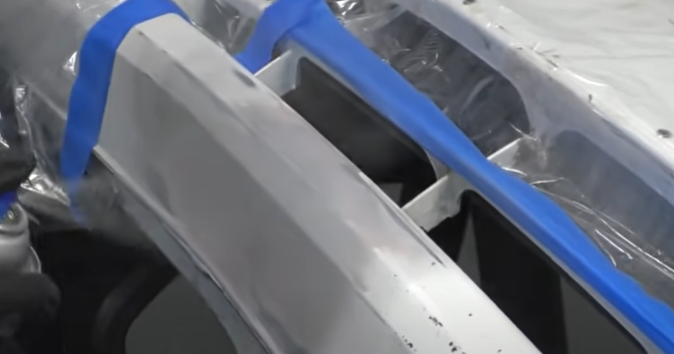
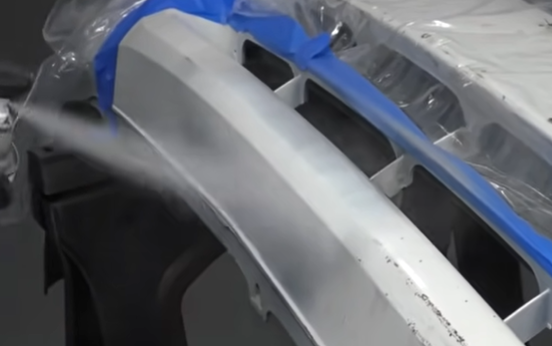
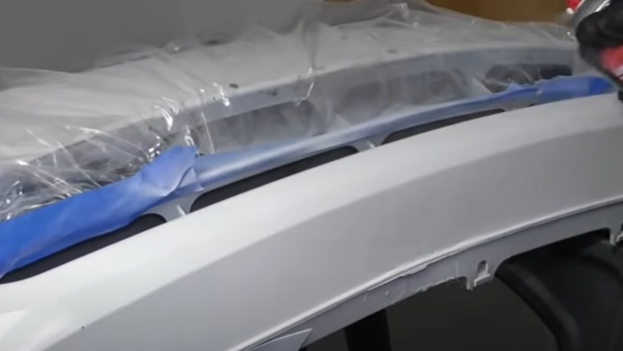
- Apply Primer
In a well-ventilated area wearing a special mask, add primer to the bumper. You can scuff any surrounding areas of paint with a scuff pad to make the paint stick better before applying the primer. Make sure you section off the area with plastic or newspaper. Use a specific kind of primer for a plastic bumper, and follow the directions on the can so it’s at the right temperature. Apply the primer and let it dry.
- Apply Paint
If needed, put the paint in a warm bucket of water before using it so it is at the right temperature. Paint the area on the bumper cover. If the paint isn’t an exact match, blend it the best you can. Let it dry, add a 2nd coat, and then put the clear coat on.
- Apply Clear Coat
Let the clear coat warm to the right temperature in a bucket of warm water. Shake the can and follow the directions on it. Then apply the clear coat.
DIY How-to Videos: Watch More Tips
Learn how to repair more than a plastic bumper with our how-to videos. Our mechanics have instructions and tips for DIY repairs for hundreds of makes and models.
Automotive Articles: Read More Tips
- How to Get a Dent Out of a Metal Bumper
- How to Fix Paint Chips on a Car, Truck, or SUV
- Why Is My Brake Light On?
- Is It Illegal to Drive with a Headlight Out?
- Signs of a Bad Starter
Shop Quality Auto Parts

