How to Diagnose and Fix a Bad Air Suspension Kit in GM Vehicles
It’s important to check if your GM needs a new air suspension kit as soon as possible since a leaky air suspension strut can cause a bad air compressor, and a bad air compressor can wear out the struts faster from delivering no air.
If you experience problems with your GM air suspension like a constant clicking at the rear, meaning the pump is running, your car is leaning, sagging, or lower on one side, a leaking air suspension strut, or an air suspension warning light, like “service suspension system” turns on in your GM vehicle, it’s time to check the air suspension.
What Brands Does GM Own?
General Motors (GM) owns Chevrolet, Buick, GMC, and Cadillac. If you’re experiencing air suspension problems with, for example, your Cadillac Escalade or Chevy Tahoe, look at the following air suspension kits in this post.
Checking the Air Suspension with an Advanced Wireless Scanner
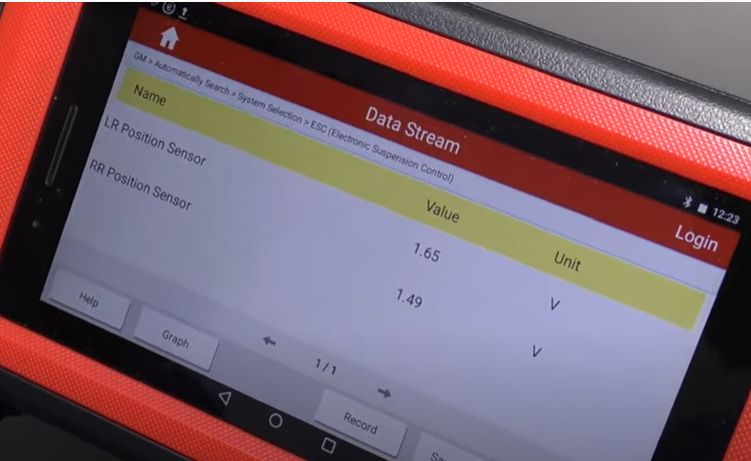
An advanced wireless scanner can read and clear electronic suspension fault codes and also let you conduct tests on the sensors. Information like the VIN number, GVW (Gross Vehicle Weight Rating), and RPO might be necessary.
You can test the sensors by reading the data stream and seeing if the values change as the weight of the vehicle does, like monitoring the levels as you raise the vehicle with a jack.
Do I Need a Scanner to Check the Air Suspension?
You can inspect the air suspension parts and areas described in this article without a scanner, but an advanced wireless scanner like the one featured in the video above can make troubleshooting go easier and faster.
How to Test the Level Sensors with Measuring Tape and Increased Weight

- To test the air suspension position sensors, measure the current ride height at the top of the outer wheel well fender with measuring tape
- Load up the rear to increase vehicle weight
- Wait for the air suspension system to activate, and measure and confirm the sensors are adjusting to the appropriate ride height
How to Inspect the Ride Pump/Air Compressor
Check the Fuses
- Find the fuse for the ride pump or air compressor on the diagram of the fuse panel and confirm the fuse isn’t blown
Check the Ride Pump/Air Compressor
If the air compressor needs to be replaced, you will need to replace the whole unit, even if, for example, there’s a defective pressure sensor or exhaust valve on the compressor
How to Inspect the Air Compressor, also known as the Air Pump
- Raise and Secure the Vehicle
Raise and secure the vehicle to get a better view of the pump
- Inspect the Pump for Corrosion
If the pump is older and made of aluminum, inspect it for corrosion or splitting. If the pump is corroded or split, it needs to be replaced
- Inspect the Wiring
Inspect the condition of the wires for splitting or cracking
- Check the Electrical Connector
Disconnect the electrical connector at the top of the pump and inspect the terminals for green or other discoloring
Inspect the Shocks
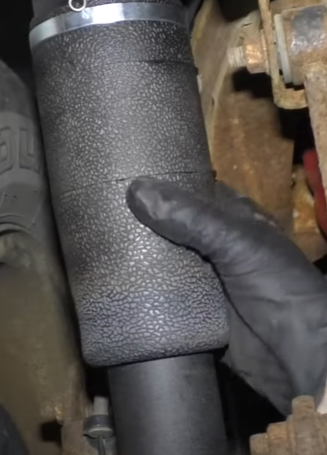
- Gently press the air bags on the shock to confirm they have air
- If the air bags are flat, the problem is with the pump unless it runs continuously. If the pump runs continuously, there is a leak in the air bag or the lines, causing your air suspension kit to deflate
- To confirm there is a leak on the shock, you can spray it with soapy water. Sometimes the water will bubble if air is leaking.
- If a fault code runs for a sensor, there are sensors on the top of the shocks
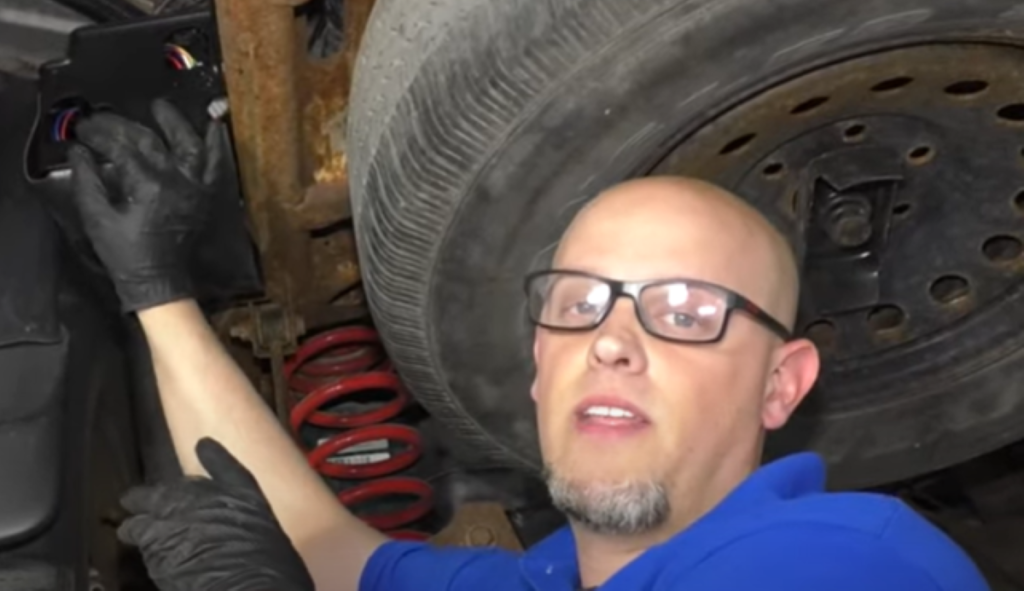
Inspect the Electronic Suspension Control Module
- Locate the electronic suspension control module above the spare tire or at a different location on the frame
- Check the module for excessive corrosion. If you can interact with it using a scan tool, it’s in working condition
- Check the electronic suspension module’s electrical connectors for corrosion
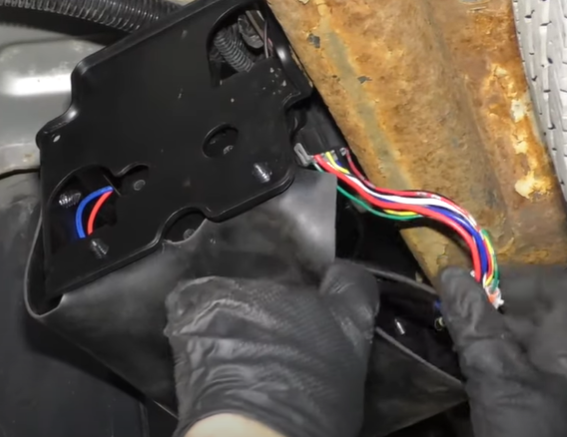
Inspect the Level Sensors
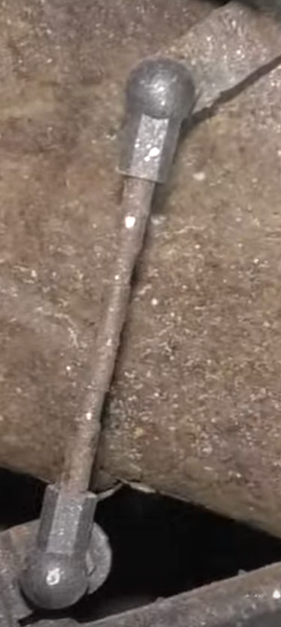
- Locate the level sensors that are connected by a slim bar. If the sensor’s bar is broken, it can run the pump and burn it out
- Inspect the connector for corrosion
- Repeat this process for the other side
Inspect the Air Lines
- The air lines connect the compressor/pump to the shocks. They are found at the rear of these GM vehicles. Inspect the condition and confirm they have no cracks or tears.
Shop Parts and Tools Featured in This Article
Related Content
