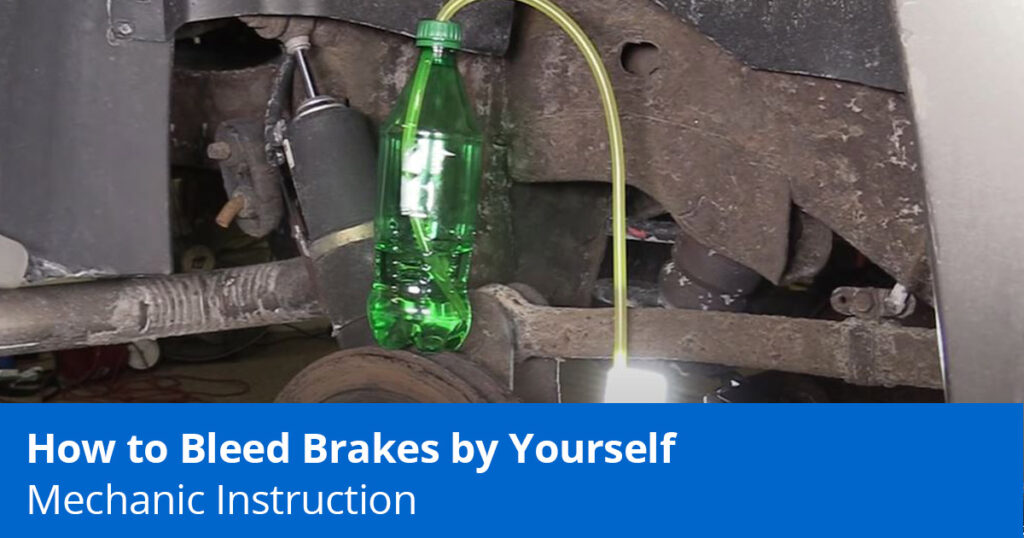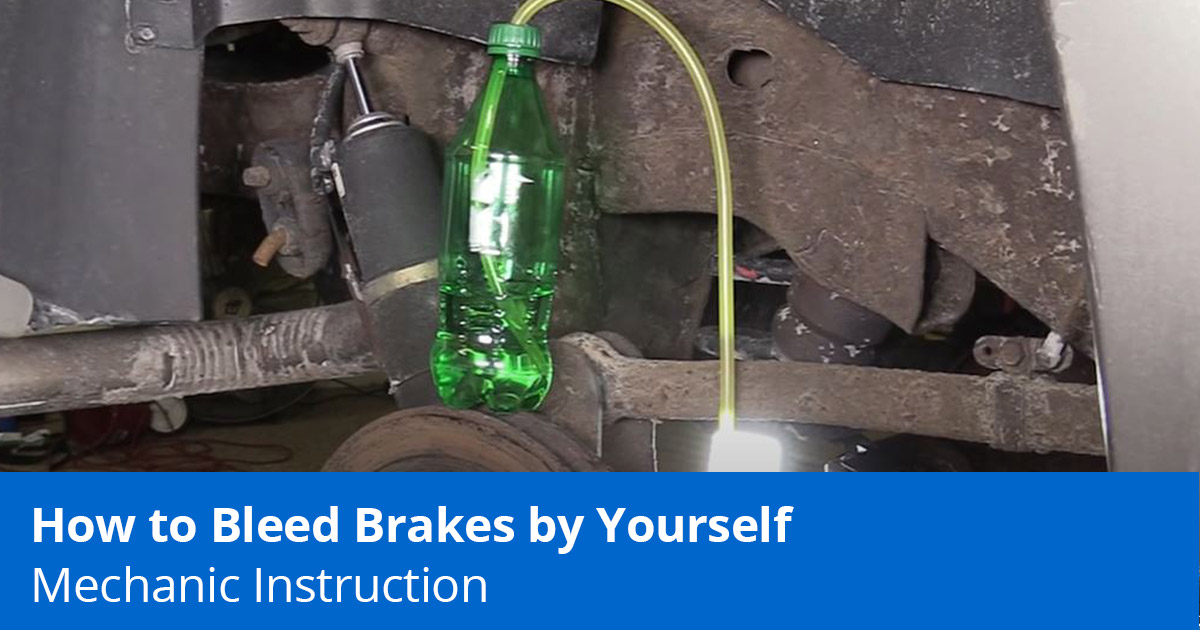
Want to know how to bleed the brakes by yourself? It can be done by one person using a simple tool made of an empty plastic bottle and a fuel line. In the video below and in this post, we’ll show you how to make this tool, how to correctly bleed the brakes alone, and what to do with the leftover brake fluid once the process is complete. This procedure will work on almost any vehicle.
What Is Bleeding the Brakes?
Bleeding the brakes is also known as purging air from the brake system. If air bubbles manage to get inside the brake lines, it can make the brake pedal feel spongy and take longer to stop, affecting safety.
When Do I Need to Bleed the Brakes?
Anytime work is done with brake parts that affect the brake lines where air can get in the system, like disconnecting the brake caliper from the brake hose, the brakes will need to be bled.
Steps for Bleeding the Brakes By Yourself
1. Make a Bleeder Bottle
Items required:
- Clean and empty bottle and cap
- 3/16 inch fuel line
- Drill and drill bits
- Wire tie
To bleed the brakes alone, this tool is easy to make and is inexpensive.
- Clean the bottle
- Drill a hole in the bottle cap to fit the 3/16 inch fuel line
- Secure a wire tie underneath the cap to the fuel line
- Pour brake fluid into about 1/3 of the bottle
- Insert the hose into the bottle and tighten the cap
2. Fill the Brake Master Cylinder
Top off the brake master cylinder with brake fluid to keep the master cylinder from bleeding down during the brake bleed, which would cause a restart of the entire process.
- Remove any dirt on the master cylinder
- Remove the cap without letting dirt or contaminants fall into the fluid
- Fill the master cylinder to the top
- Replace the cap
3. Determine the Bleeding Order
The correct order to bleed the brakes on most vehicles is to start at the rear wheel furthest from the master cylinder and to then move to the opposing wheel on the other side. Then move the front wheel of the rear wheel furthest from the master cylinder, and end at the front wheel closest to the master cylinder.
The bleeding order for a vehicle with the master cylinder on the driver side is:
- Passenger rear wheel
- Driver rear wheel
- Passenger front wheel
- Driver front wheel
Bleeding the brakes with ABS is reversed if your vehicle has a rear-mounted ABS module, starting with the front wheel that’s furthest away from the module. If the ABS module is near the front of the vehicle, start with the rear wheel that’s furthest away from the master cylinder.
Following this order will ensure air or dirty fluid is flushed through the longest brake line, preventing dirty fluid and air from trapping inside the lines closer to the master cylinder.
Shop Quality Auto Parts at 1aauto.com

4. Bleed the Brakes
Steps for the Brake Bleeding Procedure
Items required
- Wrench
- Bleeder bottle
How to Bleed the Brakes with One Person
- Attach the 3/16″ Fuel Hose to the Bleeder Valve
If the hose’s diameter is smaller than the bleeder valve, work the line on until it’s attached firmly
- Loosen the Bleeder Screw
Be careful of stripping the valve if the valve is stuck. Loosen the bleeder screw to about 1/4 of a turn. Loosening more than this can make it difficult for the valve to pull in fluid and keep out air
- Place the Bottle to a Secure Surface
Prop the bottle with the brake fluid to a relatively stable position like on the top of the rotor, against the control arm, or on the ground
- Slowly Depress the Brake Pedal Fully For a Few Times to Remove the Air
Slowly press the brake pedal as far as it goes. For repairs like replacing a brake caliper or a brake hose, the pedal should only need to be pressed a few times. For situations like a complete loss of brake fluid, this process will take longer. This will add fluid to the system and remove the air
- Inspect the Hose for Air Bubbles
It’s okay to leave the vehicle and inspect the hose for air bubbles. If the brake fluid is clear and no air bubbles are in the hose, then no air is in that brake line and the valve can be closed.
- Close the Bleeder Valve
Close the bleeder valve tightly to seal it
- Remove the Brake Line Hose
Pinch the bottom of the hose tightly and remove it from the bleeder valve. Lift the hose up to let the fluid drain back into the bottle
- Check the Master Cylinder Fluid Level and Add Fluid If Necessary
After bleeding the brakes for a wheel, check the fluid level in the master cylinder and add fluid if needed. If the fluid level in the master cylinder falls too low and air gets into the master cylinder, you’ll need to bleed the master cylinder and restart the brake bleeding procedure.
- Test the Brake Pedal
The procedure is complete when all of the air is out of the system and the brake pedal depresses firmly
5. Dispose Leftover Brake Fluid
To prevent pollution, dispose leftover brake fluid safely. Brake fluid and other various automotive hazardous waste can usually be returned to your local auto parts store. Local junkyards and dumps may also have hazardous waste disposal.
Shop Brake Parts Mentioned in This Article
Related Content
- Why Are My Brakes Sticking? [Advice to diagnose & fix]
- Frozen Brakes: Do You Smell Burnt Rubber or Plastic?
- How Long Do Brakes Usually Last?
- When Should Brake Pads Be Replaced?
- What Is the Correct Order to Bleed Brakes? How to Bleed Brakes


Very good , thanks