If you ordered a new bumper or have one that needs to be painted, you can save a lot of money by painting it yourself. With the right location and materials, you can complete this job in 2 days. Find out how to paint a plastic bumper with spray cans yourself following the steps in this article and video. You’ll mainly need primer, spray cans of paint to match the color of the car, clear coat, painter’s tape, cloth and soapy water, and a warm and well-ventilated location.
DIY Guide: How to Paint a Plastic Bumper Cover for Under $100 with Spray Cans
How Much Does It Cost to Paint a Bumper?
It will cost on average around $1,200 to have the bumper cover painted by a professional. In some cases, this may cost more than the value of the car. You can save money and paint a bumper cover yourself in 2 days for under $100. It may not look exactly the same from factory, but it will cut the cost significantly.
How to Paint a Bumper Yourself with Spray Cans
Ideally you’ll have a paint booth to warm up and wash the bumper, but you can also do this job outdoors in warm weather. This guide covers how to paint the bumper cover yourself outdoors with color-match paint spray cans as an affordable solution.
Tools Needed
- Painter’s Tape
- Primer
- Paint Cans
- Clear Coat
- Bucket
- Soapy Water
- Sponge
- Compressed Air or a Towel
- Mask
- Gloves
- Work Stands
Steps on How to Paint a Bumper Cover Yourself
- Pick a Warm Sunny Day or a Garage That’s Well-Ventilated
Pick a warm day to do this repair, or paint the bumper in a well-ventilated area. This is a meticulous job to do inside, so pick an area like a garage that’s well-ventilated if you’d rather not paint outdoors.
You will need to fix the bumper outside on a warm sunny day if you do not have a paint booth. Pick a day that’s not too windy so dust or pollen can’t attach to the bumper. Watch out for bugs since some may attach to the bumper during the job. - Warm the Bumper Up in the Sun
Leave the bumper outdoors in the sun. Place it on stands and let it warm it up for about ½ hour to 1 hour.
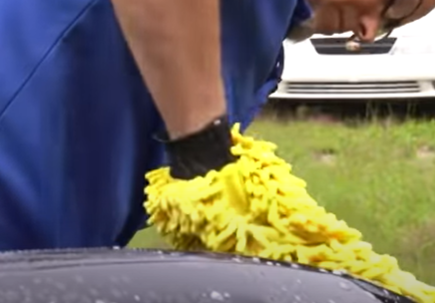
- Wash the Bumper Cover
Wash the bumper cover like you’d wash your car. Rinse it with water, clean it with soapy water and scrub it well, and then rinse the soap off.
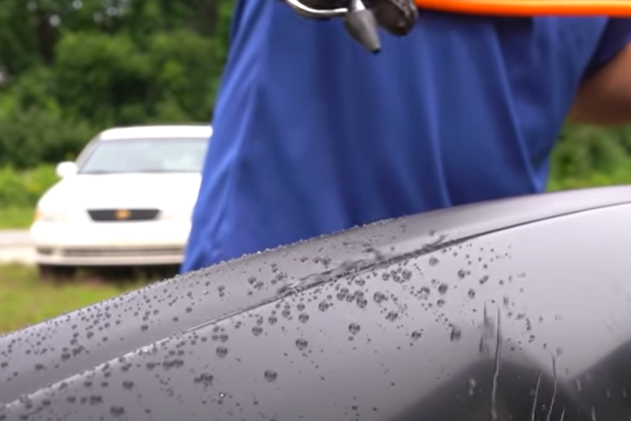
- Dry the Bumper Cover
Dry the cover off with compressed air or a towel.
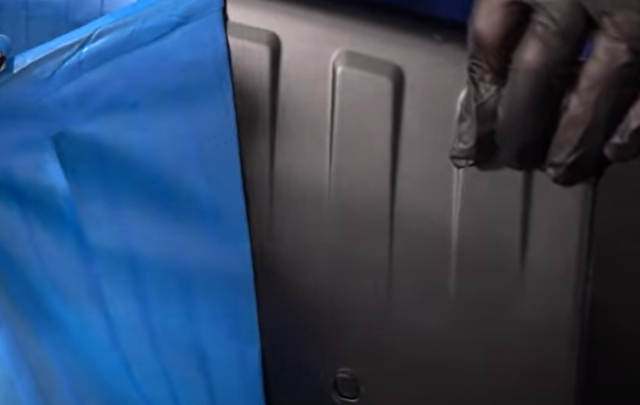
- Wipe the Bumper with a Scuff Pad
Take a non-abrasive scuff pad and wipe the whole bumper down. Scuff up the bumper so the primer and paint will stick better.
- Inspect the Old Bumper and Place Tape Over the Sections that Don’t Need to Be Painted
Look at the old bumper and find out what sections need to be painted and taped off.
Place painters tape over every section of the new bumper that you do not want to paint.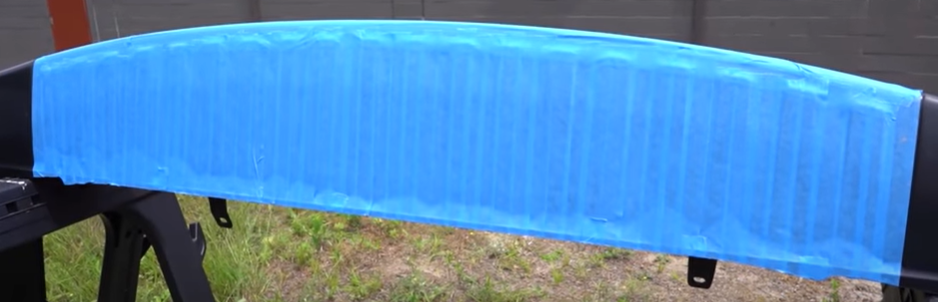
- Remove Dirt and Debris from the Bumper with a Tack Cloth
If you have a tack cloth, pat the bumper down and remove any dirt, dust, or debris so you don’t have any underneath the paint.
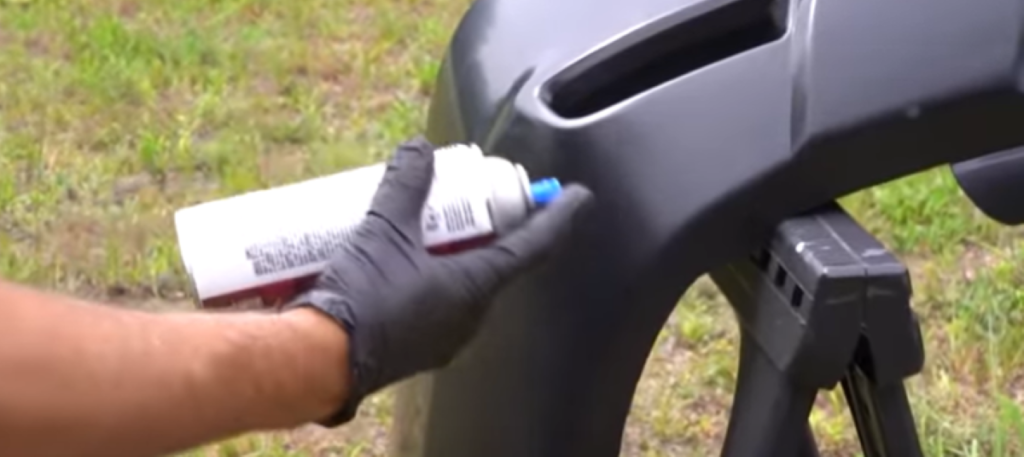
- Spray Primer on the Bumper
For this plastic bumper, we used plastic adhesive promoter primer.
Shake up the can, follow the directions, wear a mask, and spray primer on the bumper. The primer will look clear. Keep 10 inches to a foot away while spraying.
In our example, we applied 3 coats. We sprayed one coat every 3 minutes, and let the primer dry for 10 minutes before putting the paint on.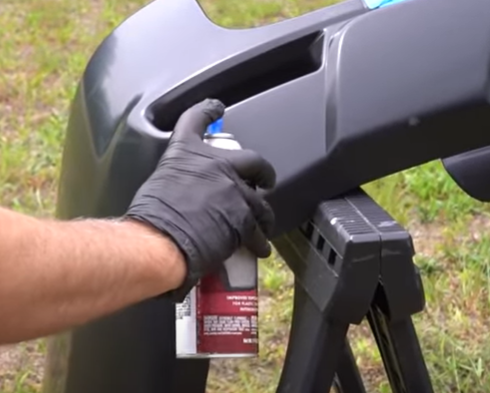
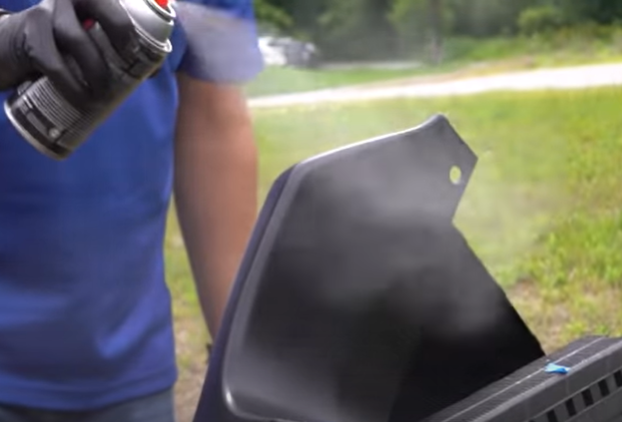
- Paint the Bumper
After the last coat of primer has sat for 10 minutes, it’s time to paint the bumper. You might have to warm up cans of paint depending on how warm it is outdoors. Place the cans in a bucket of warm water so the paint is at least warm.
With the bumper primed, first paint areas where paint is likely to pool up, like the edges of the tape and slots on the bumper. Then paint a nice thin coat on the rest of the bumper, back and forth in sweeping motions.
Wait 10 minutes before applying the 2nd coat. Let the bumper sit for 10 minutes after the last coat.
Pro Tip: Order more cans than you think you’ll need to be safe. In this example, we went through 3 cans, but 4 cans would’ve been better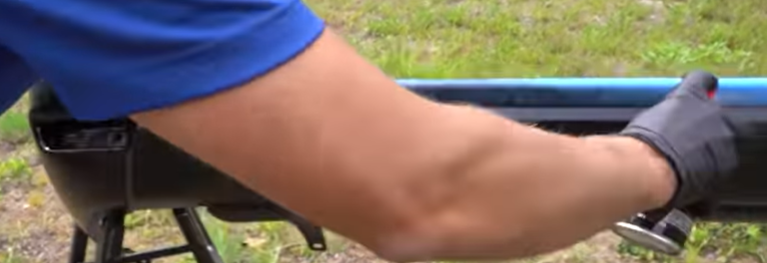
- Apply Clear Coat
After the bumper has been painted and 10 minutes have passed, use clear coat and apply it in the same way you applied the paint. Put on a thicker coat than the paint for a nicer finish. Don’t make it too thick so you don’t have any runs or drips, and wait 10 minutes between coats.
- Let the Paint Dry for 24 Hours after the Last Coat
Let paint dry for 24 hours after the last coat of clear coat is applied.
- Remove the Tape After the Bumper Is Dry
Once the bumper has dried for 24 hours, remove the painter’s tape from the bumper. If the tape is sticking, you might need a razor blade.

Learn DIY Repairs for Your Car
Learn how to do DIY repairs on your car with our how-to videos. We have thousands of videos on hundreds of makes and models with instructions from professional mechanics.
More Articles with Tips from Our Experts
- How to Fix Paint Chips on a Car, Truck, or SUV
- How to Tell Which Wheel Bearing Is Bad While Driving
- Low Tire Pressure in Cold Weather
- How to Get a Dent Out of a Metal Bumper
Parts and Tools
- Brakes and Wheel Bearing
- Engine and Engine Management
- Headlights and Lighting
- Steering and Suspension
- Heating & Cooling
- Tools
