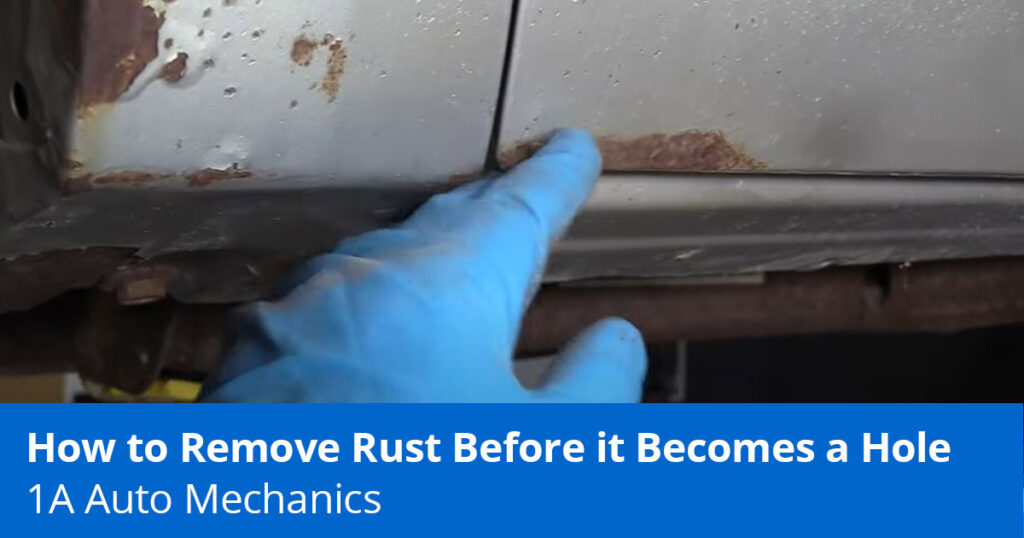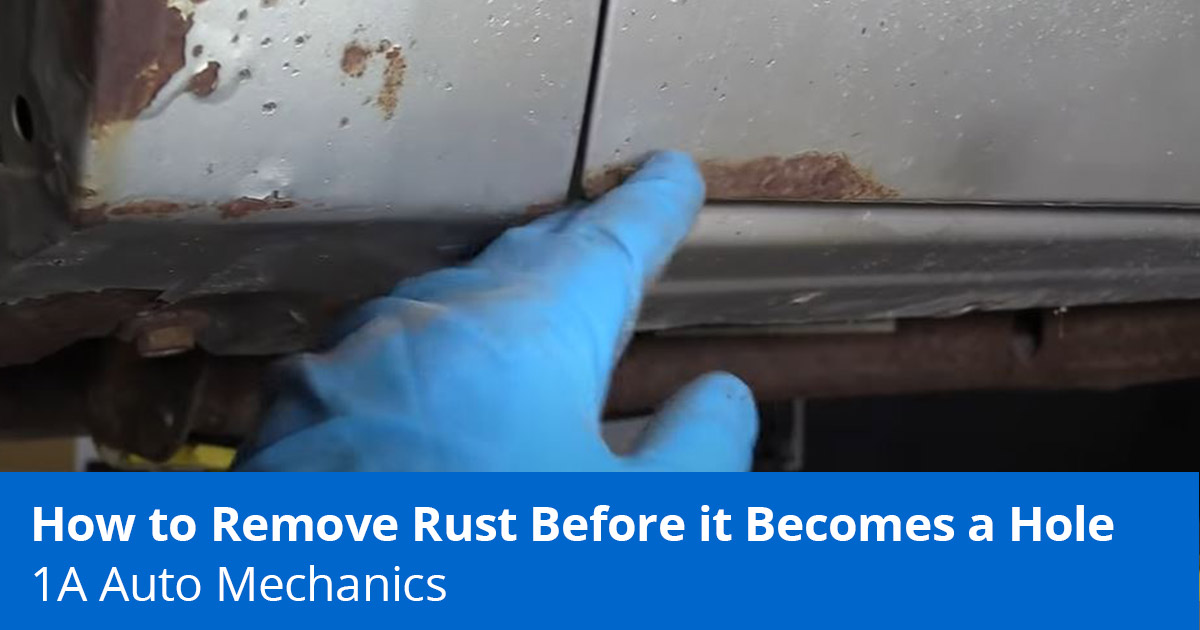
Surface rust on your car can be unsightly and worsen over time. If you have rust on your vehicle and you want it fixed before it turns into a hole, this guide and video explains how to remove rust from your car in a few steps.
How to Remove Surface Rust from a Car

This guide explains how to remove surface rust from a car before it becomes a hole that needs to be cut out.
Tools Needed
- Sand blaster
- Air-powered or electric die grinder
- 220 and 400 grit sandpaper
- Painter’s tape
- Plastic sheeting
- Cloth rags
- Cleaning alcohol
- Mask
- Gloves
- Safety glasses
- Primer
- Paint
- Clear coat
Ideally, you would remove as much rust as possible with a sandblaster, but another air-powered or electric tool like a die grinder will also work. You can also sand down the rust by hand, but this will take a long time.
Steps for Removing Surface Rust from a Car
- Remove Parts Near the Rust
Remove adjacent parts like the fender well to access the rust if it goes deep into the panel for example.
If rust is on the outside of the door, remove the door panel and check the inside of the door also.
- Grind Down the Rust
Don’t worry about the appearance but be concerned with removing the rust. After grinding most of the rust down, there may be rust pits left.
Remove as many pits of rust as possible, or else they may bleed through the paint and rust through again.
You can also grind down further and use fiber glass body filler, but in this example we are going to smooth it down more, prime it, and paint it.
- Sand the Area and Feather It to Reduce the Paint Line
Wear a mask and safety glasses.
A dual action sander, which doesn’t spin the pad but oscillates it, is safe and easy to create a nice finish with 220 grip paper. Feather the body out so there is not as much of a sharp paint line near the old paint.
Shine up the area with cleaning alcohol and some cloth rags.
- Section the Area with Tape
Before adding primer, section off the area with painter’s tape, leaving extra space. Do not paint up to the tape, but give enough space to fade the paint in.
Place plastic above the tape so paint does not spray on other areas.
- Spray Primer
In a well-ventilated area with a warm-enough temperature, wear a respirator and place primer on.
Note: Some primers may have filler that will allow you to sand and remove any remaining rust pit holes.
Let the primer dry and give it another coat. - Clean the Area with Wet Sandpaper and Adjust the Tape
Remove the tape and plastic and inspect the paint line.
Take wet sand paper and a sponge and feather out the primer for a smoother transition without going down to the metal. A sponge will keep you from leaving finger marks on the car, and the water will prevent dust.
Make sure it feels smooths and wipe it dry. Move the tape back a little. Wipe the area with alcohol and a rag.
- Paint the Area
Paint a thin coat on the body in smooth left-to-right strokes evenly to blend it in. Wait 10 minutes and give it another coat.
Tip: To prevent paint from dripping, lightly add paint and add more coats as needed instead of layering a lot on at once
If the paint drips, wet sand the area with wet 400 grit sandpaper. Then once the area dries, give it another coat of paint.
- Blend the Old and New Paint Line
Peel back the painter’s tape and inspect the line of old and new paint. Wet sand the line with 400 grit sandpaper to blend it in. Do this until the line is faded, and then place the tape a little higher.

- Paint Clear Coat
Paint the area with clear coat

Learn to Fix Your Own Car
Learn how to diagnose and replace many parts on tons of makes and models. 1A Auto has thousands of how-to videos with instructions from professional mechanics.

Related Content
- Is Your Rusted Car Frame Safe to Work Under?
- How to Fix Paint Chips on a Car, Truck, or SUV
- How to Use a Car Jack and Jack Stands
- Truck Cab Styles Explained
Shop Parts and Tools at 1A Auto

