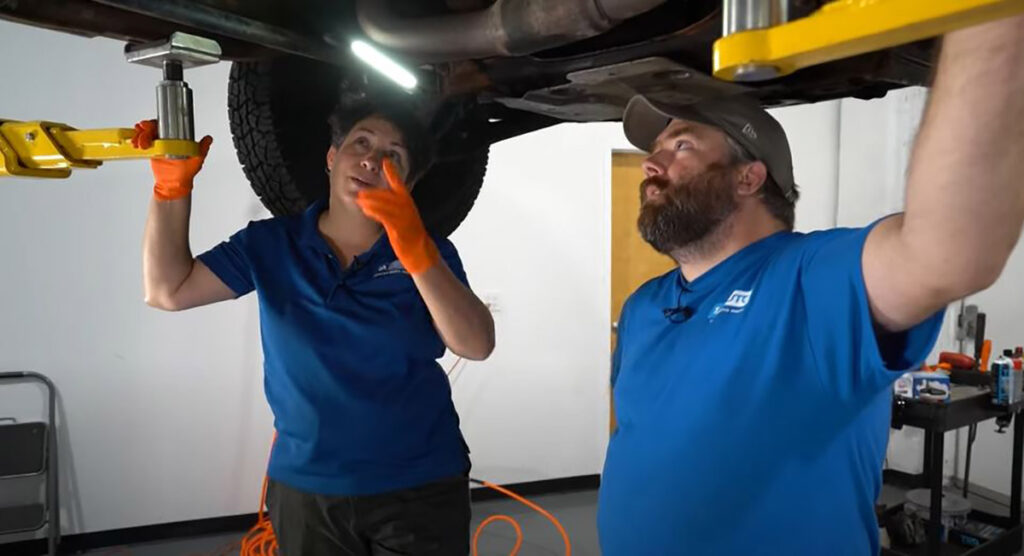
A gear shifter that moves freely, doesn’t change the gears, and has little to no tension when moved means it’s loose and needs to be inspected. If you have a loose gear shifter, you might need a shifter cable replacement. This guide and video goes over what to inspect if your gear shifter is loose and how to replace a shifter cable yourself.
DIY Shifter Cable Replacement: How to Inspect a Loose Shifter and Replace the Shifter Cable

This guide offers some general steps to take if the shifter cable moves freely and is loose, if the shifter is stuck in Park, and for replacing the shifter cable if it needs a replacement.
Steps to Diagnose and Replace the Shifter Cable
- Check If the Shifter Cable Is Disconnected or Broken
Check the linkage underneath the car near the transmission. See if the cable is disconnected or broken. Oil can contaminate the plastic, break it down, and disconnect the cable.

- Check the Cable Underneath the Carpet
The shifter cable goes through the bracket, over the backside of the transmission, and up through the floorboard. It then travels up from under the carpet on the driver side to the shifter.
Insulation wears out over time. If you’re in a cold climate, water and snow can break down the plastic sheathing, and the cable can rust and break. See if the section of the cable that’s under the carpet is broken or in good condition.
- If the Cable Doesn’t Need a Replacement, Check the Brake Lights
Before just replacing the cable, check the brake lights if the shifter isn’t loose and won’t leave Park. Have an assistant stand behind the vehicle, press the brake pedal, and see if the brake lights turn on. If the brake lights work, you’ll need to do more diagnosing or have a professional look at it. If they don’t work, the problem could be as simple as the brake switch not sending power to release the shifter, or there could be a bad fuse.
- Remove the Kick Panel and the Cable from the Steering Column
If the shifter cable is rusted or broken and needs a replacement, remove the knee kick panel under steering column. Find and follow the shifter cable, which located under the steering column on the shifter linkage.
Take needle nose pliers or a flat head screwdriver and pop the banjo clip off from the cable. Then squeeze the ears on the butterfly clips and remove them. Then push the cable through to remove it. Follow it out and remove it through the carpet.
- Install the New Cable into the Steering Wheel Column
Place the new cable up through to the steering wheel. Bring it through the bracket, put the butterfly clips on, and snap on the banjo clip.

- Remove the Linkage from Under the Vehicle
Remove the ‘H’ metal clip with a flat head screwdriver by prying it from the top. Then squeeze the ears on the butterfly clips with pliers and remove the cable.
Follow the cable up over the transmission and down around the frame, and remove the entire linkage and cable.
- Connect the Cable and Linkage
Bring the cable up through the housing, line it to the metal ‘H’ clip, and press it in. Pull the cable forward until it clicks into the clip. Put the new good banjo bolt on the linkage and push the linkage into place. Push the butterfly clip through with needle nose pliers until it comes out other side.
Connecting the cable under the floorboard takes effort. Squeeze it to get it to adjust, and then lock the lock in. Clip the cable into the floor where it holds in place.
Make sure the shifter adjusted properly. If it is not properly adjusted, pull the slider on the cable out from the floor where it was just connected, pull the lock pin out, and readjust it.
Learn More DIY Repairs
Find out how to diagnose and fix parts on your car. Our how-to videos have instructions and tips to help you maintain and repair hundreds of models.
Read More Expert Tips
- DIY Headliner Repair: How to Fix a Sagging Car Roof Lining
- Why Are My Headlights Too Bright?
- What Does a Bad Wheel Bearing Sound Like?
- What Are Front Struts?
Shifter Cable Replacement Parts and More

