If a function on a power mirror is not working, like the mirror adjustment, there could be a few causes like the circuit, wires, mirror control switch, or the power mirror itself. This post explains how to fix power mirrors not working properly on your car or truck to find out if the switch or another part is the cause.
Free Shipping No Minimum – Save Up to 50% Off Auto Parts

What to Do When You Need to Fix Power Mirrors?
Different side view mirrors have different functions. Some side view mirrors can move the mirror glass, and others can power-fold or have side marker lights or heated glass. This post covers a side mirror adjustment not working, but the steps also apply to other functions like the power-folding not working. This procedure demonstrates how to fix power mirrors on both the driver and passenger sides of the vehicle.
How to Fix Power Mirrors if auto Adjustment or Another Function Is Not Working Properly
You can usually adjust the mirrors without the key in the ignition. Before removing any parts, confirm the mirrors don’t work with the key in the ON position.
1. Try to Adjust the Mirror Glass
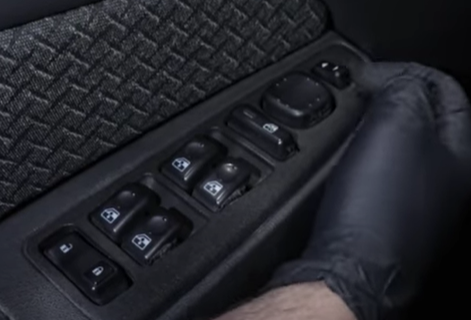
Find the mirror switch on the master switch control panel and select the switch for the power mirror not working. Select different mirror glass positions to test the mirror glass’s functionality.
2. Adjust the Other Mirror’s Glass to Test the Switch
Listen for the mirror working. Try adjusting the other mirror if the mirror does not move on command. If the switch cannot adjust the other mirror glass, the mirror control switch is likely defective. If the switch can move the other mirror’s glass, the malfunctioning mirror might be defective.
3. Check the Fuses
You can check the fuses to see if the mirrors are on different circuits, which could explain why one mirror does not have power, but the side view mirrors are usually on the same circuit. The fuse will probably not be labeled as “mirror,” so you may have to check all the fuses.
4. Remove the Door Panel and Check the Mirror Switch’s Electrical Connector
If the fuse is good, remove the door panel to access the side view mirror’s and mirror switch’s electrical connector. Wiggle the mirror switch’s connector to check for tightness. If the switch is loosely connected, plug in and re-test the mirror.
5. Test the Mirror’s Electrical Connector
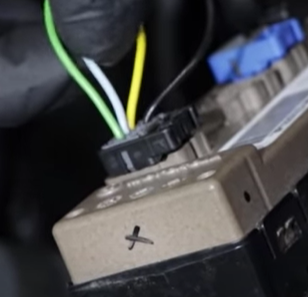
The mirror motor’s circuit may have 3 or more wires. It uses a common ground wire (yellow) and wires for vertical and horizontal movement.
The side view mirror requires power (positive) and ground (negative) to function.
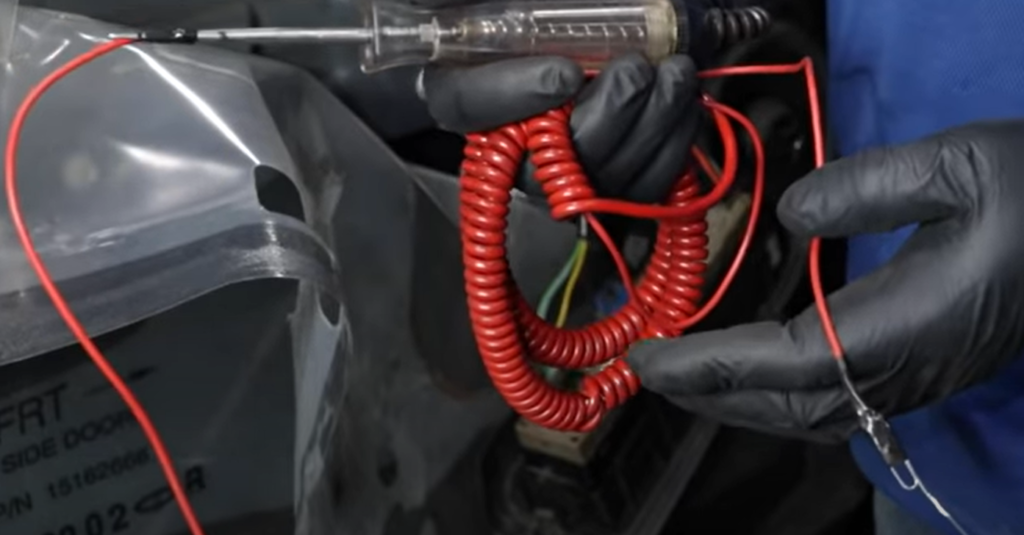
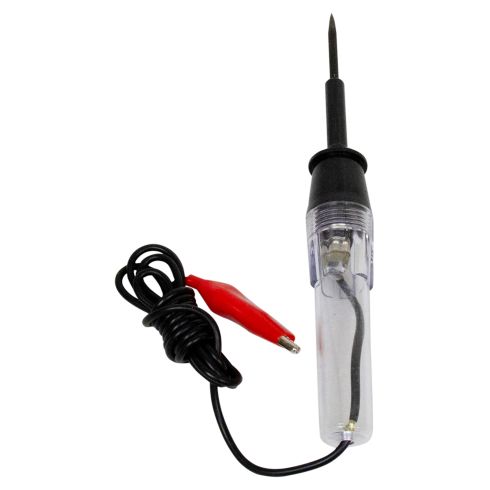
You can test for power and ground on the side view mirror with a test light. If the light’s tip is too large to back-probe, try connecting and securing wire to the tip of the test light and its ground with electrical tape, and connecting and taping paper clips to the ends of the wires to create probes.
Place one paper clip on the negative battery terminal and one on the positive battery terminal to see if the test light works.
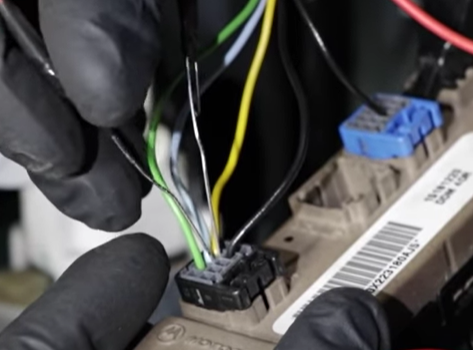
Place a paper clip into the blue wire and the green wire. Activate the switch and see if the light illuminates, indicating the switch works. If the light does not turn on, the mirror control switch is not working and needs to be replaced if power is good and getting to the switch.
If the light illuminates but the mirror doesn’t move, the mirror motor is bad. Sometimes just the mirror motor assembly can be replaced, but this problem can also be fixed with a new side view mirror.
Repeat this process for the ground (yellow) and green wire to test the other circuit.
If testing the mirrors for different functions other than mirror movement, place the probes to the ground and the power wire for that circuit.
Replace Your Own Side View Mirror
See how to fix power mirrors with many of 1A Auto’s how-to videos if your side view mirrors are not working.
Content Related to “How to Fix Your Power Mirrors”
- How to Fix a Broken Wire
- What Are the Different Types of Side View Mirrors?
- Towing Mirrors Guide
- How Much Does It Cost to Replace a Side Mirror?
Shop Side View Mirrors and Tools

hello, I have a RX350 – my right side mirror has power, but won’t stop half way where it is supposed to
Will close fully when the car is turned off, when started will open full. Tired of having to reach out and pull it back in. Don’t want to spend the $1000 plus to replace.
Any suggestions?
thanks!
Hi I have a 1994 Olds Cutlass Supreme S 3.1 lt and my power mirrors don’t work. I can go up,down it can go inward,but not outwards.It happened when I took my car to Firestone when I 1st gotten the car back in 2003 & they were doing an electrical check on it, but when I got home found out the issues with my mirrors.I took it back the next day, but they claimed they didn’t do anything wrong.My fuses takes the same as my power antenna so the fuses are ok
very clear and good article easy to understand. Thank you
I have an 06 GMCsierra had, crew cab. The outside mirrors will not work. Have replaced control module after trying all else could think of. Mirrors still won’t work.
All other switches work.
This module has all switches together in one unit. Unable to determine if there is a fuse for just the mirrors. Any idea for next try?
Howard