A leveling kit can change the look and height of your truck, allow you to install larger wheels, and it will add more protection from road debris. You can have a leveling kit installed by a professional or you can do it yourself, and we’ll explain what a leveling kit does and how to install one yourself with the tips in this article and video.
Video: What Does a Leveling Kit Do to a Truck? How to Install a Leveling Kit
What Is a Leveling Kit?

A leveling kit can give your truck an aggressive or balanced appearance, create room for larger wheels, and protect parts underneath the vehicle. It’s an alternative to a lift kit, which can raise the vehicle much higher than a leveling kit, and requires altering the suspension parts.
What Does a Leveling Kit Do?
Raises the Truck a Few Inches and Alters Appearance
Trucks will have the rear raised a little higher than the front so the front wheels don’t lose traction when there is a lot of weight applied to the back, either from items in the bed or from towing.
A leveling kit will raise the truck a few inches at the front and rear, which will give the truck a taller and more balanced look.
Attaches to Suspension Parts
Leveling kits attach to suspension parts like the front struts, which will raise the front suspension to level the truck out. In the example below, we raise the front about 2 inches and the rear about an inch.
How Do I Install a Leveling Kit?
How to Install a Leveling Kit
- Remove the Front Struts
You might have to remove the front struts to install the leveling kit. If the spacer attaches to the bottom, you might be able to install it without removing the strut.
Modifying the stock springs will make the truck taller, and it won’t reduce ride quality.
- Modify the Struts If Needed, and Tighten the Spacer to the Struts
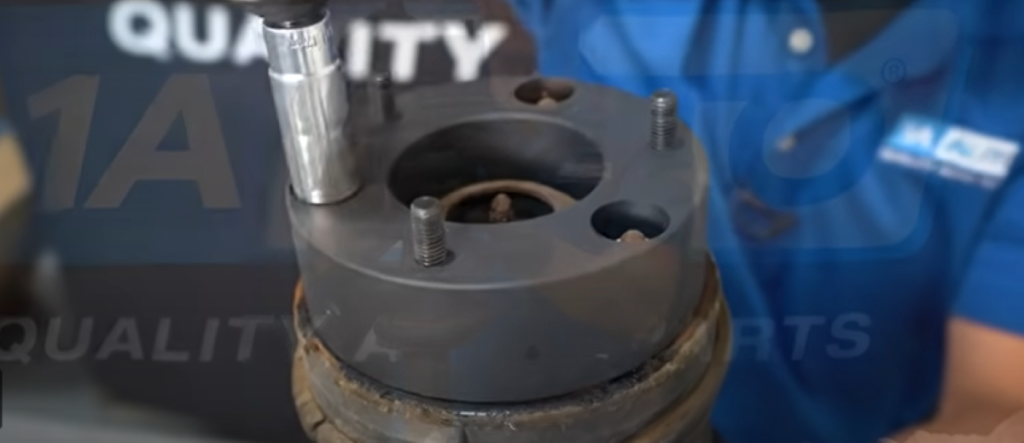
The spacer might be thin enough to let the strut studs protrude from the top, which means you’ll need to cut the studs down a bit. Alternatively, the spacer might also fit perfectly.
If the spacer fits, tighten it to the strut by tightening the bolts to the studs. Then torque the bolts to the manufacturer’s specifications to secure the spacer.
- Use a Ratchet Strap to Secure Parts
Before moving parts around, use a ratchet strap to secure things in place.
Read more about how to use a ratchet strap
- Rotate the Strut If Needed
Adding spacers to the struts might alter the position of the studs. If this happens, you’ll need to rotate the strut at the top (or bottom if that’s where the spacer is) to install it.
Note: When installing the strut, you might have to lower other parts like the control arm. Be mindful of the position of parts like the CV axle and brake lines and make sure they’re not strained to prevent further damage. Removing the brake caliper and securing it with a hanging tool is one way to protect the brake lines. - Remove the Factory Spacer from the Rear Leaf Spring
With parts secured with a ratchet strap, remove the spacer from the leaf spring.

- Install the New Spacer
Install the new spacer to the leaf spring with new u-bolts. The spacer may not look much larger, but the effect it has on the truck will be more than meets the eye.

Done Learning About What a Level Kit Does? Learn How to Do More Repairs
Learn about tons of more parts and repairs on specific vehicles with our how-to videos that have instructions and tips from professional mechanics.
Read More Tips
- How Much Does It Cost to Replace Brake Pads?
- Why Are My Headlights Dim?
- Speakers Blown Out? How to Tell If a Speaker Is Blown in Your Car
- How to Remove Bumper Stickers from Your Car’s Paint, Glass, and Bumpers
Shop Parts and Tools
Shop parts and tools at 1aauto.com


thank you for giving your great information