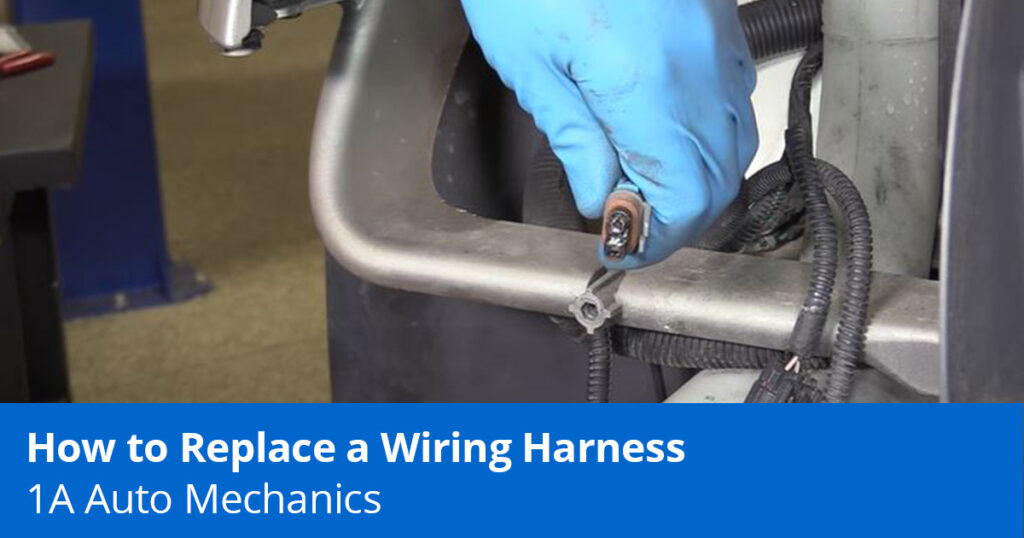
Damaged Electrical Connectors in Your Car?
Sometimes electrical connectors or wiring harnesses can burn out or melt and need to be replaced. Luckily this repair is pretty simple. Our mechanic in the video below shows how to replace a wiring harness for the headlight wires, but the same procedure applies to a typical wiring harness.
How to Replace a Broken or Damaged Wiring Harness
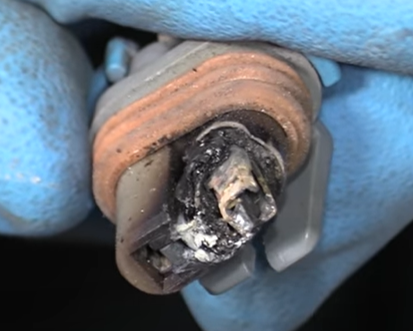
If the wiring harness is faulty, it needs to be replaced. You may need to do this repair if an electrical connector melts or burns for example. A melted or burned electrical connector can heat up and cause a fire if not replaced as soon as possible.

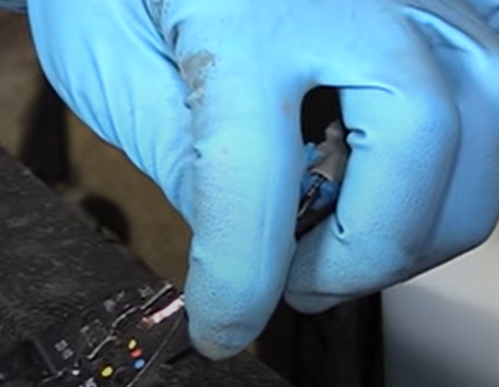
1. Cut Open the Wiring Loom
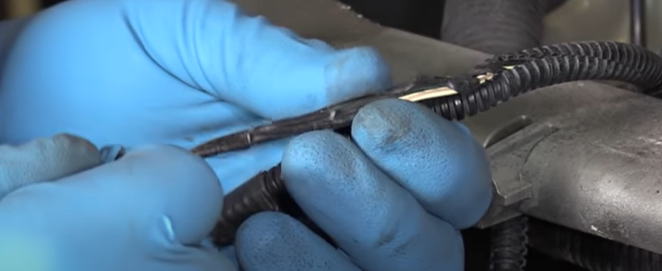
Pull the wiring out of the loom and check the condition of it. Check the wiring or burning, melting, or tearing.
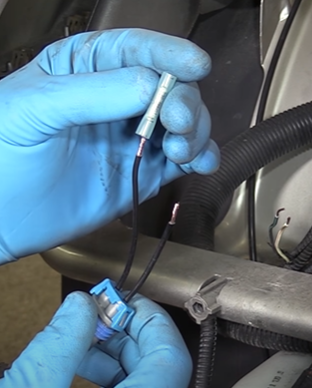
2. Confirm the Old and New Connectors Are the Same
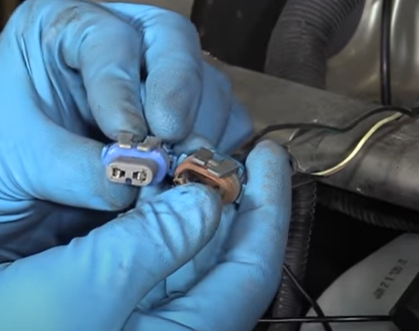
Confirm both the new and old electrical connector are the same. Unless the replacement electrical connector is from the factory, the color of the wiring will likely not match the original. An alternative is to cut one side of the wire shorter than the other to tell the difference, and to also do this on the old wiring harness when removing it.
3. Next Step to Replacing the Wiring Harness is to Strip the Ends of the Wires
Strip the wires about the length of the wire cutters‘ cutting blade.
4. Twist the Ends of the Wires
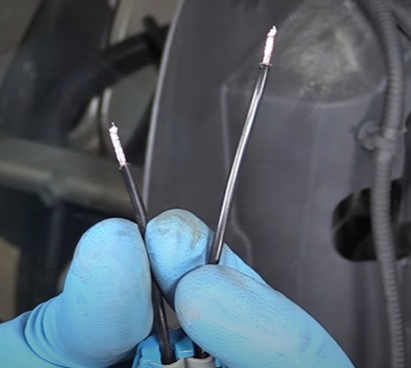
Twist the wires tightly.
5. Crimp an Insulated Connector to the Wires
Connect a weatherproof insulated connector to the end of each wire on the electrical connector and crimp it down.
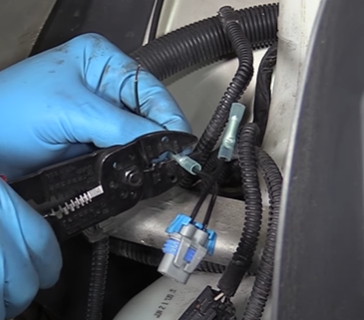
Crimp the electrical connector to the wire.
Tug the wires to test the connection. They should be able to pull without loosening out of the connector.
6. Melt the Insulated Connector to the Wiring
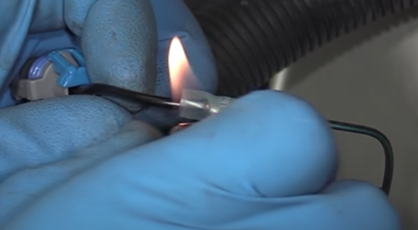
Melt the connector to the wiring with a lighter. Sway the lighter back and forth to prevent it from melting the electrical wire.
7. Apply Electrical Tape to the Wire
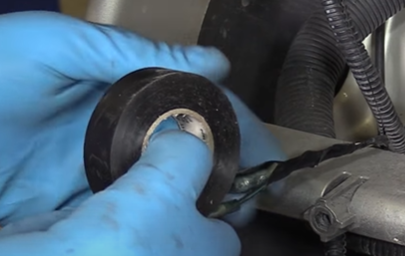
Once the connector has cooled, wrap the wire with electrical tape for an extra layer of protection. Do not place tape too close to the connector to keep it from applying pressure.
Content Related to Replacing a Wiring Harness
Shop Parts need on “How to Replace a Wiring Harness”
- Headlights & Lighting
- Interior
- Engine & Engine Management
- Automotive Electrical Tools
- Electrical Supplies
