Your Car Battery Is Not Charging, but Why?

If there’s a problem with the vehicle not starting and you’re not sure if it’s the battery or alternator, our experts have tips that can help you diagnose which is the cause. Follow these steps to learn how to test an alternator and battery with a multimeter.

How to Test the Battery and the Alternator with a Multimeter
How to Test the Battery with a Multimeter

Inspect the battery terminals and battery connectors for corrosion. If corrosion is present, clean it from the terminals. Once the terminals are clean, you can test the battery for the charge to determine if the issue is resolved.
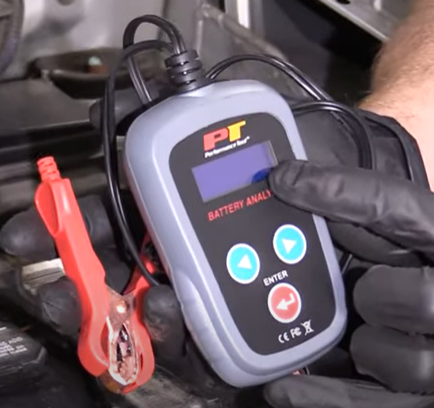
There are a few ways to test the battery. A multimeter or special tools like a battery analyzer that connects to the terminals can measure the voltage. The steps below explain how to test a car battery with a multimeter.
Test the Battery for Charge with a Multimeter
Steps for Testing the Battery for Charge with a Multimeter
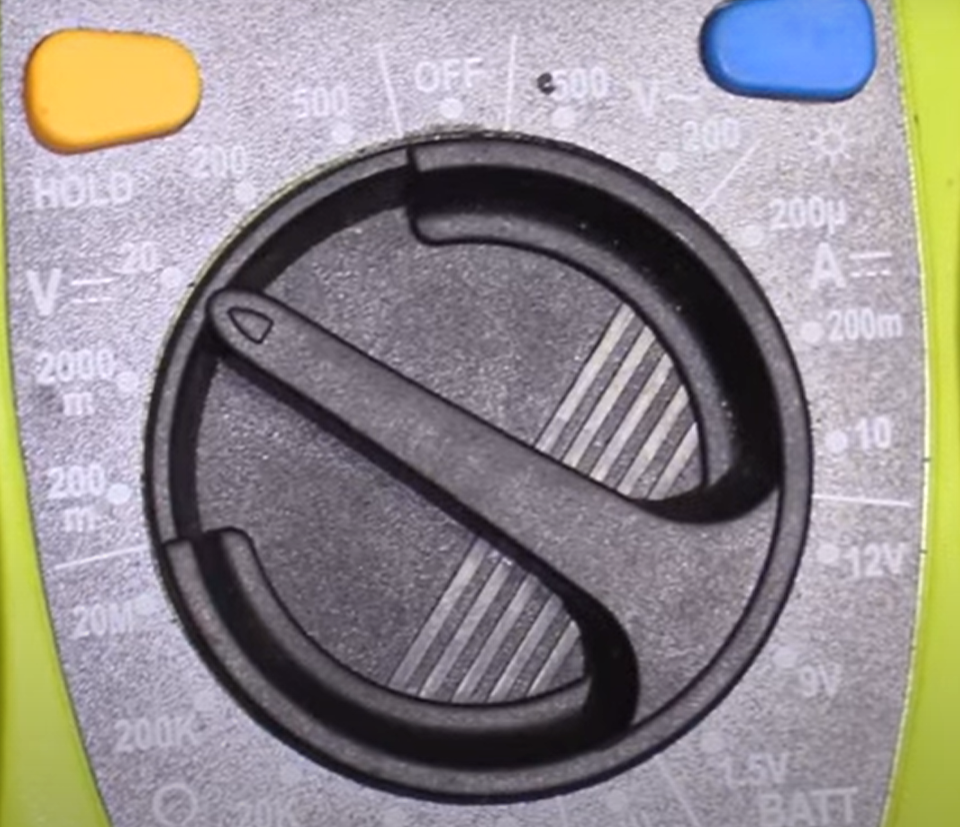
- Set the Meter to over 15 Volts
Set the multimeter DC voltage above 15 volts.
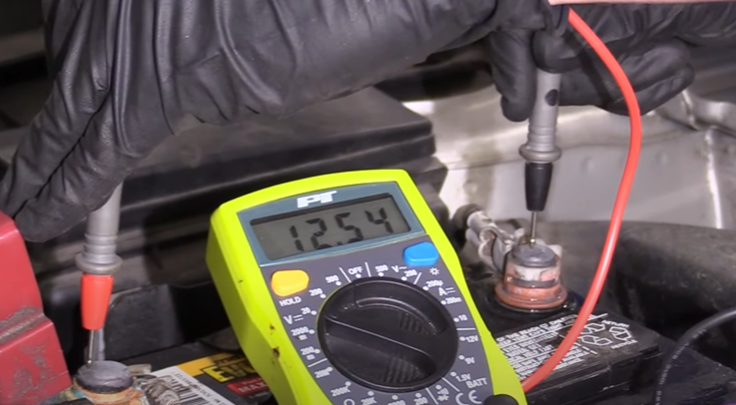
- Measure the Battery Voltage
Connect the multimeter leads to the negative and positive battery terminals. Read the voltage. If the voltage reads under the 12 volt range near 11 to 11.5 volts, the battery is weak.
- Measure the Battery Voltage with the Electrical Accessories on
Turn on different electrical accessories like the headlights, wipers, and fan. Monitor the multimeter’s measurement. If it falls in the 10 volt range, the battery is weak.
- Measure the Battery Voltage with the Electrical Accessories off
Turn off the electrical accessories and monitor the multimeter’s measurement. It should rise to the 12 volt range.
How to Test the Charge Sent to the Battery from the Alternator
Steps for checking the charge sent from the alternator to the battery
- Start the vehicle
- Turn on various electrical accessories
- Rev the engine to 1,500 to 2,000 RPM
- Measure the current with the multimeter, which should read in the 13.5 to 14.2 volt range. A higher voltage is excessive and not good for the battery.
Note: If the voltage reads too low or too high, the alternator isn’t pushing the correct amount of electrical current.
How to Test the Alternator with a Multimeter
Note: Older vehicles will have a generator and newer ones will have an alternator. They are two different systems.
Mechanic’s Tip: Not all alternators have a voltage regulator as part of their design. The alternator could be regulated by the power control module (PCM). If you disconnect the negative battery terminal and test an alternator that has a voltage regulator or one that is regulated by the PCM, you could cause detrimental damage to the charging system—likely the voltage regulator itself.
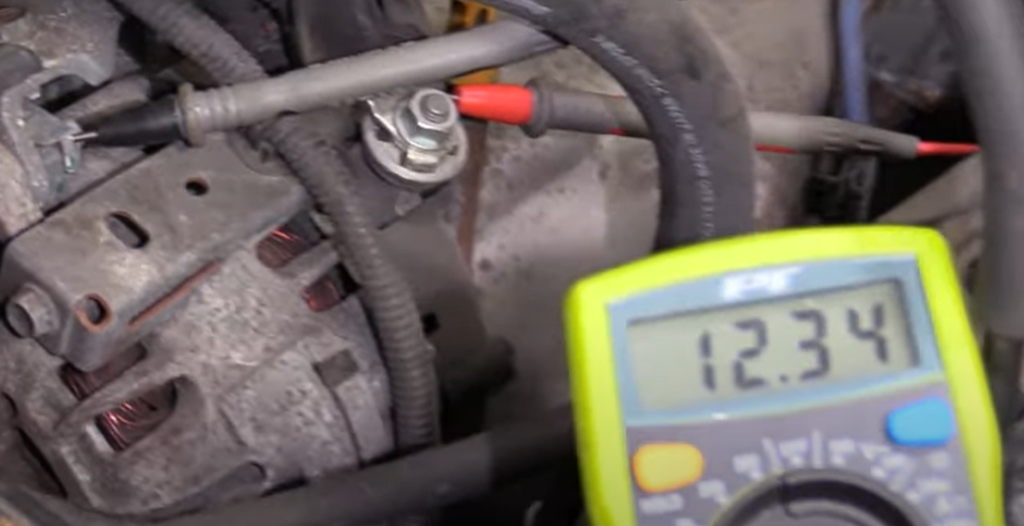
1. Measure the Alternator Voltage
If the car won’t start but the battery is good, the problem could be the alternator. You should test the alternator to make sure it is functioning properly. Insert the multimeter’s positive lead to the positive voltage wire connector. It is usually a bolt underneath a rubber boot. Then you can touch the multimeter’s negative lead to the ground wire terminal, which is where the ground wire connects to the alternator.
A reading in the 12 volt range is a good reading and indicates there is the same battery voltage at the alternator.
2. Start the Vehicle and Turn on the Electrical Accessories
Start the vehicle and turn on all the electrical parts to increase the load. Measure the voltage, which should read between a 13 and low 14 volt range.
If the multimeter reads for high voltage like 14.7 volts, the alternator is overcharging. If it reads for low current, it is undercharging.
3. Inspect an Undercharging Alternator
Confirm the alternator’s pulley is working, spinning, and not binding if the alternator is undercharging.
If the alternator is full of dust and build-up, the brushes inside the alternator are probably faulty and the alternator will not generate the right amount of electricity.
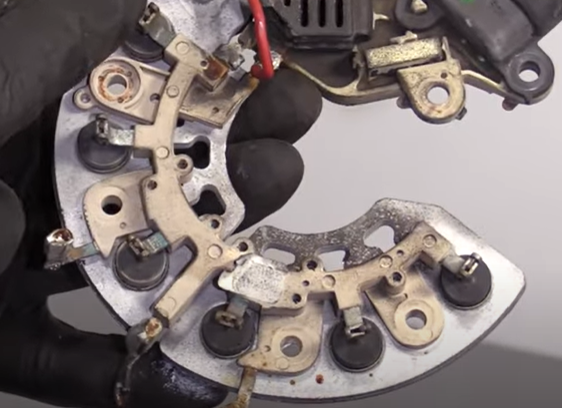
If you are able to remove the alternator and can remove the rear cover of the alternator, you can inspect the voltage regulator.

Check the condition of the diodes and confirm they are not corroded or falling apart.
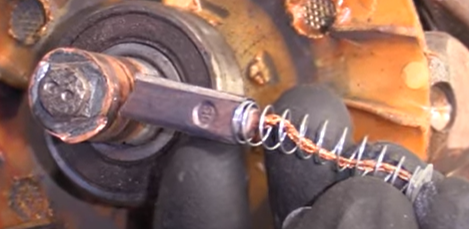
Check inside the alternator and see if the brushes are worn. Over time, the springs can wear, leaving the brush in contact with the copper insulator and wearing it down over time.
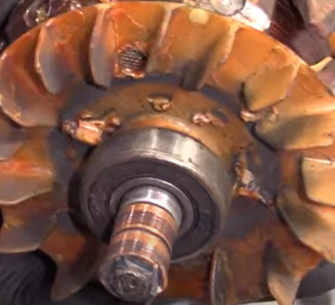
Check the condition of the pulley bearing. If the pulley spins too much, is too loose, or binds, it is defective.
How to Replace a Bad Alternator or Battery Yourself
Replace a bad alternator or battery yourself with 1A Auto’s how-to videos that have step-by-step instructions for many makes and models
Shop Quality Parts Mentioned in This Article
Related Content
- Why Do Car Batteries Die in Cold Weather?
- What Does an Alternator Do?
- How to Test a Fuse with a Multimeter
- The Battery or Alternator?
- Loud Screeching Sound From Your Car? It Might Be a Bad Idler Pulley
- Screeching Noise When Starting Car? Diagnose & Fix
- So Your 2001 to 2007 Volvo Won’t Start?
WOW, Perfect guide so far!
Thanks for the Detailed Analysis & Comparison of the battery and alternator.