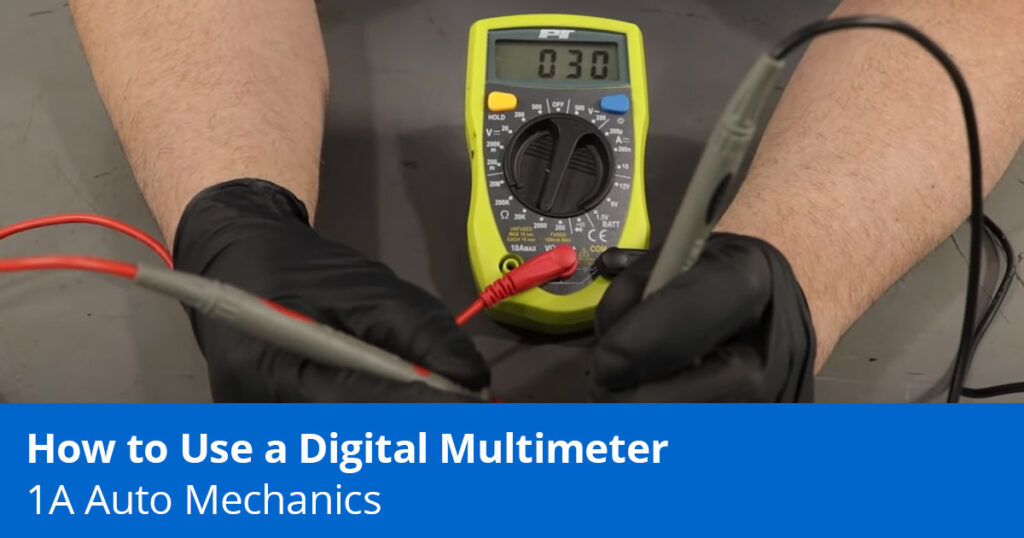
Multimeters, also known as voltmeters and ohmmeters, are multi-purpose instruments that can help test and diagnose the condition and charge of electrical components. There are expensive and inexpensive multimeters that are capable of different functions and settings. This article describes how to use a digital multimeter and how to set up some of its different functions to check voltage (volts), circuits, continuity, resistance (ohms), and current/amperage (amps).

4 Ways to Check for Power with a Digital Multimeter
The multimeter featured in this article has 19 different settings that can be used to measure voltage (volts), circuits, continuity, resistance (ohms), and current/amperage (amps). We broke these down into four sections in this article to explain how to use and read a multimeter.
1. How to Test Voltage with a Digital Multimeter
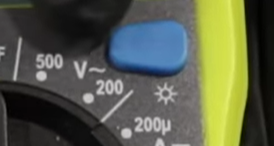
The alternating current (A/C) voltage (marked with a V and a tilde) is for testing electrical items that use alternating current like outlets at home.
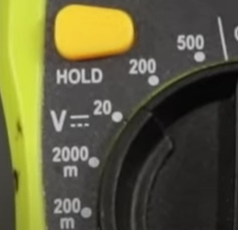
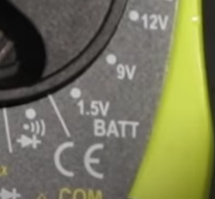
The icon on the left side of this multimeter represents direct current (D/C) voltage (marked with a V and two parallels lines with a lower dotted line). The settings will move the range of measuring, which is represented by the decimal point’s location on the multimeter’s the digital screen.
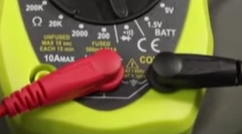
Always place the negative/black probe connector into the “COM” port, and always place the red lead into the voltage (V) port to test for voltage.
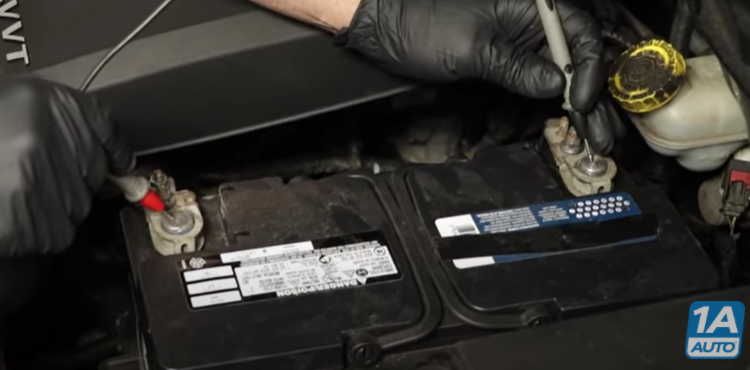
Place the black lead on the negative battery terminal and place the red lead on the positive battery terminal to test if the meter and the leads are working.
How to Test a Car Battery’s Voltage with a Multimeter
A voltage test on the battery will test the charge of the battery and indicate if the battery needs to be charged.
Steps for Testing a Car Battery’s Voltage
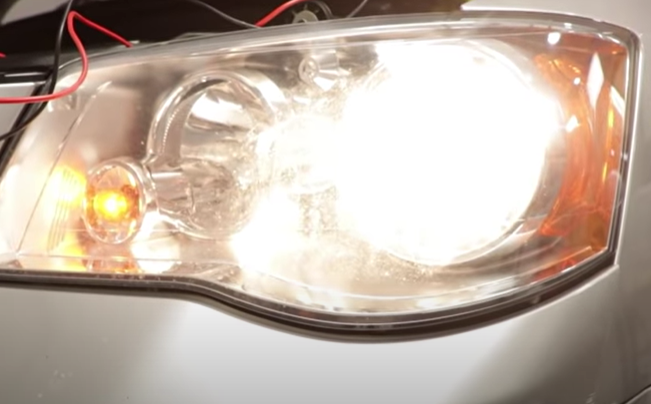
- Turn the Headlights on for One Minute
Turn the headlights on for one minute to remove the surface charge from the battery.
- Place the Leads to the Corresponding Battery Terminals
Place the negative/black lead to the negative battery post and the positive/red lead to the positive battery post.
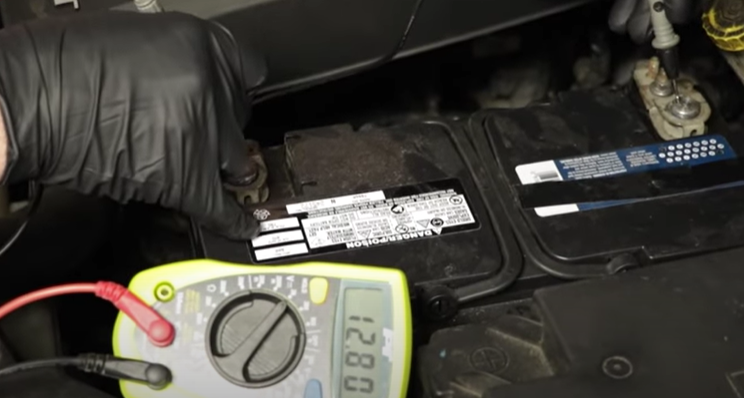
- Check the Voltage Reading on the Digital Screen
The meter should read over 12 volts. If it reads less than 12 volts, the battery needs to be charged. The reading won’t indicate if the battery is good or bad but just what the charge is. A battery load test tool is needed for an accurate battery test. The load test tool will put a load on the battery and reads how it reacts.
2. How to Test Circuits with a Digital Multimeter
- Place a black/negative lead to the negative battery terminal.
- Place a red/positive lead on the other end to the circuit
- Depending on the circuit type, the reading could be between 5 and 12 volts.
3. How to Perform Resistance and Continuity Tests with a Digital Multimeter
How to Test for Continuity
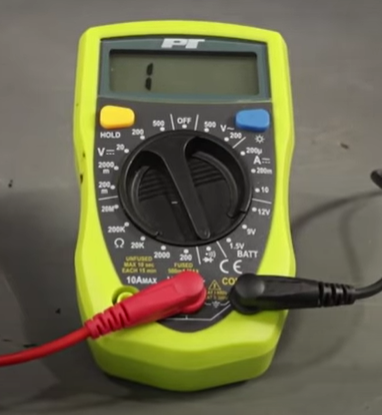
Turn the dial to the continuity symbol (similar to radio waves) pictured above.
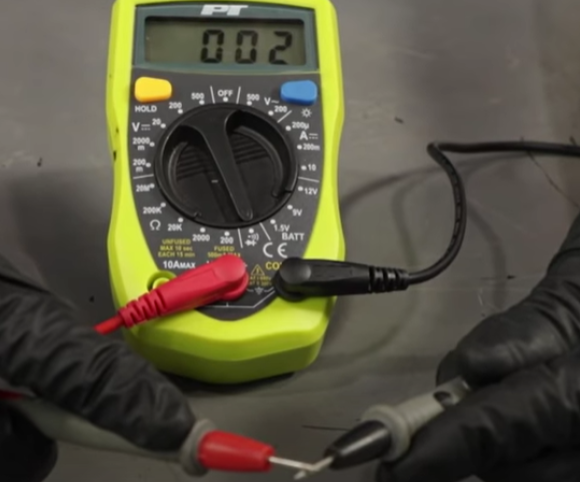
Place the tips of the probes together to test the meter. The meter should make a beeping sound and display a number close to zero, which means there is little to no resistance. The multimeter should read 1, meaning there is 100% resistance when the probes are not touching.
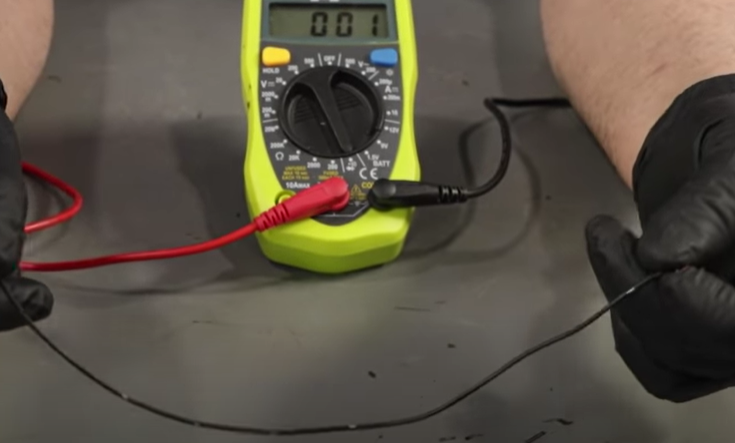
If testing a circuit, like in this example with an electrical wire, you can test for continuity (voltage flowing) by placing probes on either end. The connection will send voltage through the circuit, so when checking parts for continuity, disconnect the battery first to remove any power from the circuit.
How to Test for Resistance
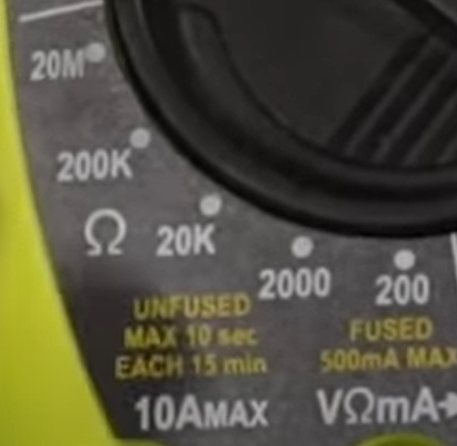
Turn the dial to the omega icon, which is the symbol for ohms, to check the resistance (ohms). The different settings will move the range of measuring, represented by the decimal point. A reading of 0 means there is little to no resistance. A reading of 1 means there is 100% resistance.
If you want to check the resistance of a part and you know its specs, such as less than 1 ohm, place a probe on each side of the part and take a reading. Take a reading from a new part and compare it with a reading from an old part if you don’t know its specs.
- If a 1 appears, it means there is an open circuit.
- If a number close to zero appears, the circuit is close to being shorted.
4. How to Measure Current/Amperage with a Digital Multimeter
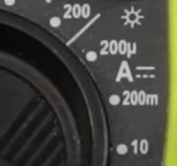
Turn the dial to the amperage icon (marked with an A and two parallels lines with a lower dotted line) to measure the current. Like the other settings, the scale will move the decimal point on the digital numbers to change the range.
Place the positive lead to the MAX port. Be careful when checking the current draw because the max amperage the multimeter can draw is what the setting is at. For example, if the multimeter is set to 10 amps and the draw exceeds that amperage, the multimeter will shut down or in some cases may break.
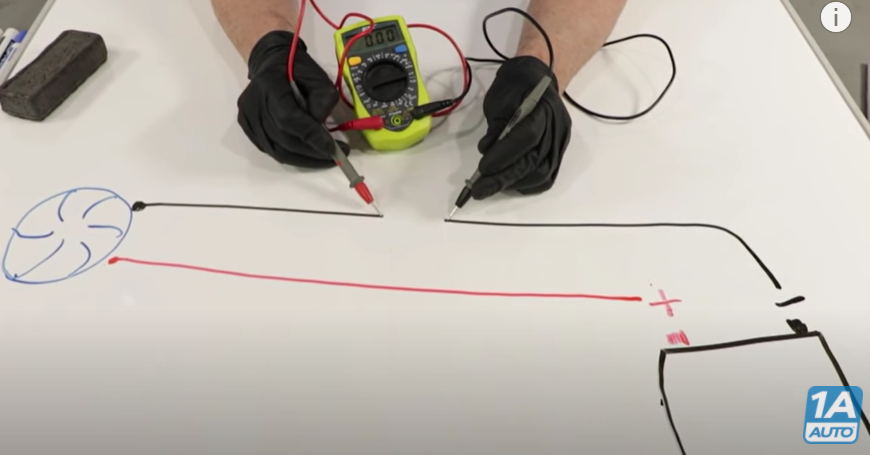
For example, if you wanted to test a fan that you know is not at its spec, in this case 4 amps, you want to cut the wire or disconnect the wire leading to the fan and place a lead on either end of the wire to test how much current the fan is actively drawing.
How to Perform a Parasitic Draw Test with a Multimeter
Multimeters can also perform a parasitic draw test to see if the battery is drawing too many amps and causing it to die. Check out the video below for more on how to perform a parasitic draw test on a battery with a multimeter.
Related Content
- How to Test a Fuse with a Multimeter
- The Battery or Alternator?
- How to Tell if a Relay is Bad in a Car, Truck, or SUV
- Power Liftgate Problems
Shop Parts and Tools at 1A Auto
- Tools & Accessories
- Diagnostic & Measuring Tools
- Testing Tools
- Multimeters
- Battery Tester
- Headlights & Lighting

Learning a lot