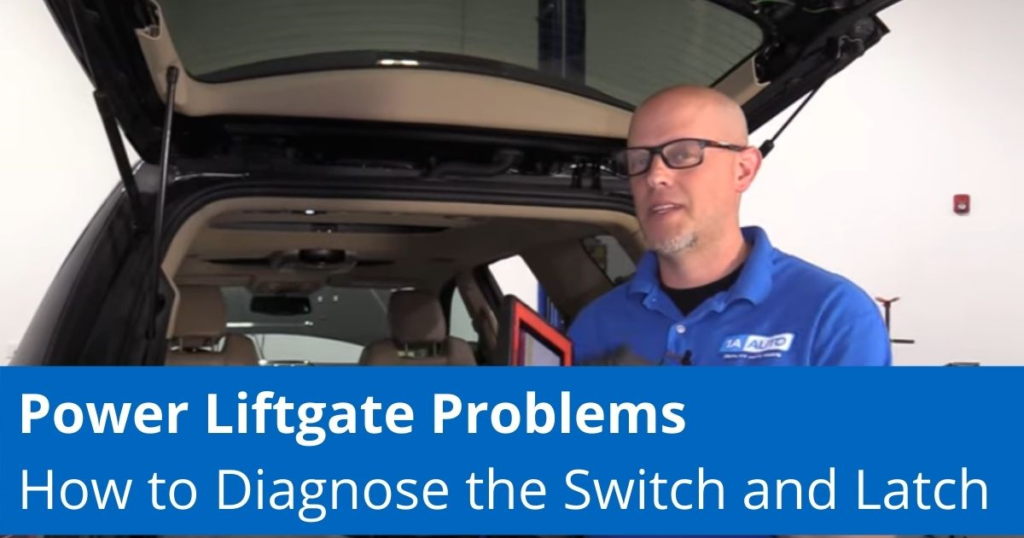
How to Diagnose the Switch and Latch
Common power liftgate problems include the switches or the latch not working. If the liftgate is stuck closed and won’t open, and you can’t open it after pressing the liftgate button on the key fob or the power buttons, the switches or the latch might be defective. This guide and the video below explains how to diagnose the liftgate switches and the liftgate hatch for a liftgate not working on the GMC Acadia, Buick Enclave, Chevy Traverse, and the Chevy Uplander.
Shop Quality Auto Parts at 1aauto.com

How to Test the Liftgate Switch and Hatch
Steps for Checking Power Liftgate Problems
1. Test the Power Liftgate Button on Key Fob
Press the other buttons on the key fob like the lock and unlock buttons to confirm there is no issue with the remote key.
2. Confirm the Automatic Liftgate Switch Is Not Turned Off
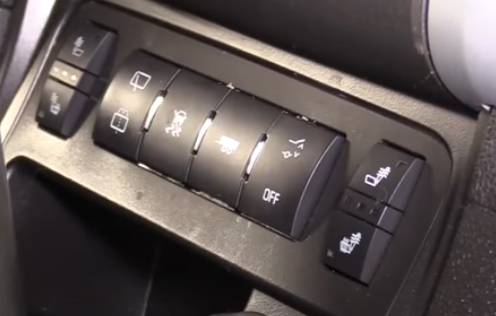
Sometimes objects like coffee cups can fall and accidentally turn the switch off.
This video shows what liftgate switch to look for and how to fix it
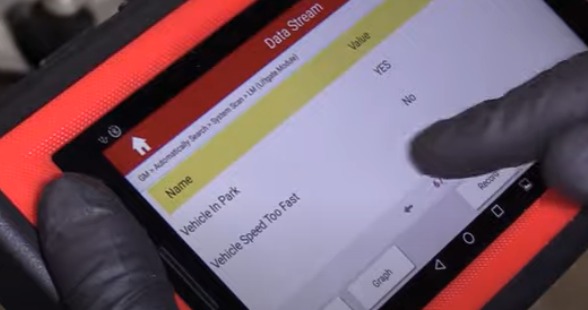
2. Optional: Scan the Liftgate Module with an Advanced Scan Tool (Recommended)
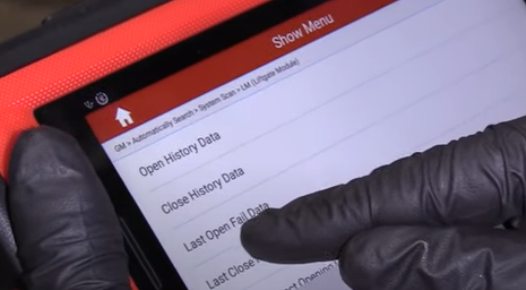
Before attempting to open the liftgate and inspect the parts, we recommend using a scan tool if possible. An advanced scan tool can read other modules like the liftgate module and scan them for related codes. The scan tool can also show a history of why the liftgate failed and where to look.
Commands like “Last Open Fail Data” can reveal information like the module failing to detect the vehicle is in park. Problems like this can occur on a power liftgate if a module in a different area of the vehicle, like the transmission, needs programming.
3. Manually Open the Liftgate
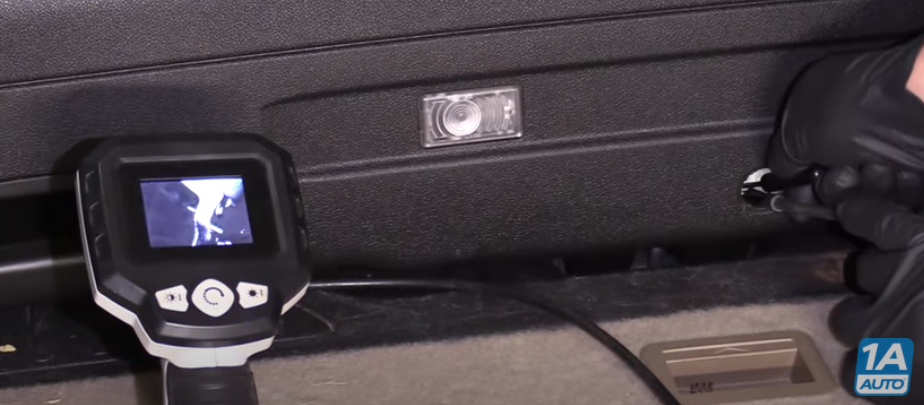
Put the seats down and remove any cargo from the trunk to create space to open the hatch. Pry off the trim plug from the liftgate’s interior panel with a flat blade screwdriver. You may need to boroscope or a similar tool to see where the release is. Press the release with the flat blade screwdriver to open the liftgate.
4. Check the Fuses

Find the fuse box underneath the instrument panel on the passenger side. Read the key on the instrument panel and look for the 15 amp DSPLY fuse.
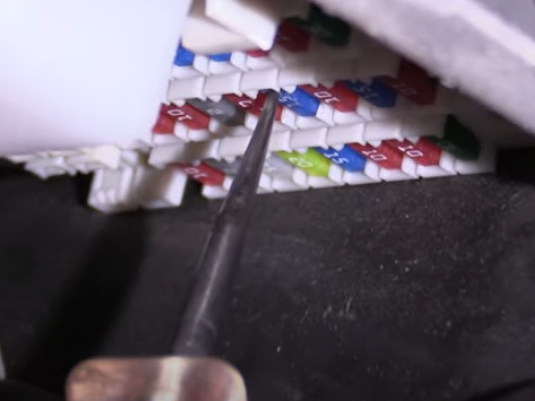
Connect the test light to the ground near the fuse box and test the fuse. Press the probe of the test light to the hole on each side of the fuse. If the test light illuminates on both sides, the fuse is in good condition. Alternatively, you can remove the fuse and confirm the internal wire isn’t broken. If the wire is broken, the fuse is blown.
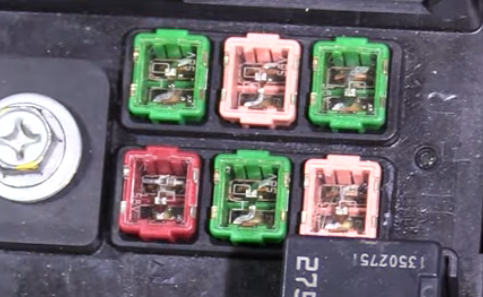
Check the 30 amp power liftgate fuse located in the fuse box under the hood. Check the fuse for broken wires, which means the fuse is blown. You can also switch the fuse with another 30 amp to see if it works.
5. Remove the Liftgate Panel
Common steps to remove the liftgate panel include removing the clips and any trim pieces like the pull handle that have screws underneath and prying off the liftgate panel with a trim tool.
Tools Needed
- Plastic trim tools
- 7mm socket, ratchet, and socket extension
- flat-blade screwdriver
How to Remove and Install a Lower Liftgate Panel from a 2009 to 2017 Chevy Traverse
- Pry Up the Push Clips from the Latch
Remove the push clips from the liftgate latch with a flat-blade screwdriver
- Remove the Plastic Liftgate Handle
Pry the liftgate handle down and off with a plastic trim tool
- Remove the 7mm Screws from the Liftgate Handle
Remove the 7mm bolts from from the hatch handle
- Pull the Lower Panel Down, Disconnect the Electrical Connectors, and Remove the Lower Panel
Remove the lower panel from its retaining clips by pulling it down. Disconnect the electrical connectors, and remove the panel
- Connect the Electrical Connectors and Install the Lower Panel
Connect the electrical connectors to the liftgate panel. Press the lower panel to the retaining clips on the liftgate underneath the window, and press the panel into the liftgate while connecting the retaining pins
- Tighten the 7mm Screws to the Liftgate Handle
Tighten the 7mm bolts to the liftgate handle
- Attach the Liftgate Handle Trim
Press the liftgate handle trim to the liftgate panel
- Reinstall the Push-Clips
Attach the push-clips to the lower panel
This video shows how to remove the liftgate panel from a 2009 to 2017 Chevy Traverse
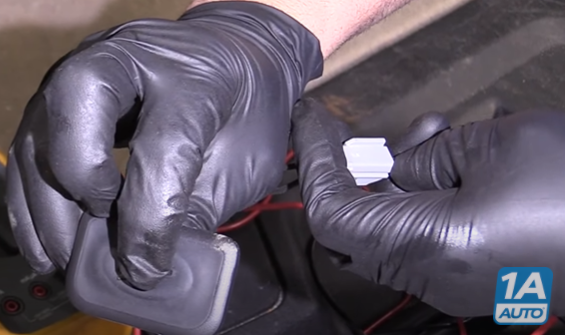
6. Test the Electrical Connectors
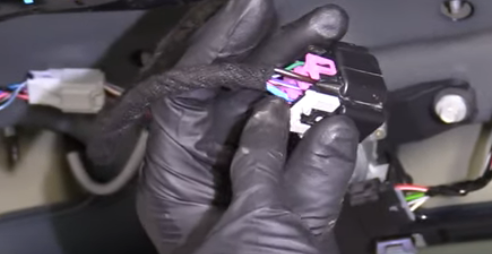
- Disconnect the liftgate latch’s power close buttons’ electrical connector.
- Test the thicker wires, which activate the liftgate actuator, for electrical current with a test light.
- Press the test light to the wire and press the defective lower or upper switch.
- If the switch does not illuminate the test light, it needs to be replaced.
Diagnostic Tip: If both of the switches fail, further diagnosis is required. If both of the switches test positive for power and ground, the liftgate latch needs to be replaced.
How to Test the Liftgate Switch Power Buttons with a Multimeter
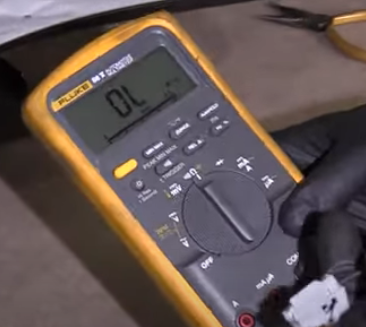
Sometimes the switches get dirt and debris in them, and they stop working. You can test the switch and the wires with a multimeter that can measure ohms. The multimeter can send a small amount of voltage down one wire and check the other when you press the switch.
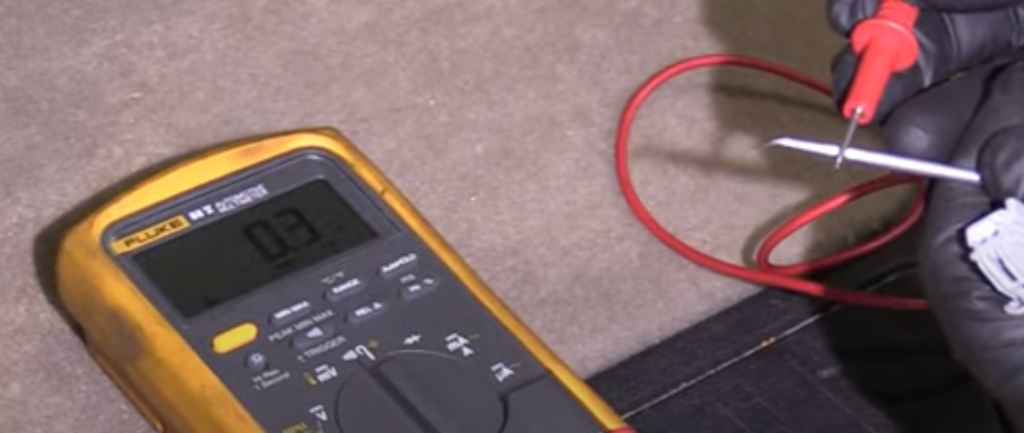
Set the meter to read ohms. The baseline reading without the leads touching each other should read for 100% electrical resistance. Test the leads by tapping the leads together. The rating should change to a decimal number to show there is less electrical resistance.
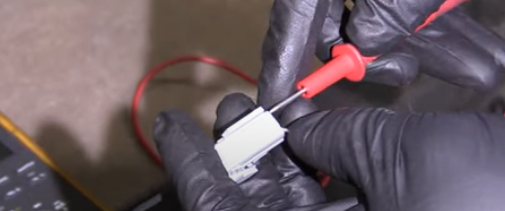
Lightly touch one terminal on the switch’s electrical connector with one lead and the opposing terminal with the other. Press the switch. If the multimeter reads for a decimal number, indicating less electrical resistance, the switch is working.
Replace a Power Liftgate Switch or Liftgate Latch Yourself
If your power liftgate is having problems working and the liftgate switch or liftgate latch is defective, replace one on your GMC Acadia, Buick Enclave, Chevy Traverse, Chevy Uplander, or another vehicle yourself with 1A Auto’s how-to videos that cover removal and installation steps for many different makes and models.
Related Content
- How to Test a Fuse with a Multimeter
- Common 07-16 GMC Acadia Problems
- Most Common GMC and Chevy Truck Problems
- Does Your GM Need a New Air Suspension Kit?
- Heated Seats Not Working in Your GM Vehicle?
- How to Tell if a Relay is Bad in a Car, Truck, or SUV
- The Battery or Alternator?
Shop Power Liftgate Parts

I have a 2016 Traverse that does not have a power light gate. With the lift gate closed the instrument panel show LIFT GATE OPEN. Is there a fuse for this or can you tell me where the switch is that controls this message?
GMC replaced the rear hatch switch and latch. It worked about 2 months and stopped. Another check found it could be a relay that cost 500 dollars. I have now 710 dollars in with no working hatch. Would like to know what to do next. Thank you.
hi there, i followed our video to open the back hatch door from the inside but mine still wont open. like the latch is stuck. when you push the button or try to do it from the inside you can here it try to open but the lock just seems to be stuck. can you help
Liftgate opens with button but will not close
Wondering if bad struts could actually cause the switch to engage (on it’s own) and mechanically decide it’s time to shut the trunk (hits one on the head and forcefully shuts) one second after it has mechanically opened it on demand to it’s fullest???? Found struts for $60 each & easy to self install – so wondering if switching these out will cure the mechanical problem????
2017 Buick Enclave ; Lift gate works great with ignition switch on
Will not work with ignition off, It used to work from key fob. remote start works, but ignition key must be turn to on before lift gate will open or close
The fob button and overhead button for the power liftgate cause the driver side power door and power lift gate to open and close at the same time.
The side power doors work fine when using the fob or overhead buttons. the handle works fine on both power doors and lift gate. I tried disconnecting battery and re-connecting then retraining but nothing changed. i checked and all fuses and relays work fine and switched them around and all worked but no improvement. Does someone have any answers?
Charles Plummer here adding that my liftgate problem is on a 2007 Mercury Monterey.
My 2015 Infiniti QX60 lift gate sometimes works and sometimes doesn’t it can’t be a fuse because if it was it wouldn’t work at all. Anyone know if it could be a relay or switch or sensors?
I have a 2012 town and country and my rear hatch latch keeps releasing it self and then re-engaging over and over again I have tried to replace with junk yard parts my door was damaged so I replaced the whole door and this door is doing the same thing any ideas what could be causing this too happen